Servertastic SSL For cPanel
Contents |
About Servertastic SSL For cPanel
| Servertastic SSL For cPanel will allow you to offer SSL certificates to your clients. They will be able to define and order a certificate directly in the client area. Moreover, the module will give you the access to SSL configuration details as well as enable you to terminate certificates and renew them after their expiration date. |
- WHM Features:
| ✔ Create Certificate |
| ✔ Terminate Certificate |
| ✔ Resend Configuration Email |
| ✔ Renew Certificate |
| ✔ Change Approver Email |
| ✔ View And Edit Order ID |
| ✔ View Certificate Status |
| ✔ Choose Certificate Type |
| ✔ Toggle Synchronization Of Expiration Date |
- cPanel Features:
| ✔ Configure Certificate |
| ✔ View Basic Certificate Details |
| ✔ Modify Approver Email |
| ✔ Download Generated Certificate |
- Configurable Options:
| ✔ Additional SAN Domain |
| ✔ Server Count |
| ✔ Certificate Validity |
| ✔ Certificate Type |
- General Info:
| ✔ Renewal Support - Automatically Creates New Certificate For Recurring Products After Expiration Date |
| ✔ Multi-Language Support |
| ✔ Supports PHP 5.4 Up To PHP 7 |
| ✔ Supports cPanel V6 And V7 |
Installation and Configuration
| This tutorial will show you how to successfully install and configure Servertastic SSL For cPanel. We will guide you step by step through the whole installation and configuration process. |
Installation
| This tutorial will show you how to successfully install Servertastic SSL For cPanel. We will guide you step by step through the whole installation and configuration process. |
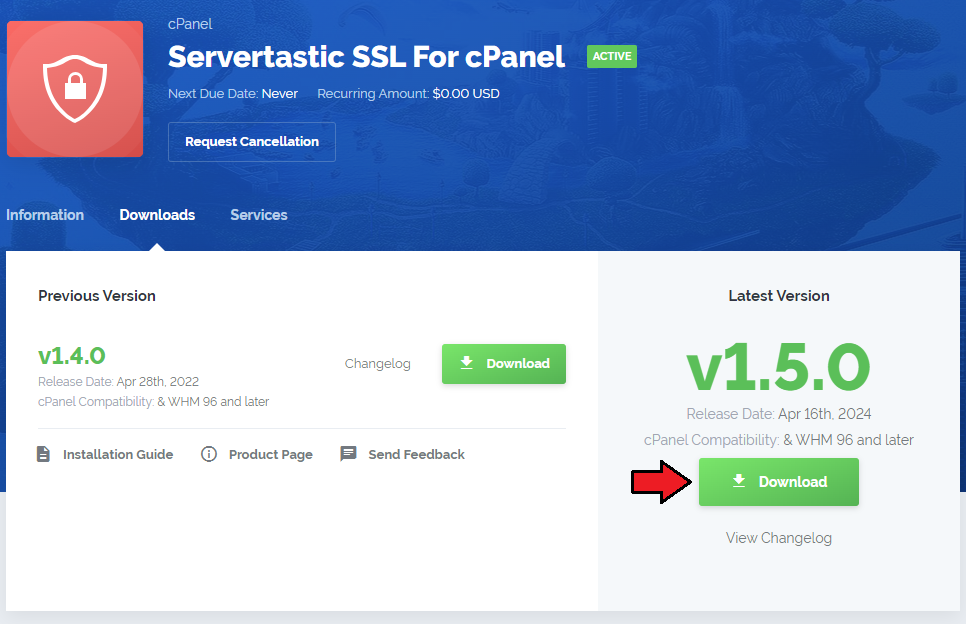
| 1. Log in to your client area and download Rage4 For cPanel. |
|
| 2. Upload and extract the module into the /root cPanel directory. Files in your cPanel directory should look like this. |

|
3. Next run the following command from the consolesudo sh /root/HTTPInstaller/install Follow the instruction displayed on console. After a few moments you should see confirmation if plugin installed successfully: |

|
Configuration of Product
| 4. In order to create and configure plugin, go to 'WHM' → 'Plugins' → 'HTTPS ' . Click on 'Create a New Group' . |
|
| 5. Enter product group name and press 'Save Changes' . |
|
| 6. When you have a product group, you can create your product. To create a product click on 'Create a New Product' . |
|
| 7. Afterwards, choose your product group and type from dropdown menus, fill in your product name and press 'Continue' . |
|
| 8. Now, go to 'Module Settings' section, choose 'Servertastic SSL' from a dropdown menu. Next, click on 'Save Changes' . |
|
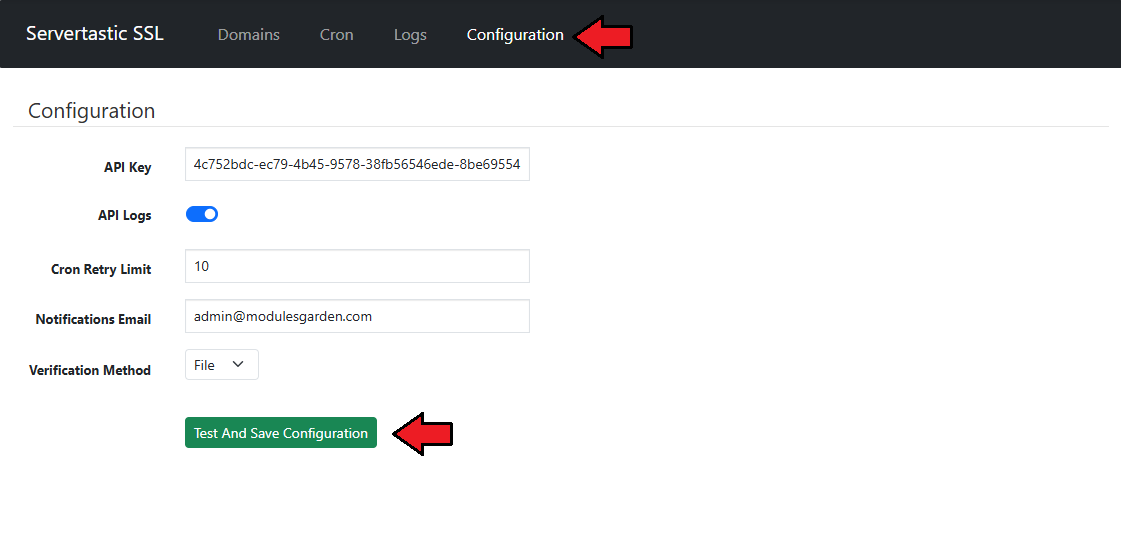
| 9. Finish by filling in 'API Key' and selecting desired certificate type. Additionally, mark 'Update Next Due Date' if you want to renew the certificate after reaching its expiration date (recurring products only). |
| File:STCP 10.png |
| Congratulations! Your module is ready for use. |
Management
| Servertastic SSL For cPanel allows you to offer fully configurable Servertastic certificates to your clients. Additionally, you have the ability to view certificate details and manage each provisioned certificate. |
Admin Area
| In the admin area you can view the details of a product and find SSL configuration status. Additionally, you can create/terminate product, resend configuration email and even change approver email. |
| File:STCP 11.png |
| In order to change approver email, fill in a new email and press 'Save Changes' as shown on the screen below. |
| File:STCP 12.png |
Client Area
| Servertastic SSL For cPanel allows your customers to order and configure SSL certificates. As you can see on the following screen, it also allows to choose from configurable options during an order. |
|
Configuration
| A new SSL certificate needs to be configured before it can be used. Press 'Configure Now' to proceed, you will be forwarded to an external page. |
|
| In the end of the process, you will receive a configuration email. As soon as you receive the email and go to the approval site, your certificate will be generated. |

|
Management
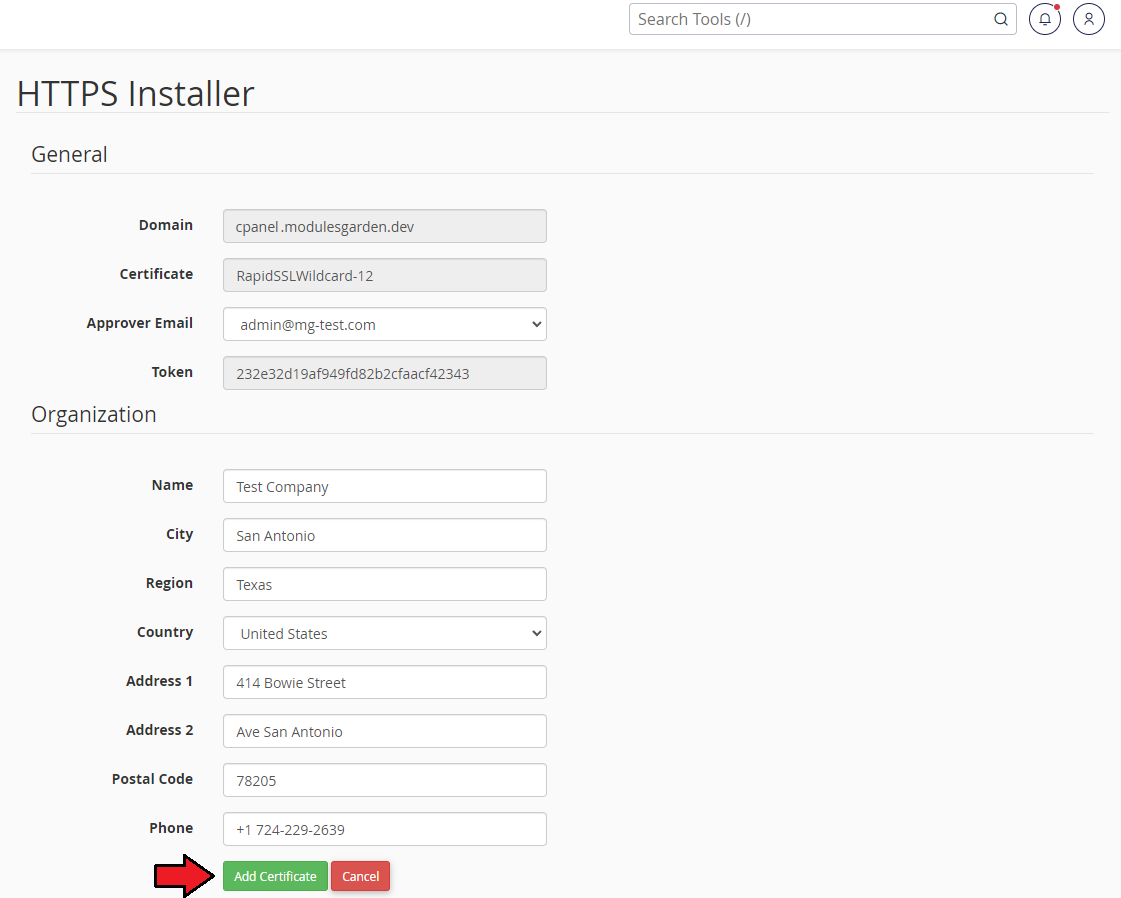
| On the following screen you can see a successfully configured product. Here you can find provision and expiration dates, and its status. |
|
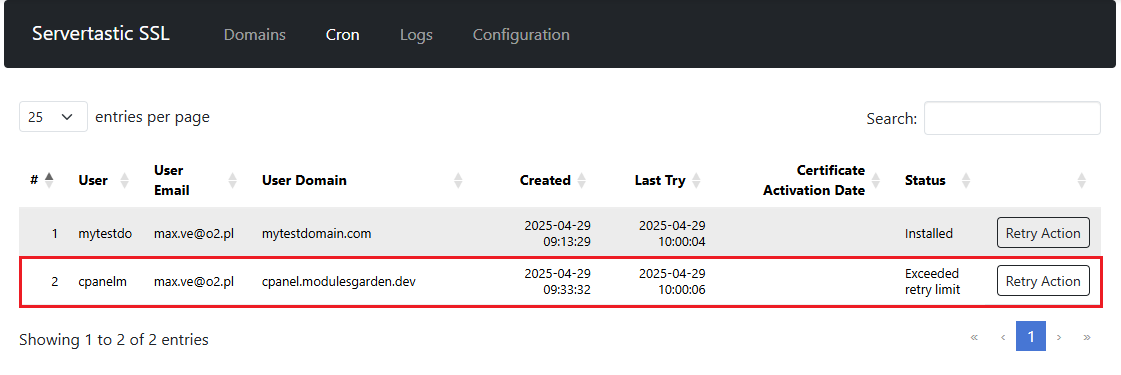
| Additionally, you can download the certificate. |
|
Configurable Options
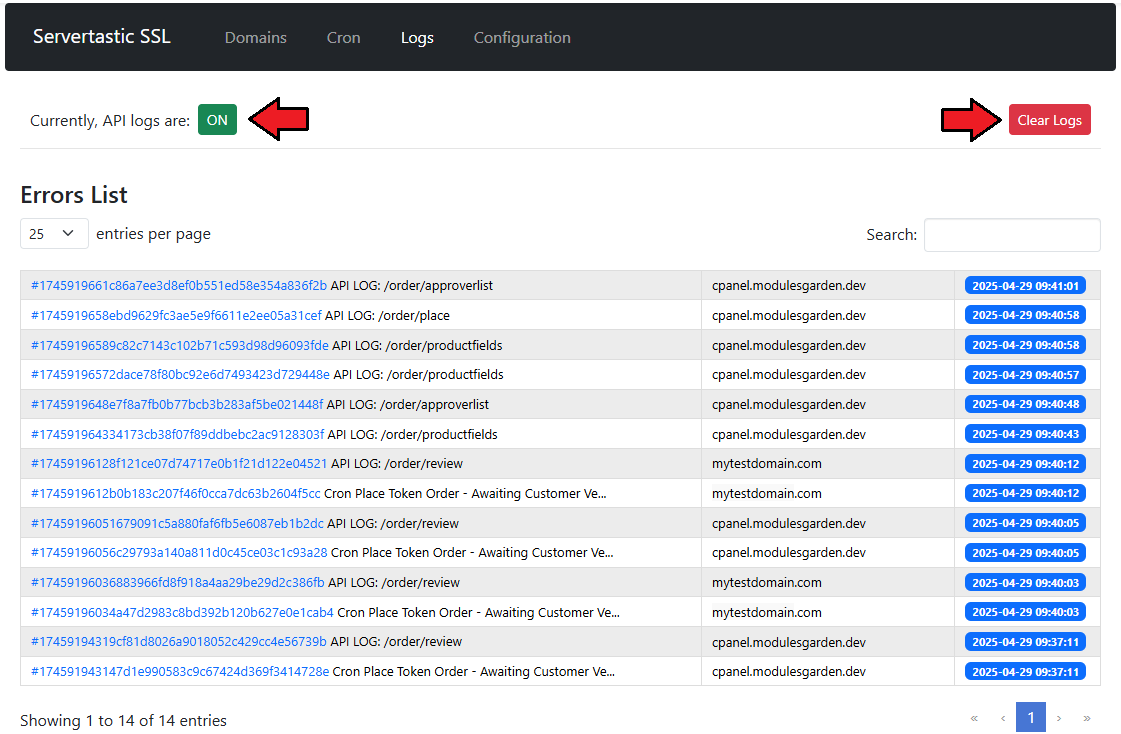
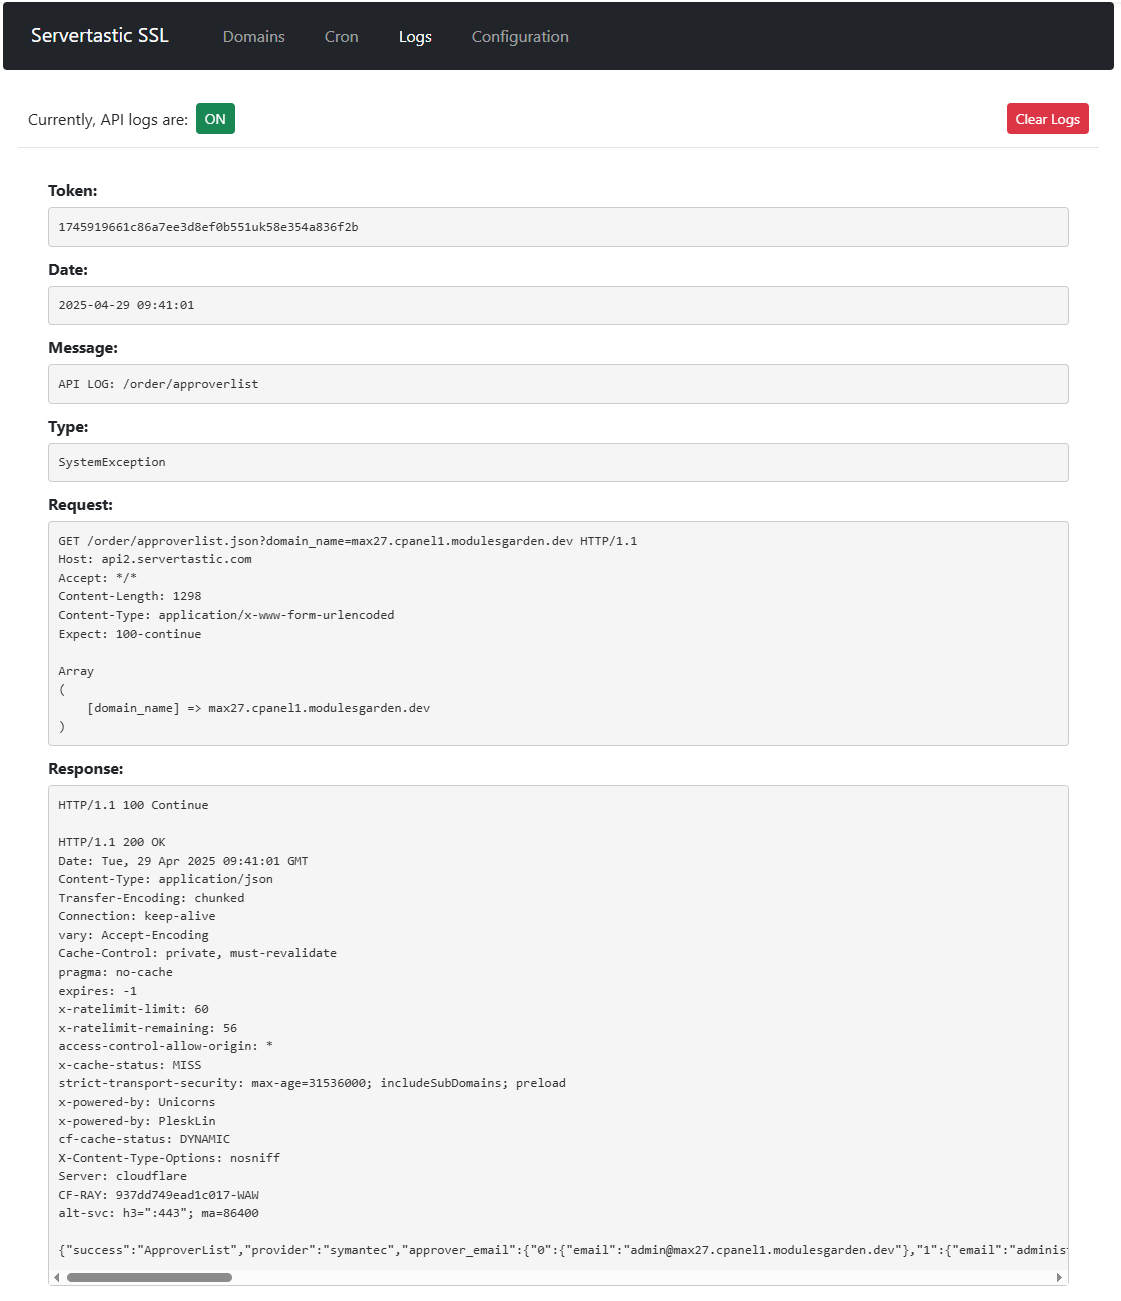
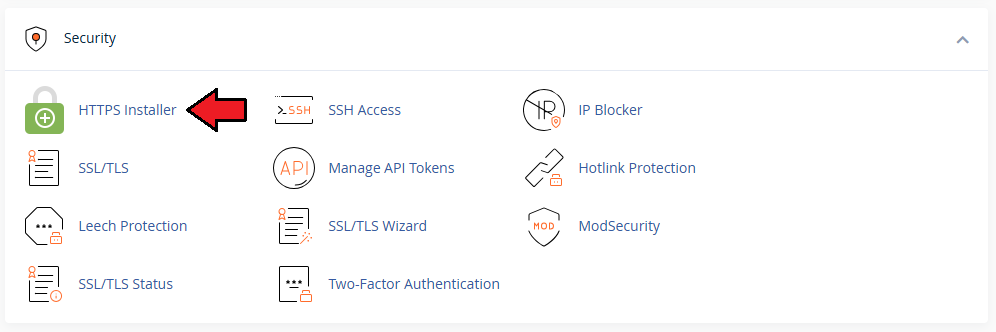
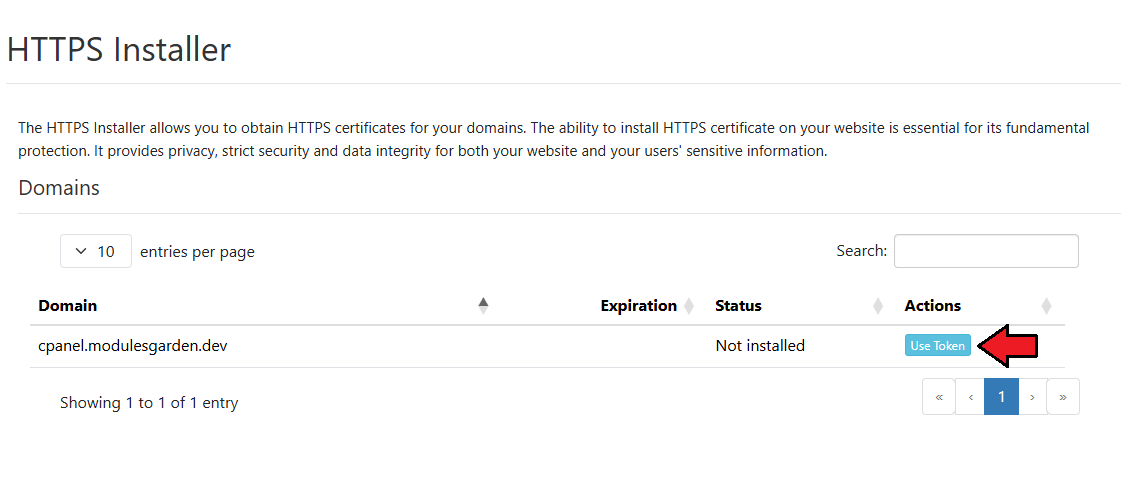
| The module enables you to set up configurable options allowing clients to define the products they order. Below you can find the list of configurable options with descriptions of how they will affect an order: |
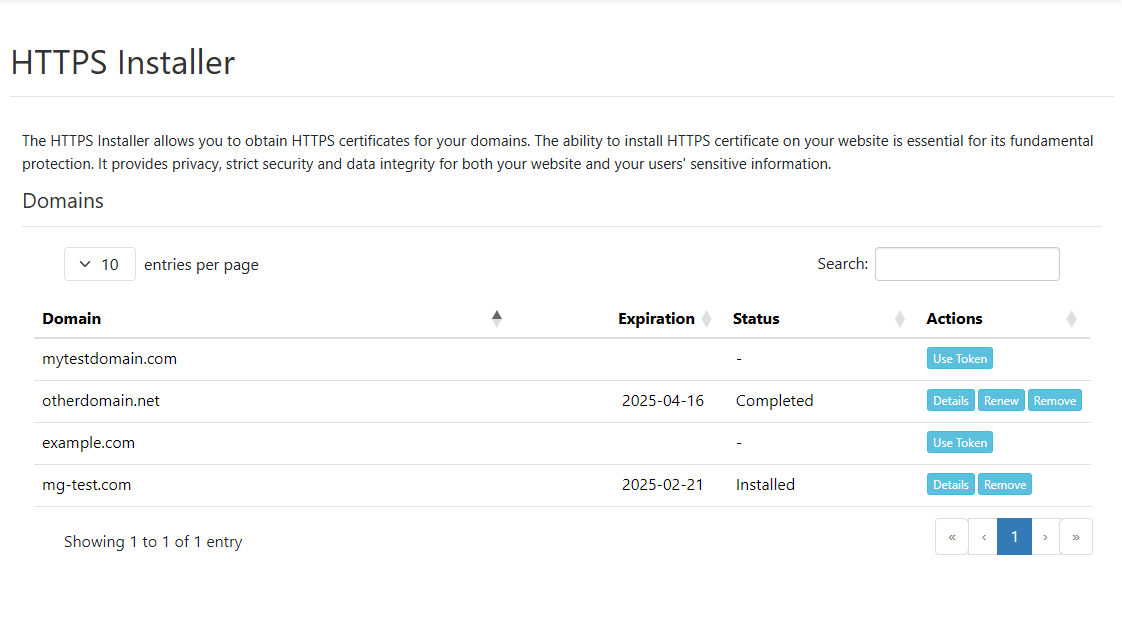
| 1. Let's create configurable options group containing each one of presented configurable options. Start by proceeding to 'Setup' → 'Products/Services' → 'Configurable Options' and pressing 'Create a new Group' . |
|
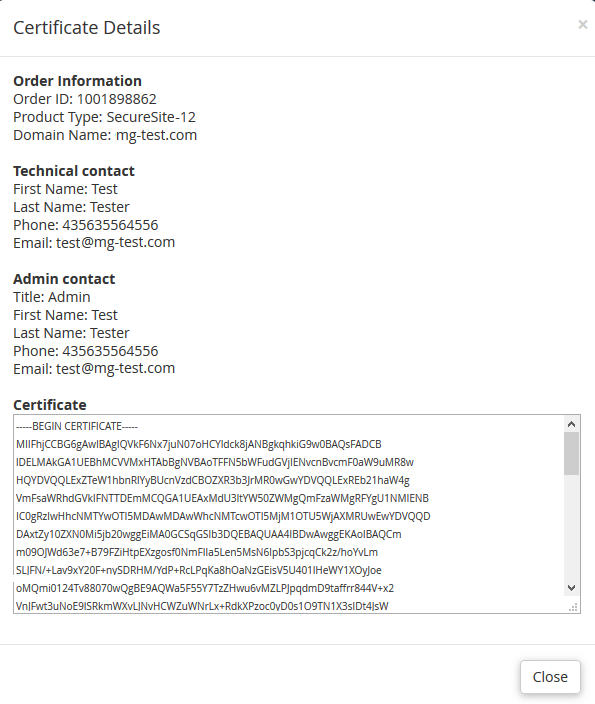
| 2. Afterwards, fill out the form with a group name and a description, select products you wish to apply to this group by holding Ctrl and clicking on each of the products. Afterwards, press 'Save Changes' . |
|
| 3. Press 'Add New Configurable Options' . |

|
| 4a. (Years, Servers Count, SAN Count) Now, fill in option name, select 'Quantity' option type and fill in minimum and maximum allowed quantity. Afterwards, set up price per one unit and press 'Save Changes' . |
| File:STCP 21.png |
| 4b. (Certificate Type, Years, Servers Count, SAN Count) Fill in option name and select 'Dropdown' from option type. |
| File:STCP 22.png |
| 5. Now, you have to add each option separately. Do it by filling in its name, setting up its price and pressing 'Save Changes' for each of the options. |
| File:STCP 23.png |
| 6. Now, let's order a product using previously created configurable options. As you can see, using configurable option allows you to use fewer product while still allowing a full customization of the product. |
| File:STCP 24.png |
Tips
1. When you press 'Renew' button in the admin area ('Client Profile → Products/Services') , a new order for selected domain will be created.
|
Common Problems
| 1. When you have problems with connection, check whether your SELinux or firewall does not block ports. |