Zendesk For WHMCS
Contents |
About Zendesk For WHMCS
| Zendesk For WHMCS allows your customers to use a complex support system solution in your own WHMCS. With our module your clients will be able to manage Zendesk tickets as if they were a part of your system. |
- Management Features:
| ✔ Clientarea Integration |
| ✔ Complete Zendesk Tickets Management From Clientarea |
| ✔ File Attachments |
| ✔ Single Sign On (SSO) Integration |
| ✔ Listing Tickets On The Home Page |
| ✔ Autochanging Of Emails In Zendesk, When Changed In The WHMCS |
| ✔ Possibility To Create And Set Up Custom Templates |
- Additionally:
| ✔ Multi-Language Support |
| ✔ Supports WHMCS Version V5 and Later |
Installation and Configuration
| Installation and configuration of Zendesk For WHMCS won't take you longer than 10 minutes. We will guide you step by step through the whole process. |
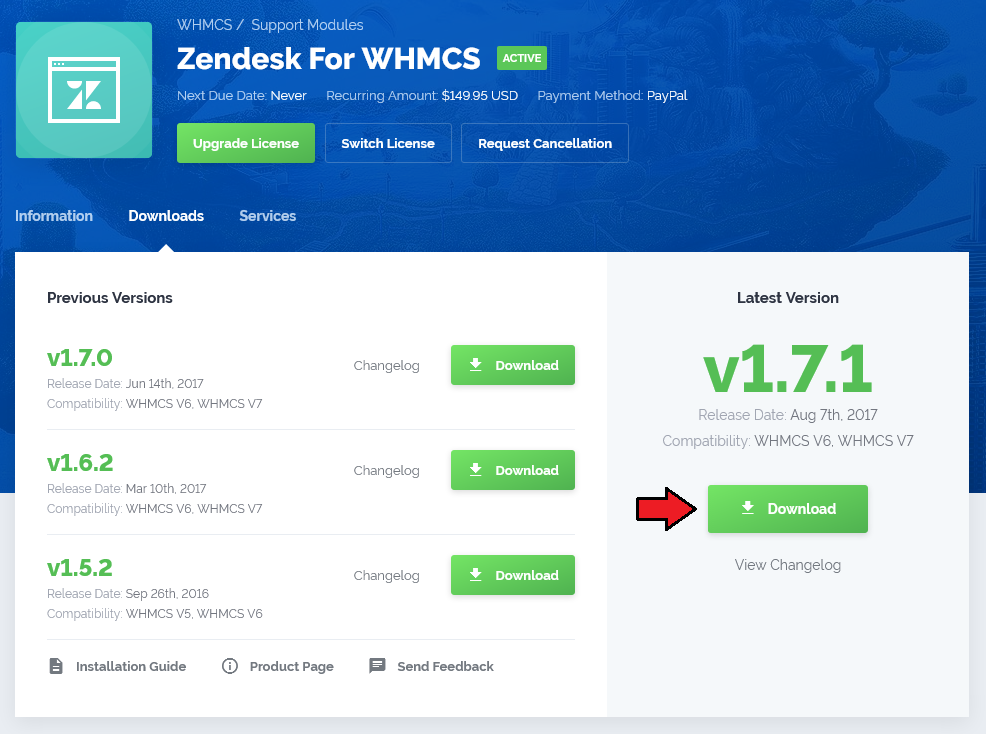
| 1. Login to your clientarea and download Zendesk For WHMCS. Download will be ready soon! |

|
| 2. Upload and extract the module into the main WHMCS directory. |
| Files in your WHMCS directory should look like this. |
| File:Z2.png |
| 3. Afterwards log in to your Zendesk admin area in order to enable API access. Go to 'Manage' → 'API' which is located in the 'Channels' section and enable 'Token Access' . Remember to save the changes. |
| File:Z3.png |
| 4. Now go to 'Manage' → 'Security' which is located in the 'Settings' section and enable 'Single-Sign On' . Don't forget to press 'Save tab' at the bottom of the screen. |
| File:Z4.png |
| 5. Scroll down to the bottom and press 'generate a new token' or use an existing one. |
| File:Z5.png |
| 6. Copy and keep your 'shared secret' in a safe place. We will need it in the next step. IMPORTANT: Make sure that you have copied the entire secret. It's longer than shown on the screen below. |
| File:Z6.png |
| 7. Afterwards you need to configure one file. To do so, go to 'your_whmcs/modules/support/zendesk' and modify 'configuration.php' file. Below we will briefly describe critical variables for proper operation of the module: |
| File:Z7.png |
| 8. The last step is performed directly in WHMCS. Log in to your system, go to 'Setup' → 'General Settings' → 'Support' , choose 'Zendesk' from a dropdown menu and save changes. |
| File:Z8.png |
| Good job! Now your WHMCS is connected with Zendesk support system. |
Management
| Once Zendesk For WHMCS is installed and configured, you can create/update your ticket departments and begin to use it. Each ticket department you create in the Zendesk will be available for your customers in WHMCS clientarea. |
| Let's see what our Zendesk For WHMCS can do. Firstly, you can create and modify ticket fields which will show up in WHMCS while creating a new ticket. For test purposes we activated and adjusted 'Priority' field according to our needs. |
| File:Z9.png |
| As you can see on the screen below, new field appeared in WHMCS clientarea. Let's send the ticket. |
| File:10.png |
| Ticket has successfully appeared in your Zendesk admin area. Do not let him wait long unanswered. |
| File:11.png |
| Let's send an answer to our fellow Tester. |
| File:12.png |
| Our customer received an answer with updated ticket status. |
| File:13.png |
| As you noticed management of Zendesk For WHMCS is very simple and intuitive. Now you are ready to offer your customers a new level of support! |
Tips
Common Problems
| File:.png |