Hosting Quota Notifications 1.X For WHMCS
An update of this article will be available soon, please watch out for broken links and unclear descriptions!
We are sorry for the inconvenience caused.
Contents |
About CRM For PrestaShop
| CRM For PrestaShop will introduce customer relationship management into your eCommerce platform to let you handle your contacts and follow-ups automatically. You will be able to create leads and potentials, organize campaigns, send notifications, add notes, upload files, manage mailboxes and many more. |
- Module Features:
| ✔ Create Leads |
| ✔ Convert Contact Type |
| ✔ Send Mass Email To: |
| ✔ All Clients |
| ✔ Chosen Client Groups |
| ✔ Contacts From Chosen Campaigns |
| ✔ Convert Contact Types Between Lead And Potential |
| ✔ Assign Client Account To Contact |
| ✔ Assign Administrator To Contact |
| ✔ Quickly Edit Contact Details |
| ✔ Add And Manage Contact's Follow-ups |
| ✔ Add And Manage Contact's Notes |
| ✔ View Contact Orders |
| ✔ Create And Manage Email Templates |
| ✔ Send Email From Template Or Custom Message - Include Files |
| ✔ Create And Manage Outgoing Mailboxes |
| ✔ Upload And Manage Files From Contact Profile |
| ✔ View Announcements For Administrators |
| ✔ View Logs Concerning Contact |
| ✔ View Dashboard Containing Incoming Follow-ups |
| ✔ View Calendar With All Reminders Sorted By Type |
| ✔ View CRM Statistics And Graphs Concerning Contacts |
| ✔ Import Contacts In Chosen File Formats: CSV, XSL, XSLX and ODS |
| ✔ Export Contacts In Chosen File Formats: CSV, XSL, XSLX, ODS and PDF |
| ✔ Upon Removing, Contact Is Moved To Archive Where They Can Be Restored From If Needed |
- Follow-up Features:
| ✔ 3 Types Of Notifications: Now, On Follow-up Date, Before Follow-up Date - Both For Administrators And Clients |
| ✔ Follow-up Type - Easier Determination Of Follow-up Purpose |
| ✔ Administrator To Notify - Defines Included Administrators Per Notification Type |
| ✔ Notify Administrator via Email |
| ✔ Use Email Template Or Place Custom Message |
- Campaign Features:
| ✔ Create Campaign |
| ✔ Define Campaign Duration Time |
| ✔ Assign Leads To Campaign Using Filters |
| ✔ Manually Assign Campaign To Lead |
| ✔ Display Dashboard Per Campaign |
| ✔ Display Campaign Description Inside Of Assigned Lead Profile |
- Module Settings Features:
| ✔ View Module Status - Contains Status Of CRM Key Elements |
| ✔ Define Whether To Use Quotes And Administrator Assignment |
| ✔ Define Follow-up Types And Default Notifications On Follow-up Reschedule |
| ✔ Define Temporary And Permanent Notifications For Administrators |
| ✔ Define If Notification Needs To Be Acknowledged By Administrators |
| ✔ Manage Custom Fields: |
| ✔ Create Fields Groups |
| ✔ Create Custom Fields - Text, Textarea, Checkbox, Radio And Select |
| ✔ Add Description To Custom Field |
| ✔ Add Validators To Custom Fields |
| ✔ Define Custom Contact Types: |
| ✔ Define Contact Type Color And Icon |
| ✔ Define Contact Type Visibility On Navigation |
| ✔ Define Permissions Per Administrator Role Group |
| ✔ Define Personal Settings: |
| ✔ Define Avatar |
| ✔ Define Visible Fields And Their Order For Leads, Potentials And Dashboard |
| ✔ Configure Default View Of Leads And Potentials Lists - Visibility And Order In Columns |
| ✔ Create CRM Email Templates |
| ✔ View Information About CRM Cron |
- General Info:
| ✔ Requires Ioncube Loaders V4.0 or Later |
| ✔ Standalone Mode - Display CRM Outside Of PrestaShop |
| ✔ Display Any Page Or Panel In Full Screen Mode |
| ✔ Multi-Language Support |
| ✔ Supports PrestaShop 1.6.1.2 and Later |
Installation
| This tutorial will show you how to successfully install and configure CRM For PrestaShop. We will guide you step by step through the whole installation and configuration process. |
Installation
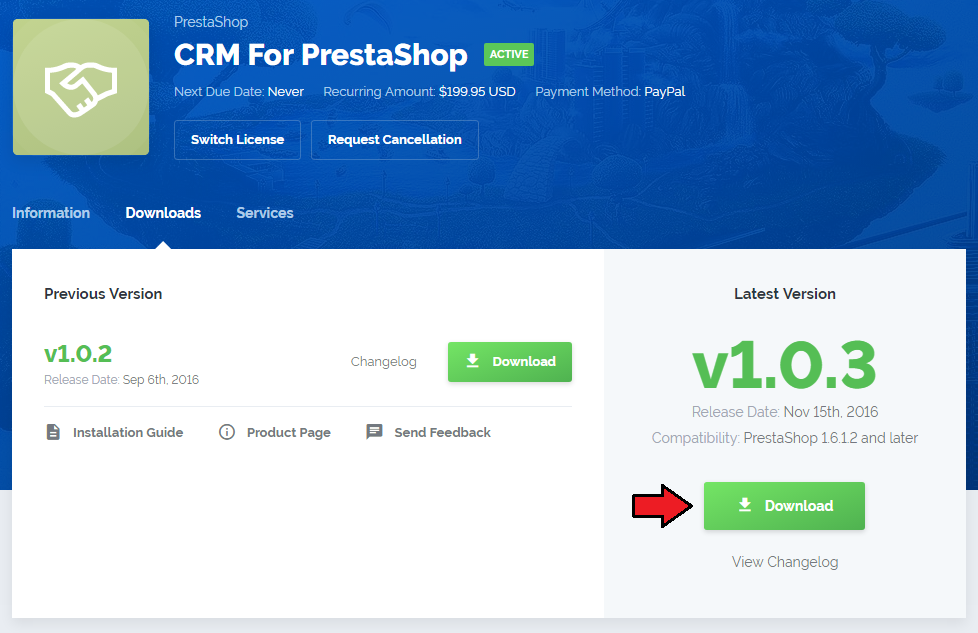
| 1. Log in to your client area and download CRM For PrestaShop. |
|
| 2. Upload and extract the module into the main PrestaShop directory. Files in your PrestaShop directory should look like on the following screen. |

|
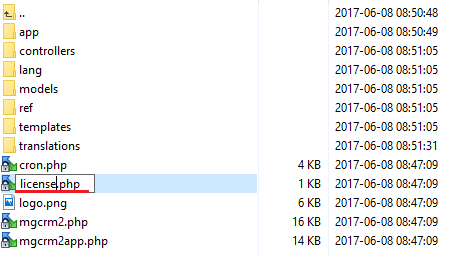
| 3. When you install CRM for the first time you have to rename 'license_RENAME.php' file. File is located in 'modules/mgCRM2/license_RENAME.php'. Rename it from 'license_RENAME.php' to 'license.php'. |
|
| 4. In order to configure your license key, you have to edit the previously renamed 'license.php' file. Enter your license key between quotation marks as presented on the following screen. You can find your license key in your client area → 'My Products'. |

|
Activate The Addon
| 5. Now you have to activate the module on your PrestaShop platform. Log in to your PrestaShop admin area. Go to 'Modules and Services' → 'Modules and Services'. Afterwards, find 'MG CRM2' on the list of modules and install it. |

|
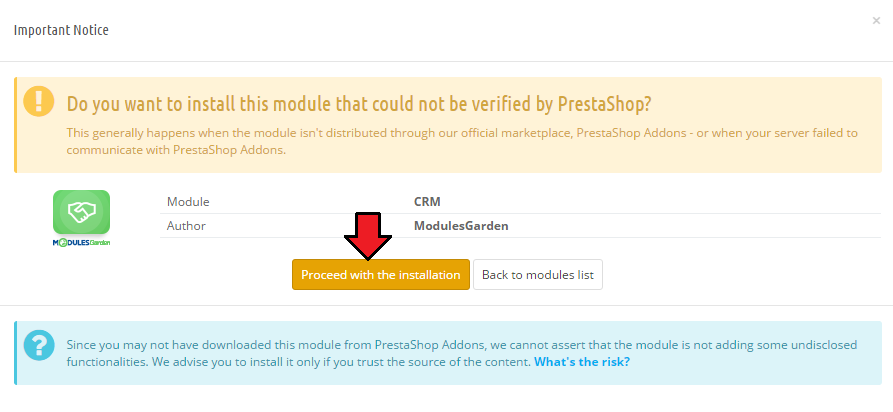
| 6. Confirm the installation. |
|
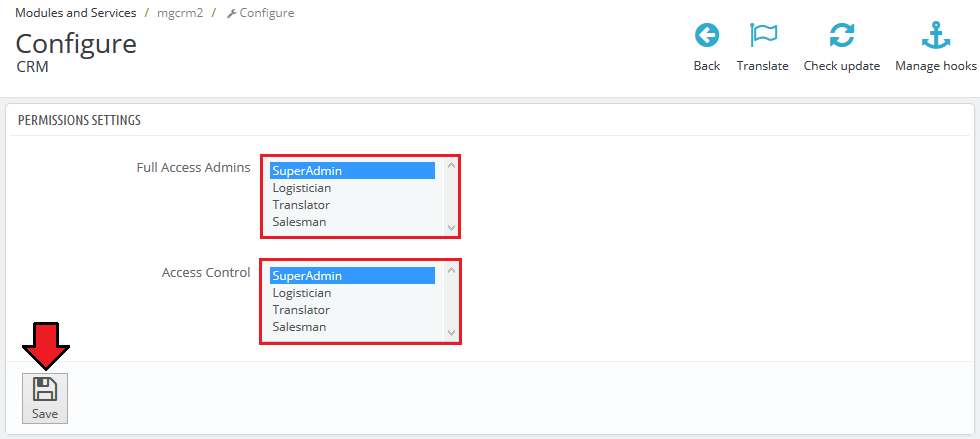
| 7. In the next step you need to configure permission settings. To do so, click on 'Configure' button. select desired admin roles and save the changes. |

|
| 8. Select desired admin roles and save the changes. |
|
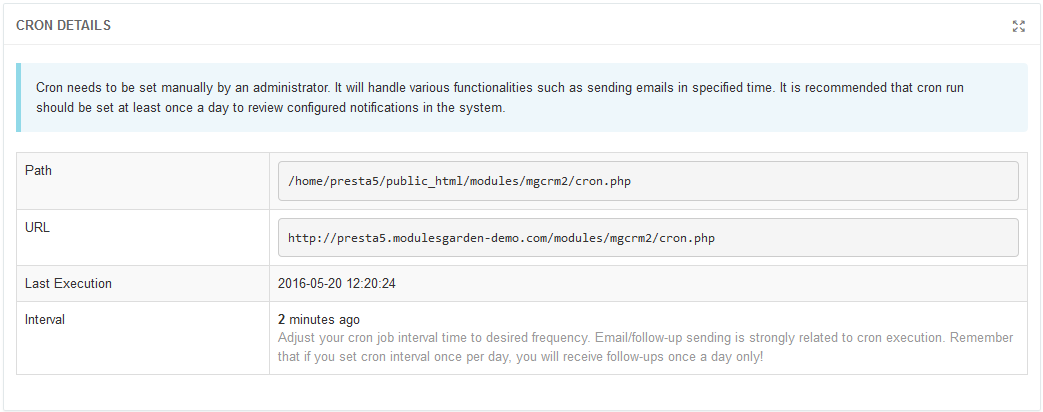
| 7. Now, you have to set up a cron job, which can be found in 'CRM' → 'Settings' → 'General' → 'System Overview'. We advise to set up the cron as frequently as possible to send email notifications, 5 minutes interval is recommended. |
|
| 8. You have just successfully installed CRM For PrestaShop! You can access your module in 'PrestaShop' → 'CRM'. |