Google Analytics For WHMCS
From ModulesGarden Wiki
(Difference between revisions)
|
|
| Line 239: |
Line 239: |
| | |} | | |} |
| | | | |
| | + | <!-- nie ma |
| | ==Client Area== | | ==Client Area== |
| | {| | | {| |
Revision as of 13:27, 8 July 2024
| Google Analytics For WHMCS will ena.............
|
| ✔ Create/Suspend/Unsuspend/Terminate Account
|
| ✔ Requires Google Cloud Partner Program / Reseller Account
|
| ✔ Authentication And API Calls Utilize OAuth 2.0
|
| ✔ Supports PHP 8.1 Back To PHP 7.4
|
| ✔ Supports WHMCS Themes "Six" And "Twenty-One"
|
| ✔ Supports WHMCS V8.10 Back To WHMCS V8.6
|
| ✔ Requires ionCube Loader V12 Or Later
|
Installation and Authentication
This tutorial will show you how to successfully install and authenticate Google Analytics For WHMCS.
We will guide you step by step through the whole installation and authentication process.
|
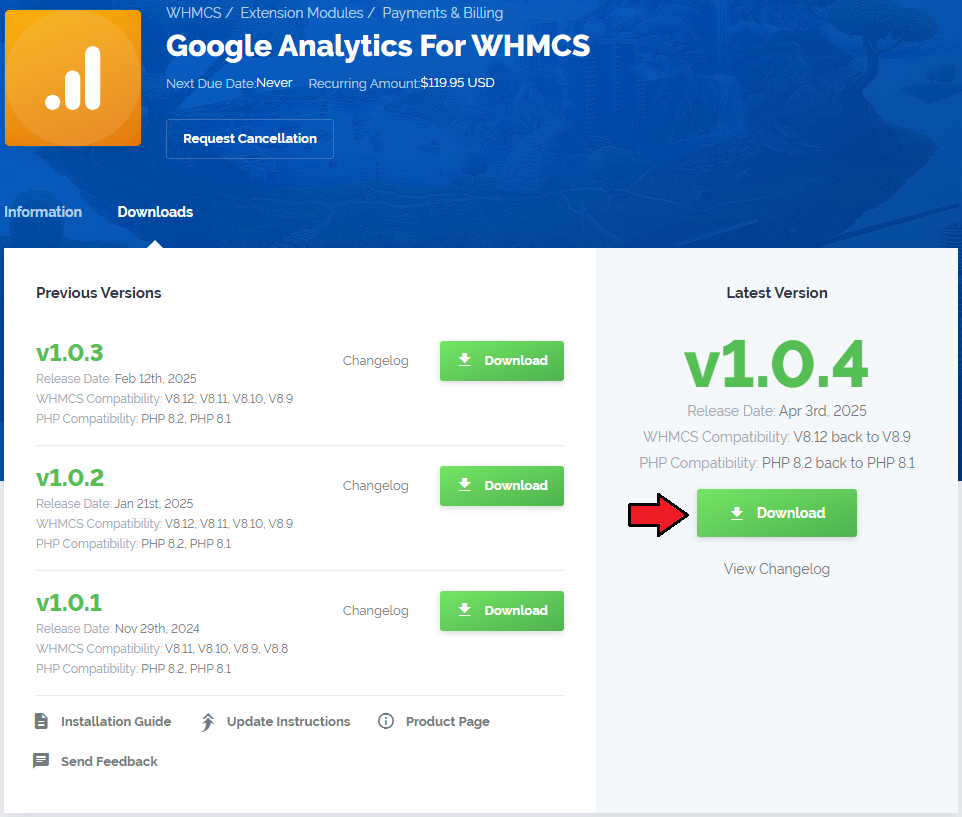
| 1. Log in to our client area and download the module.
|
2. In the downloaded file you might find one or two packages that support different PHP versions.
In the most recent versions of the module, you will find only one package that supports PHP 7.2 and later.
|
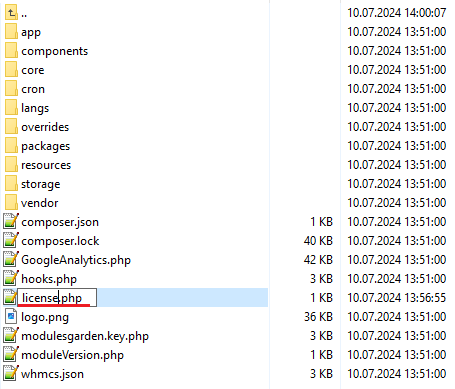
3. Extract the package and upload its content into the main WHMCS directory.
The content of the package to upload should look like this.
|
4. When you install Google Analytics For WHMCS for the first time, you have to rename the 'license_RENAME.php' file.
The file is located in 'modules/addons/googleanalytics/license_RENAME.php'. Rename it from 'license_RENAME.php' to 'license.php'.
|
5. In order to configure your license key you have to edit the previously renamed 'license.php' file.
Enter your license key between the quotation marks as presented on the following screen. You can find your license key in our client area → 'My Products'.
|
API Configuration
| 7. After you have logged in, create a new project.
|
8. To proceed, go to 'Google APIs' under the 'Overview' tab.
Find 'Google Apps Reseller API' among the applications.
|
| 9. Now, you have to enable 'Google Apps Reseller API' as shown on the following screen.
|
| 10. Next, search for the 'Admin SDK' the same way you did it in step 9.
|
| 11. Enable 'Admin SDK' API.
|
12. Finally, open the 'Explore and enable API' section, the API & Services page should open. Go to 'OAuth consent screen' under the 'Credentials' section.
Afterward, enter the mail address and application name that will be visible during your requests.
Here is a list of scopes required by the module to work properly:
- admin.directory.user
- apps.order
- apps.order.readonly
- userinfo.profile
Save changes through pressing the 'Save' button.
|
| 13. Then, switch to the 'Credentials' tab and add new credentials .
|
14. After you have done that, tick 'Web application'.
Next, enter your website URL into the 'Authorized JavaScript origins' field and correct path to 'oauth_callback.php' into the 'Authorized redirect URI' field.
Confirm changes by pressing 'Create'.
|
| 15. Well done! Now that you have filled in all the necessary details, you can proceed to authenticate Google Apps.
|
Configuration and Management
| Configuration and management of Google Workspace For WHMCS is very intuitive. Read the below sections to see how easy it is.
|
Basic Configuration
| Let us begin the process of module .....
|
Configurable Options
In order to automatically generate configurable options, simply press the button marked on the screen.
|
Admin Area
Let us check your new product on the product page in admin area. It should look like on the screen below.
|
