Zendesk For WHMCS
From ModulesGarden Wiki
(Difference between revisions)
|
|
| Line 95: |
Line 95: |
| | |} | | |} |
| | {| | | {| |
| − | |style="padding: 0px 0px 20px 15px;"|'''6. Copy and store '' 'Shared secred' '' in the safe place. We will need it in the next step.'''<br /> | + | |style="padding: 0px 0px 20px 15px;"|'''6. Copy and store '' 'Shared secret' '' in the safe place. We will need it in the next step.'''<br /> |
| | |} | | |} |
| | {| | | {| |
Revision as of 11:42, 19 February 2013
About Zendesk For WHMCS
Installation and Configuration
| Some sort of description/introduction
|
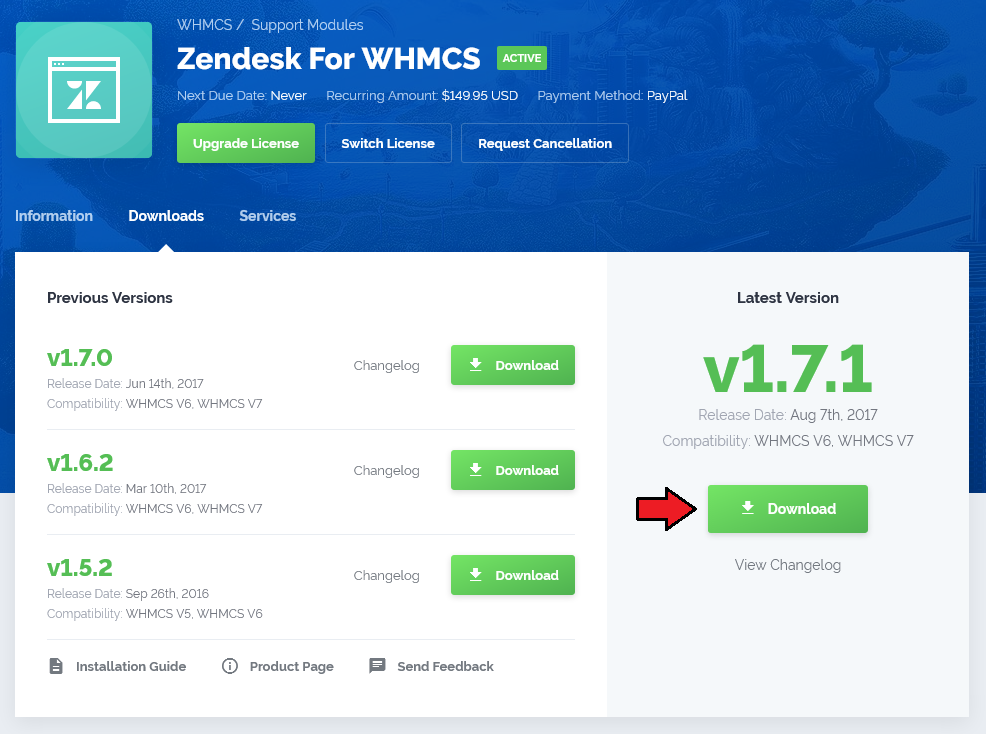
| 1. Login to your clientarea and download Zendesk For WHMCS.
|
| 2. Upload and extract the module into the main WHMCS directory.
|
| Files in your WHMCS directory should look like this.
|
3. Afterwards log in to your Zendesk admin area in order to enable API access.
Go to 'Manage' → 'API' which is located in the 'Channels' section and enable 'Token Access' . Remember to save the changes.
IMPORTANT: Copy and store your API token in safe place. You will need it in a moment to complete the installation of the module.
|
4. Now go to 'Manage' → 'Security' which is located in the 'Settings' section and enable 'Single-Sign On' .
Don't forget to press 'Save tab' at the bottom of the screen.
|
5. Scroll down to the bottom and press 'generate a new token' or use an existing one.
|
6. Copy and store 'Shared secret' in the safe place. We will need it in the next step.
|
Management
Tips
Common Problems
