Social Media Login For WHMCS
From ModulesGarden Wiki
(Difference between revisions)
|
|
| Line 199: |
Line 199: |
| | |} | | |} |
| | | | |
| − | ===General===
| |
| − | {|
| |
| − | |style="padding: 10px 0px 15px 15px;"|............
| |
| − | |}
| |
| − | {|
| |
| − | |style="padding: 0px 0px 20px 25px;"|[[File:SML_17.png]]
| |
| − | |}
| |
| − | {|
| |
| − | |style="padding: 0px 0px 20px 15px;"|.................
| |
| − | |}
| |
| − | {|
| |
| − | |style="padding: 0px 0px 20px 25px;"|[[File:SML_18.png]]
| |
| − | |}
| |
| | ===Integration Codes=== | | ===Integration Codes=== |
| | | | |
Revision as of 14:45, 21 July 2016
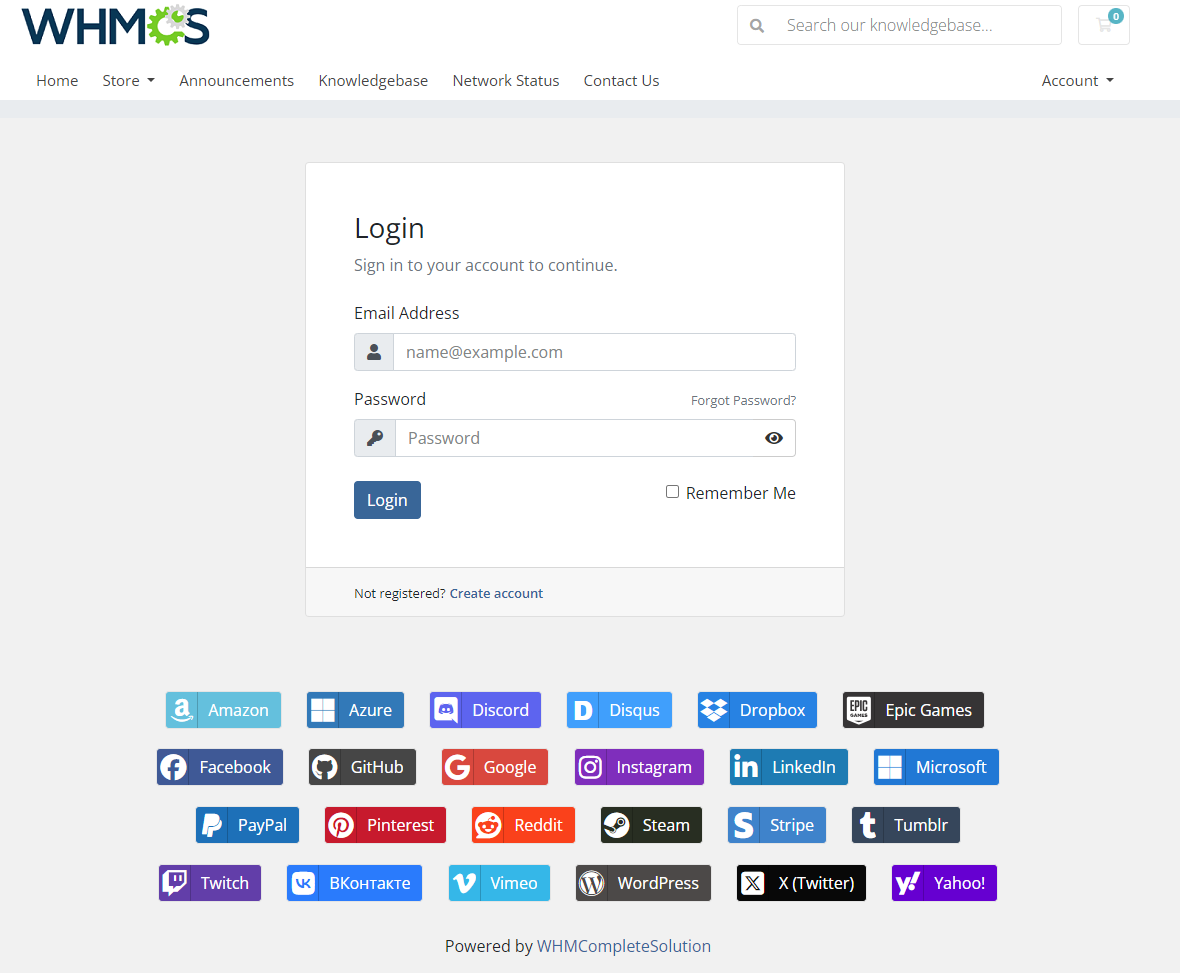
Social Media Login For WHMCS will help you facilitate the logging process of your clients to their client area.
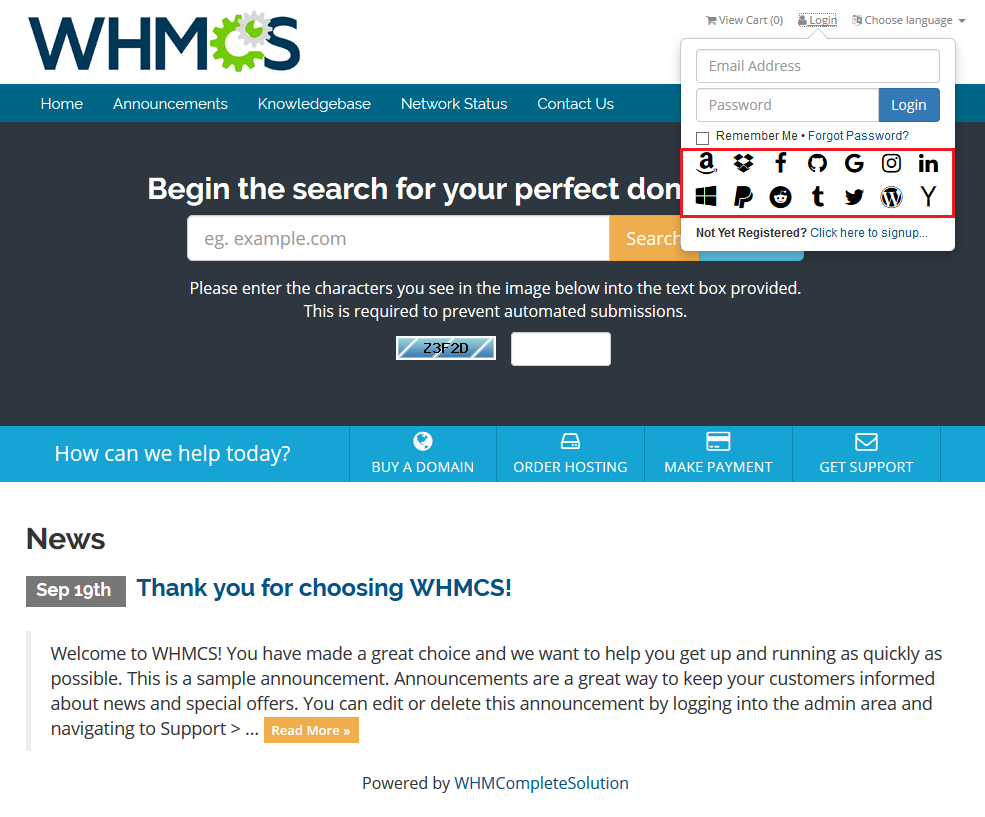
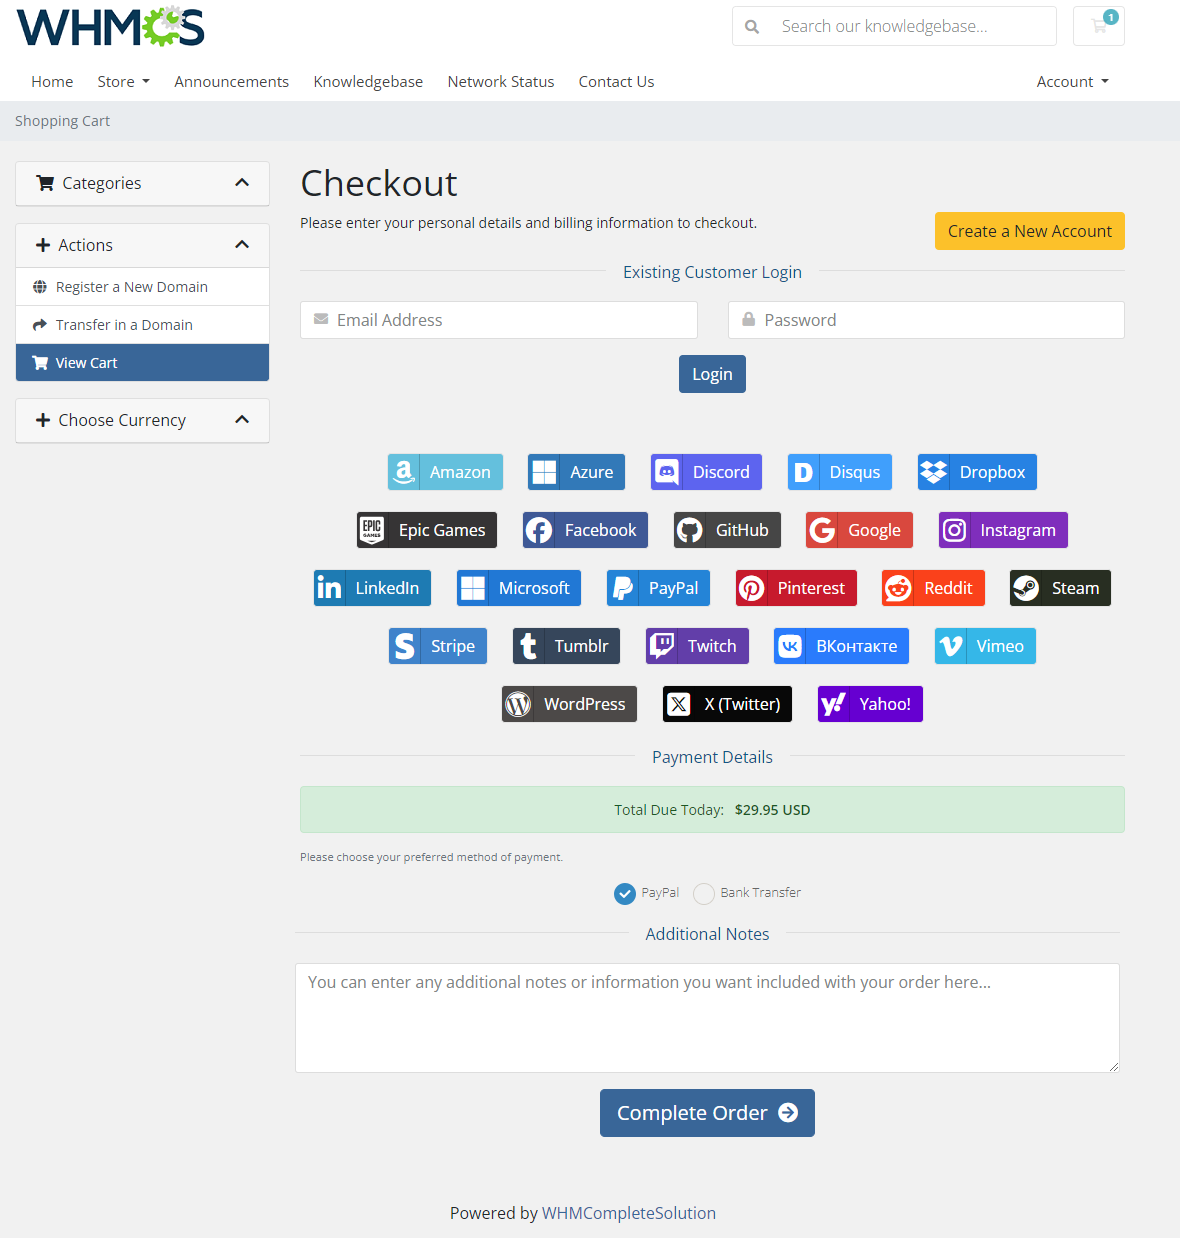
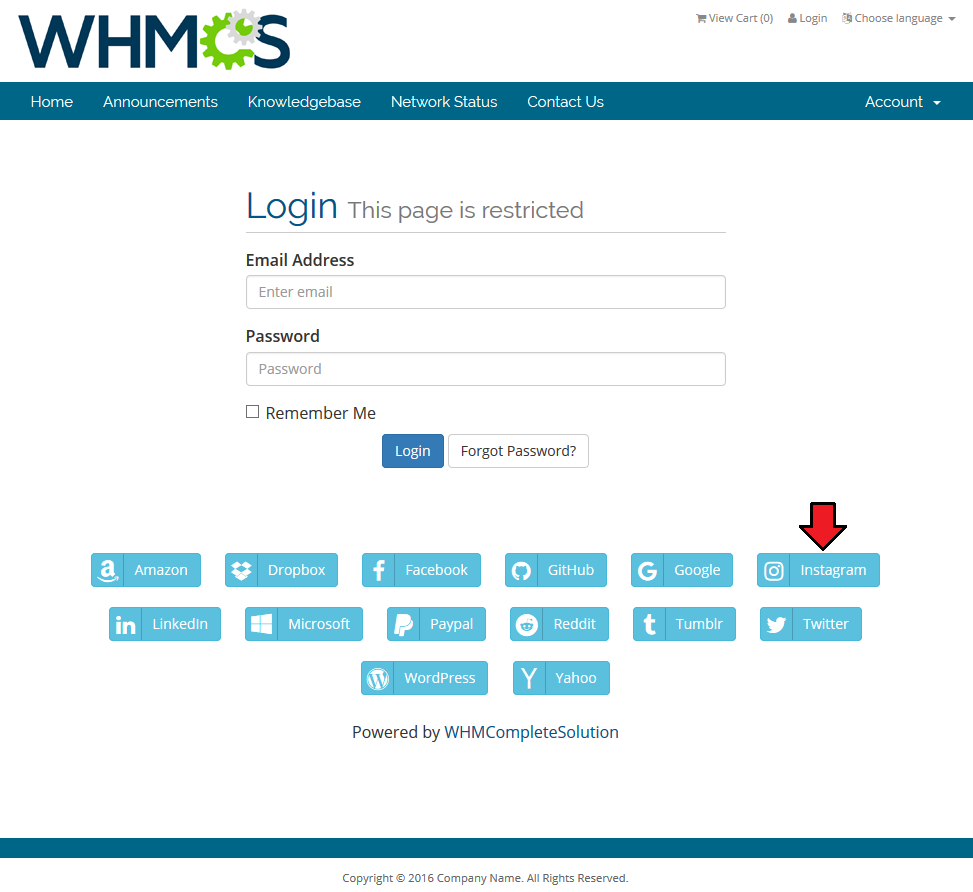
Enable any of our social media applications providers and let your clients register and then log in with just a single click on their preferable external application button.
|
| ✔ Configure And Enable 3rd Party Platform
|
| ✔ View Integration Instructions
|
| ✔ Register Using 3rd Party Platform - Fill In Details Automatically
|
| ✔ Log In Using 3rd Party Platform - Single Click Only
|
| ✔ Supports WHMCS Templates Five and Six
|
Installation
This tutorial will show you how to successfully install and configure Social Media Login For WHMCS.
We will guide you step by step through the whole installation and configuration process.
|
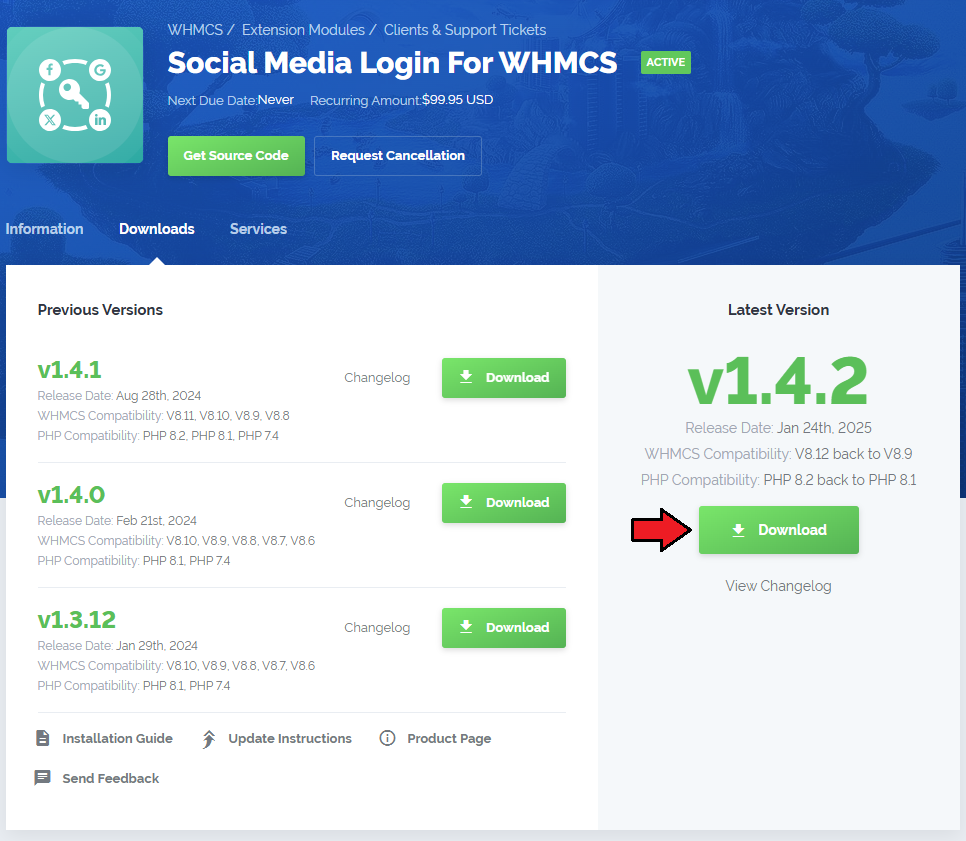
| 1. Log in to your client area and download Social Media Login For WHMCS.
|
2. Upload and extract the module into the main WHMCS directory.
Files in your WHMCS directory should look like on the following screen.
|
3. When you install Social Media Login for the first time you have to rename 'license_RENAME.php' file.
File is located in 'modules/addons/SocialMediaLogin/license_RENAME.php'. Rename it from 'license_RENAME.php' to 'license.php'.
|
4. In order to configure your license key, you have to edit the previously renamed 'license.php' file.
Enter your license key between quotation marks as presented on the following screen. You can find your license key in your client area → 'My Products'.
|
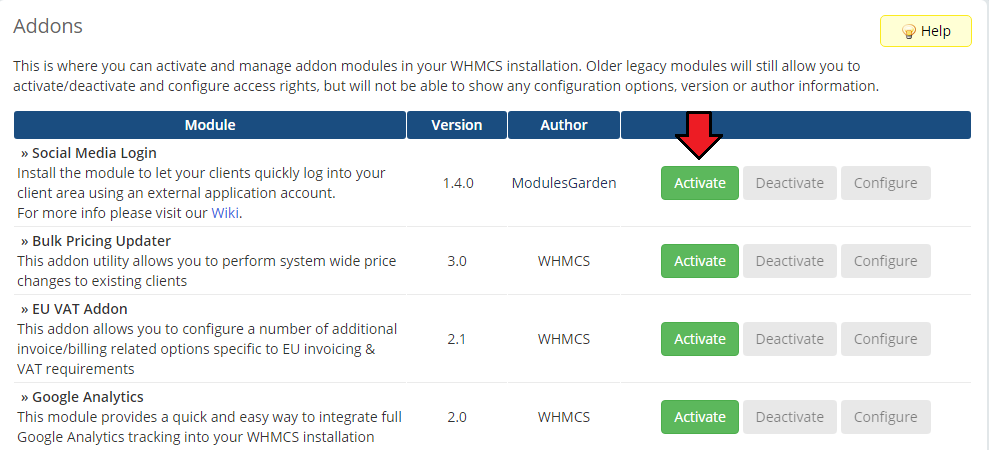
5. Now you have to activate the module in your WHMCS system.
Log in to your WHMCS admin area. Go to 'Setup' → 'Addon Modules'. Afterwards, find 'Social Media Login' and press 'Activate' button.
|
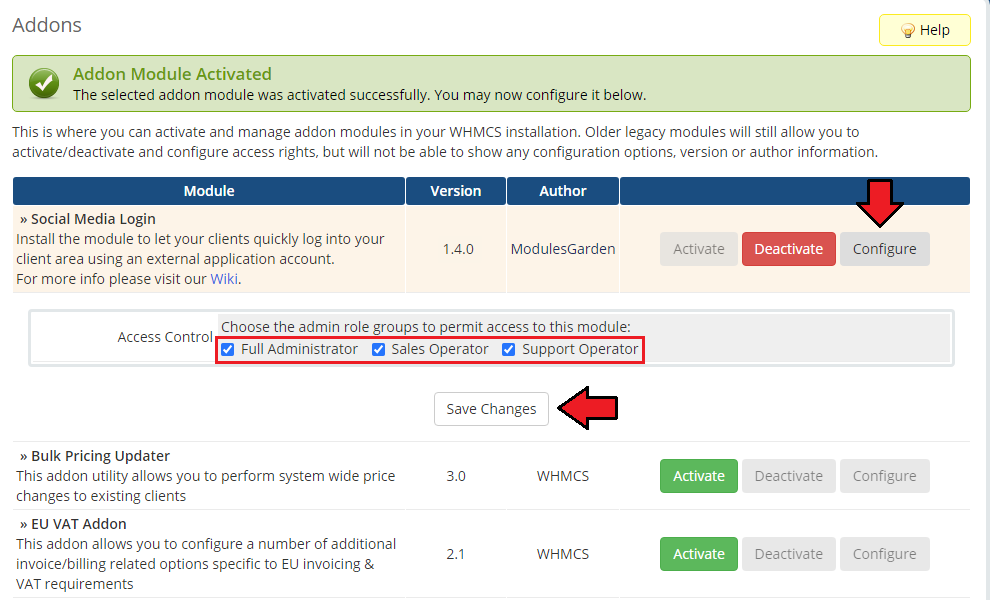
6. In the next step you need to permit access to this module.
To do so, click on 'Configure' button, tick 'Full Administrator' and press 'Save Changes'.
|
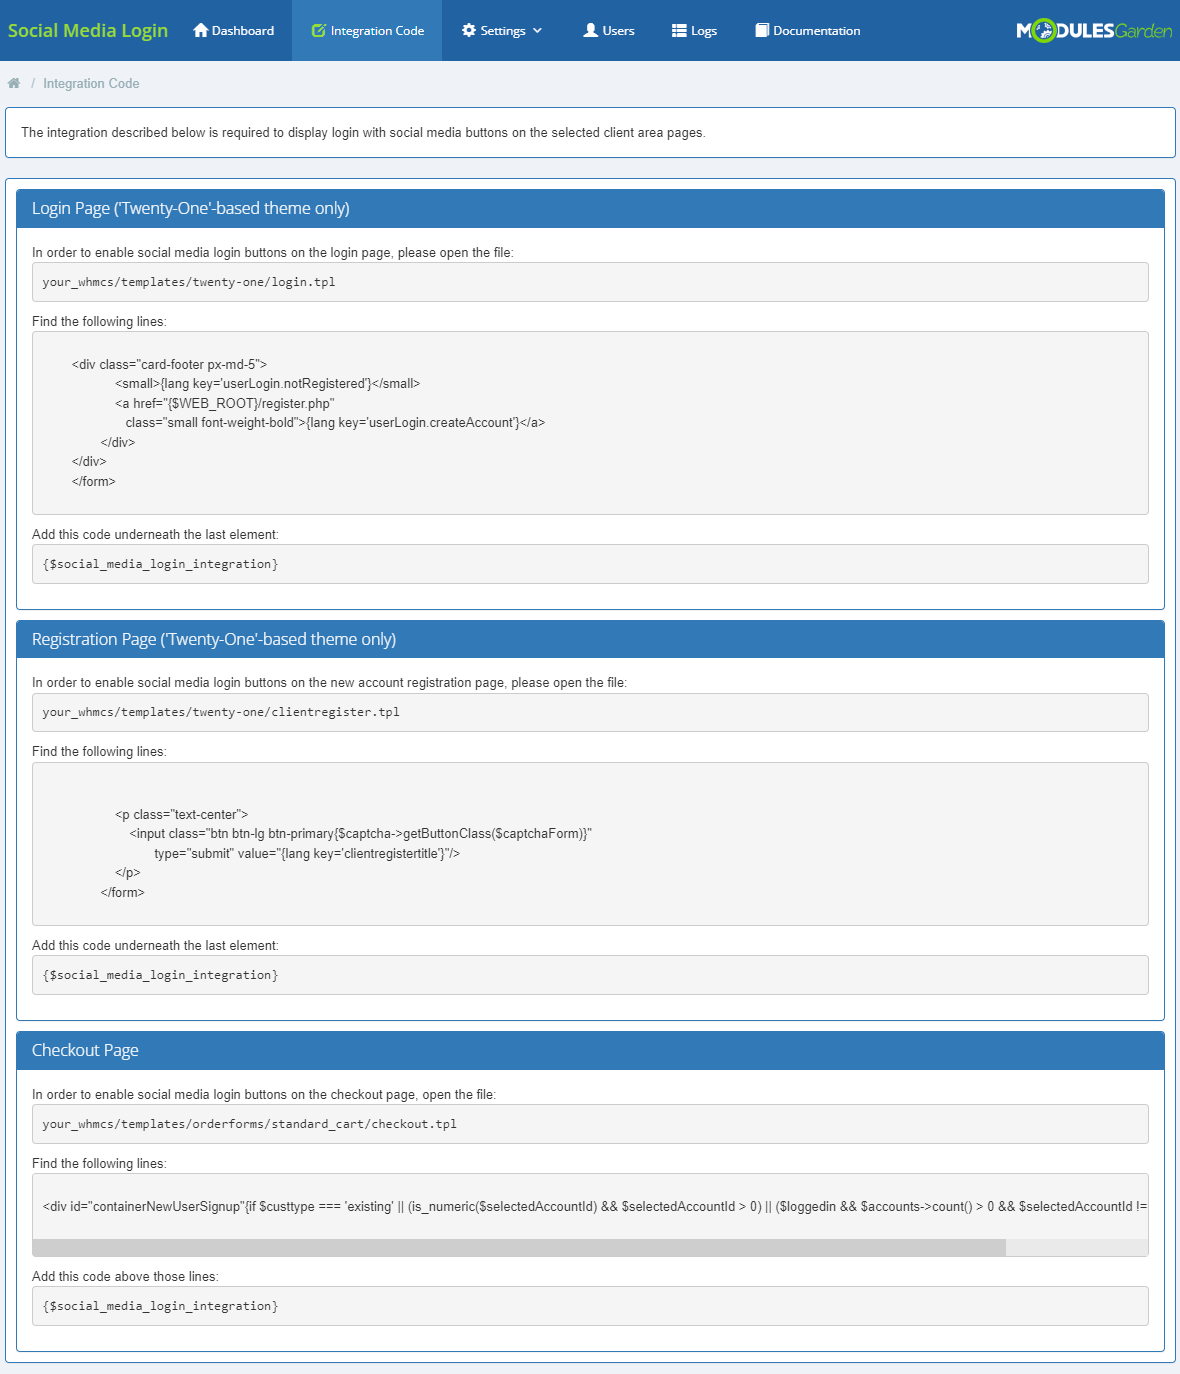
7. Now you need to correctly insert integration codes.
move to 'Addons' → 'Social Media Login' → 'Integration Codes', you will find there detailed instruction on how to perform the integration.
You can also read more here.
|
7. You have just successfully installed Social Media Login For WHMCS!
You can access your module under 'Addons' → 'Social Media Login'.
|
Configuration and Management
Social Media Login For WHMCS b.....................
Underneath, you will find a complete guide which will show you how to take a full advantage of the module.
|
Dashboard
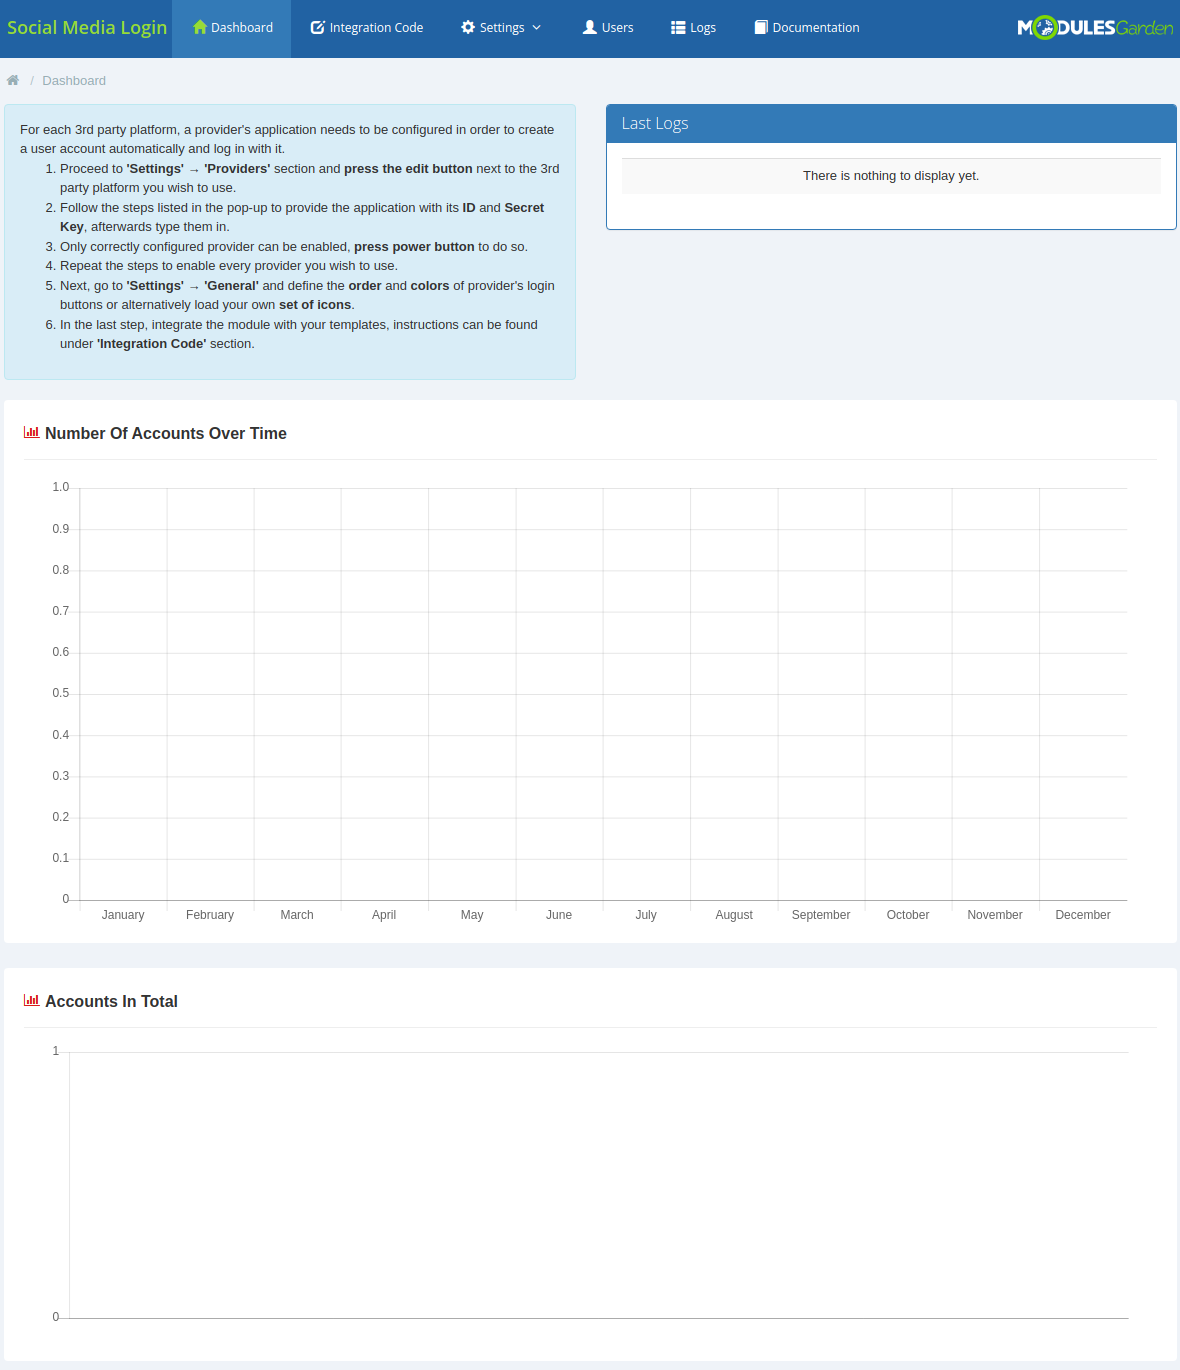
'Dashboard' of the addon includes only a short guide that is placed to help you quickly move through the configuration.
If you are already familiar with it, you may press 'Don't Show Again' button.
Then the 'Settings' page will be claimed as the home page and there you will be redirected when pressing home icon or addon name.
|
Providers
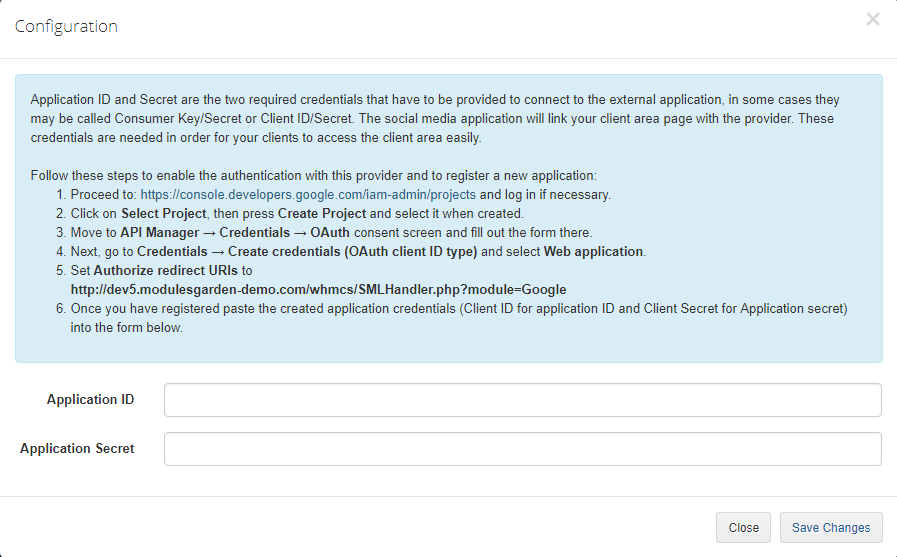
| The module is integrated with six external platforms. Follow the instruction placed in configyuratin part of each provider to successfully create a link between the provider and the application that will allow quick login.
|
Configuration
Exemplary Application
To show how to proceed with the authentication we will show the registration process of a new Facebook application.
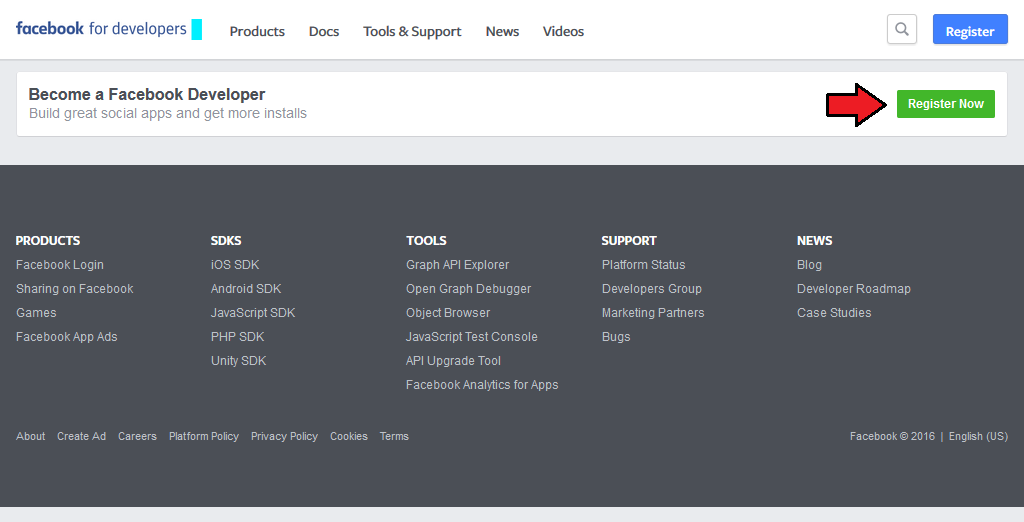
1. Proceed to: https://developers.facebook.com/apps and log in if necessary.
2. If you are not registered as a facebook developer, you will have to do it now.
Accept facebook platform policy and Facebook privacy policy then verify your account by providing your phone number or a credit card.
You can now add Facebook into your app or website.
|
When you are finally registered as a developer, You can now add Facebook into your app or website.
Press Basic setup to create an application.
|
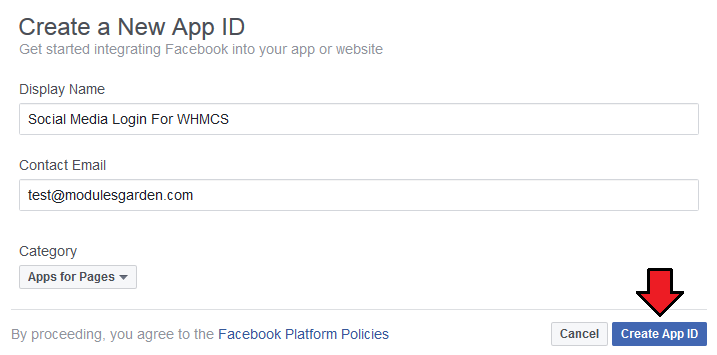
| Name your application and type in an email address for contact.Press Create App ID.
|
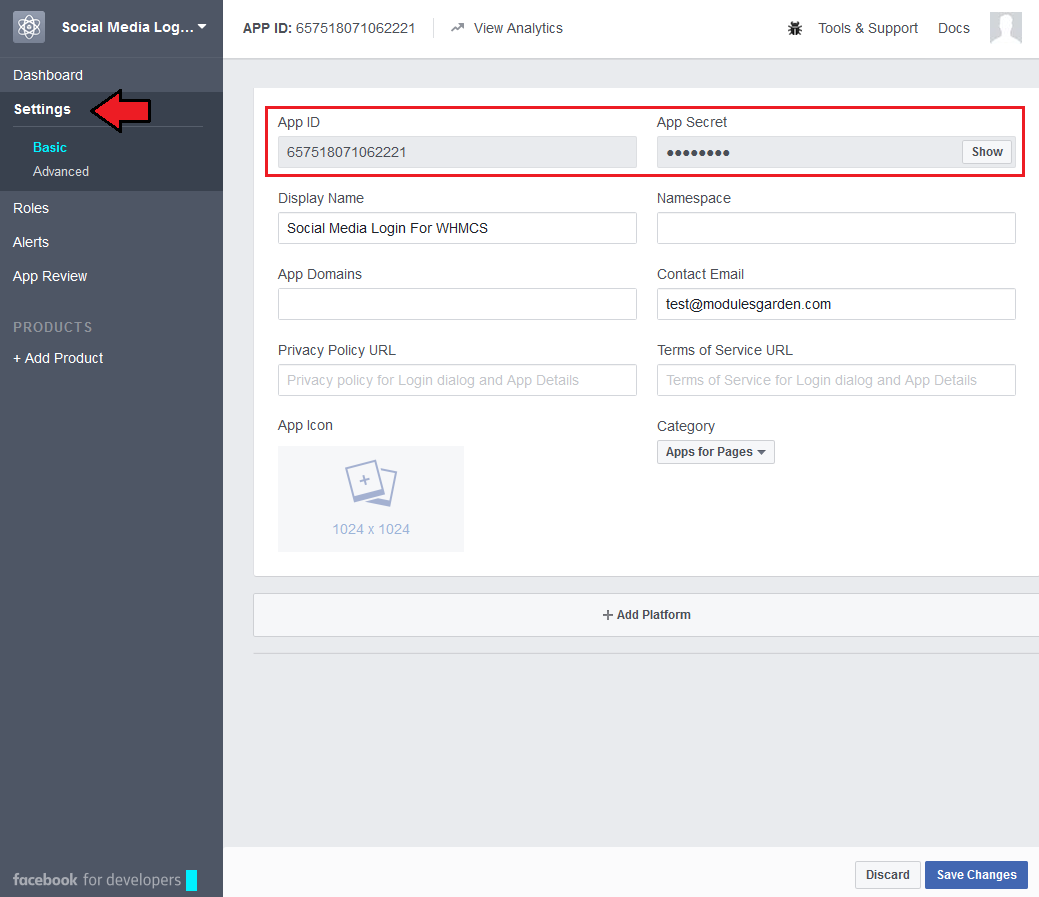
| Under Settings section you will find the details that you need the most. Copy Application ID and secret (press show to se it) and save for later use.
|
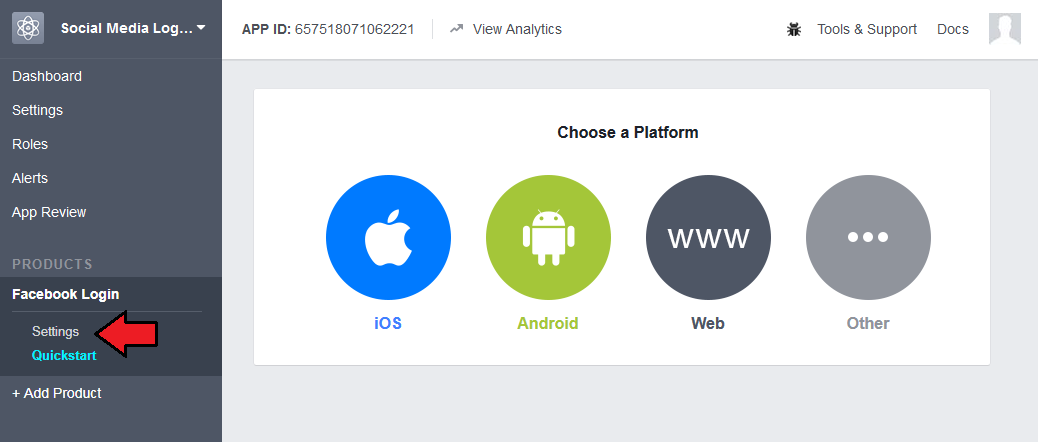
| Now, move to ' + Add Product' and find 'Facebook Login ' on the list.
|
Finally, provide a valid OAuth redirect URI. You will find it in the addon under the configuration instructions of the provider.
Save the changes and come back to the addon.
|
| Paste the generated application ID and secret into the appropriate fields and save the changes.
|
| Now you can enable the provider. That is all.
|
Integration Codes
Logs
Under 'Logs' tab you will find all log entries.
There are details on any successful or failed action in the module. Check it out any time you need to find some details on the actions taken.
Press 'Delete All Entries ' to clear all logs or delete single ones.
|
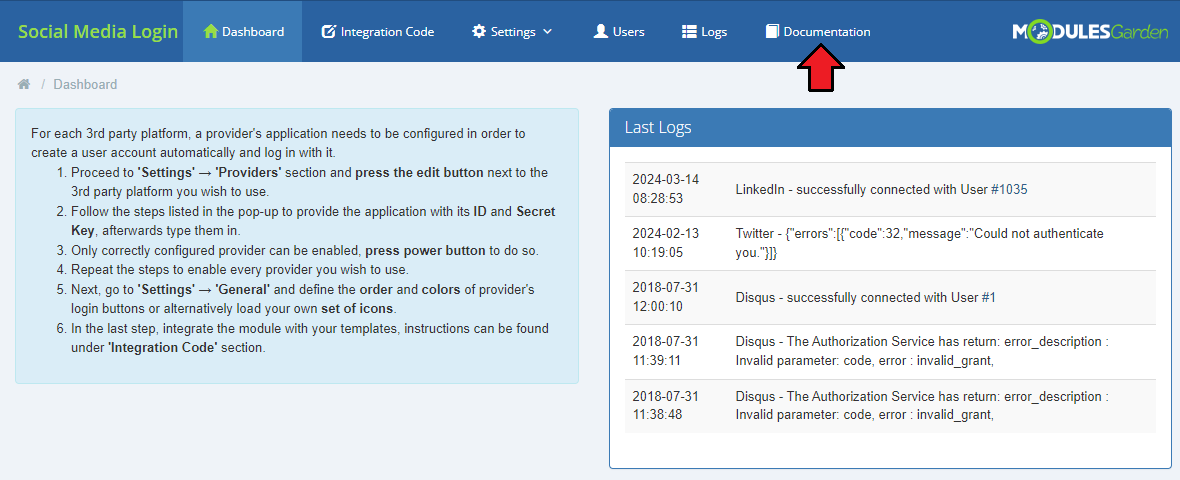
Documentation
| The last position in your navigation menu, when pressed, redirects to the article you are currently reading.
|
Client Area
123
456
Tips
Common Problems
| 1. When you have problems with connection, check whether your SELinux or firewall does not block ports.
|
