MetricsCube Connector For WHMCS
From ModulesGarden Wiki
(Difference between revisions)
|
|
| Line 122: |
Line 122: |
| | |} | | |} |
| | | | |
| | + | =Management= |
| | + | {| |
| | + | |style="padding: 10px 0px 30px 15px;"|'''In this section we will show you all functionalities of MetricsCube Connector For WHMCS.'''<br/> |
| | + | Our module allows |
| | + | |} |
| | ==Addon Synchronization With MetricsCube== | | ==Addon Synchronization With MetricsCube== |
| | {| | | {| |
| Line 148: |
Line 153: |
| | |} | | |} |
| | | | |
| − | =Management= | + | ===Another Point=== |
| − | {|
| + | |
| − | |style="padding: 10px 0px 30px 15px;"|'''In this section we will show you all functionalities of MetricsCube Connector For WHMCS.'''<br/>
| + | |
| − | Our module allows
| + | |
| − | |}
| + | |
| − | ==Admin Area - addon== | + | |
| | {| | | {| |
| | |style="padding: 10px 0px 15px 15px;"|As soon as | | |style="padding: 10px 0px 15px 15px;"|As soon as |
Revision as of 09:48, 18 October 2018
EasyDCIM Colocation For WHMCS is a free module that will allow you to provide and manage your EasyDCIM colocation services from the WHMCS area.
You will be enabled to, among others, determine the status of each colocation, and your clients - turn off and on their power outlets remotely.
At the same time you and your clients will both be empowered to display statistics on traffic and power usage as well as log in to the EasyDCIM panel with a single click.
|
| ✔ Supports PHP 5.6 Up To PHP 7.2
|
| ✔ Supports WHMCS Template Six
|
Installation and Configuration
This tutorial will show you how to successfully install and configure MetricsCube Connector For WHMCS.
We will guide you step by step through the whole installation and configuration process.
|
Installation
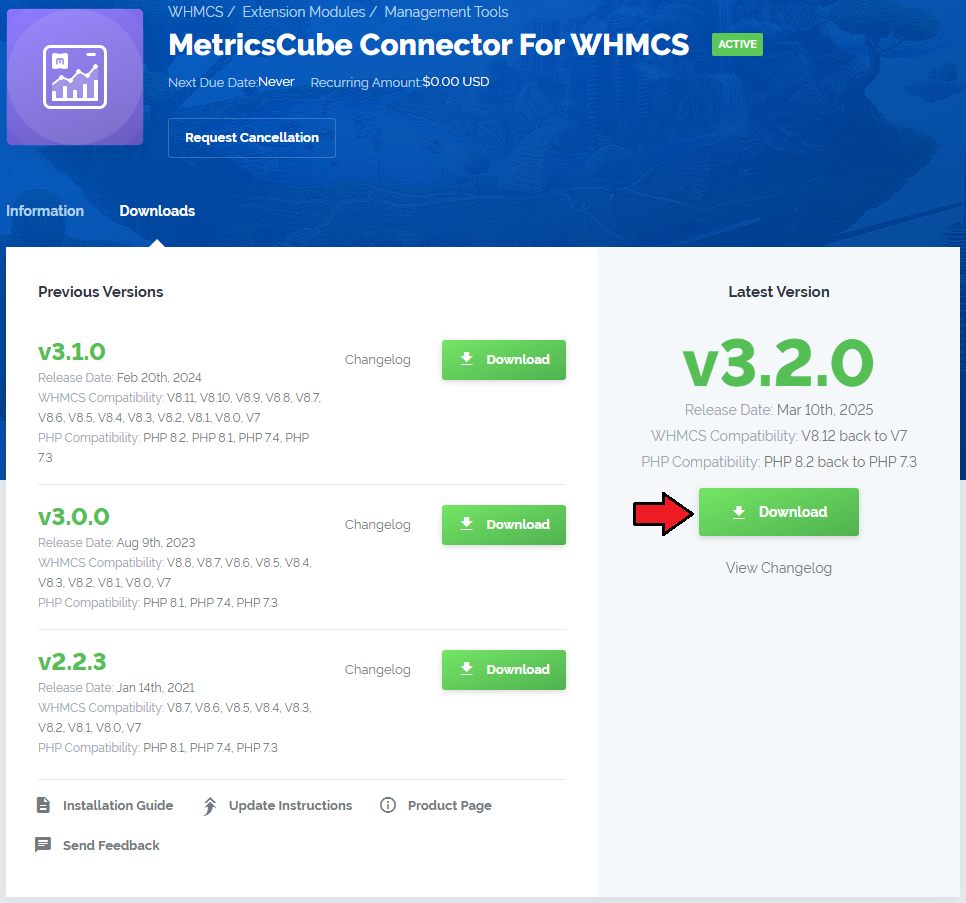
| 1. Log in to our client area and download the module.
|
2. Extract the downloaded file into the main WHMCS directory.
The content of the package should look like this.
|
Activate The Addon
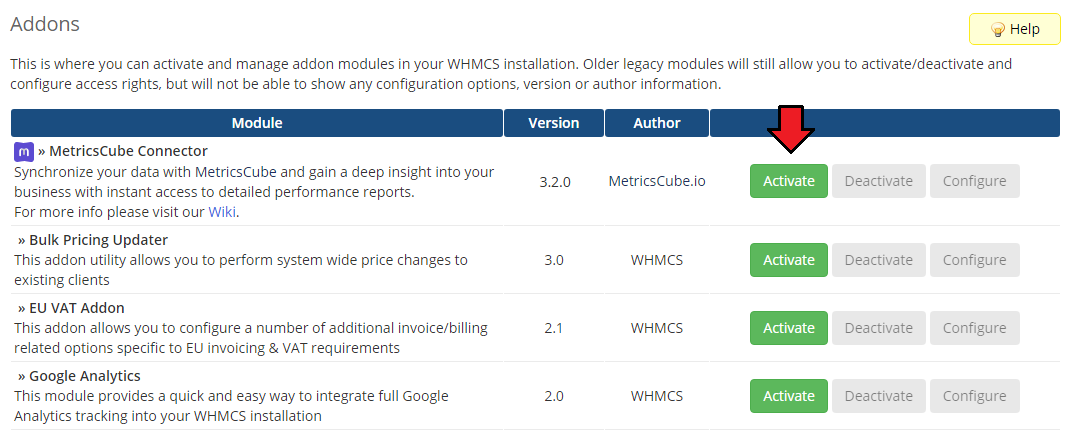
5. Now, you have to activate the module in your WHMCS system.
Log in to your WHMCS admin area and proceed to 'Setup' → 'Addon Modules'.
Afterwards, find 'SMS Center' and press the 'Activate' button.
|
6. In the next step you need to permit access to this module.
To do so, click on the 'Configure' button and select the admin roles which should have access to the module.
|
| 8. Congratulations, you have just successfully installed MetricsCube Connector For WHMCS!
|
Sign Up To MetricsCube
| 3. Now, move to metricscube.io and sign up with your account.
|
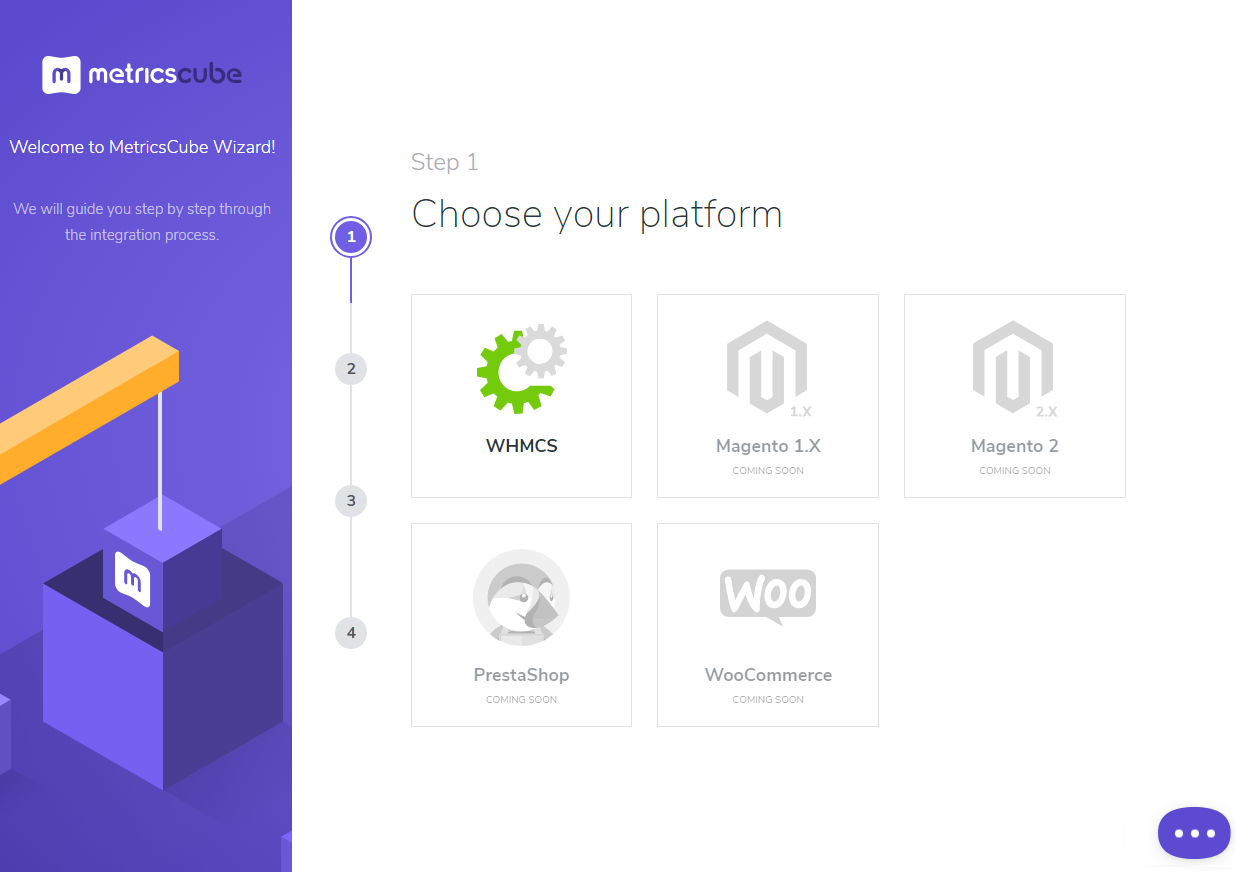
| 4. Use Wizzard to install
|
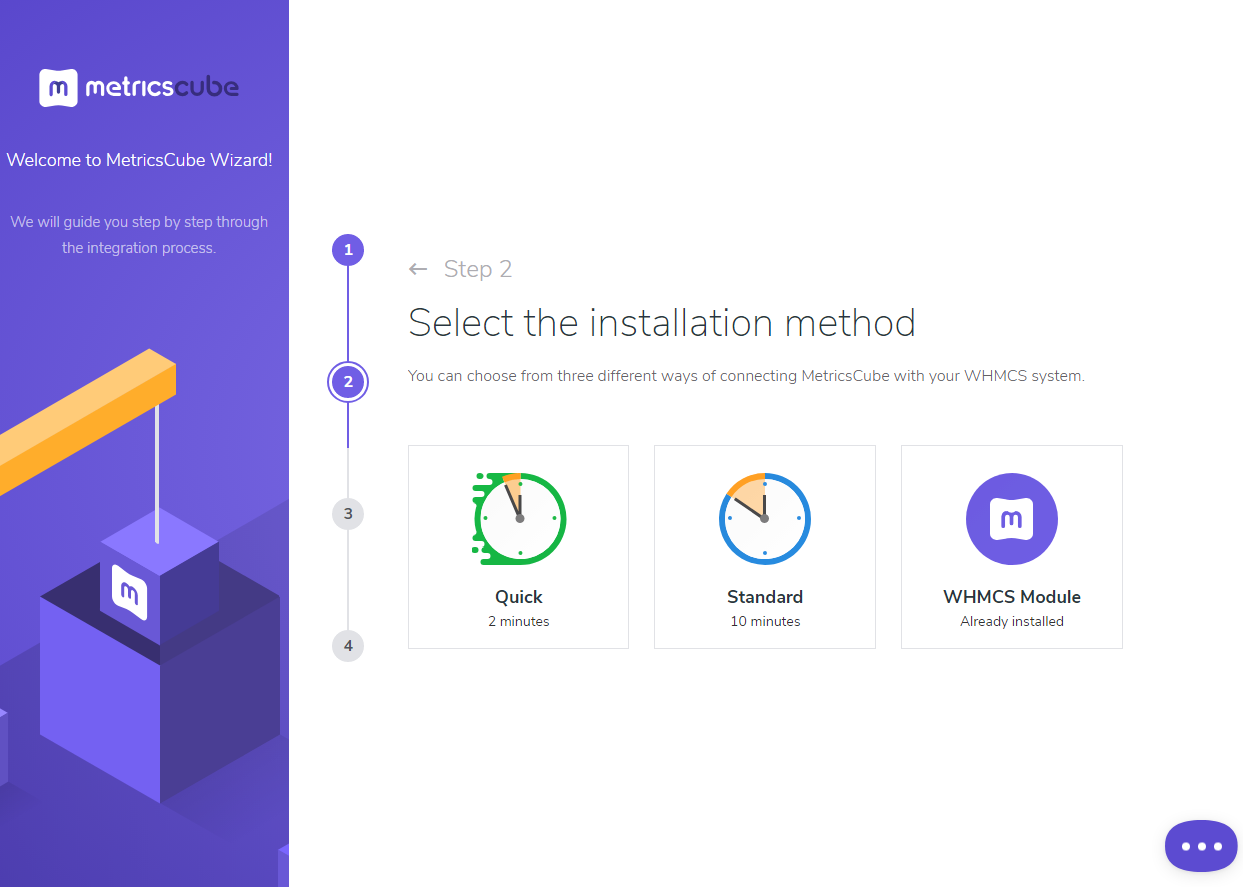
| 5. Select method of instalaltion - select point 3 - Connecting Already Installed Module
|
Management
In this section we will show you all functionalities of MetricsCube Connector For WHMCS.
Our module allows
|
Addon Synchronization With MetricsCube
| 3. Now, we will show you how to
|
| 5. The next step is creating
|
| 6. Enter the name, click on your
|
Another Point
Client Area
Tips
Update Instructions
| Essential guidance through the process of updating the module is offered here.
|
Common Problems
| 1. When you encounter problems with connection, check whether your SELinux or firewall does not block ports.
|
