Expense Tracker For WHMCS
From ModulesGarden Wiki
(Difference between revisions)
|
|
| Line 231: |
Line 231: |
| | |} | | |} |
| | {| | | {| |
| − | |style="padding: 0px 0px 20px 25px;"|[[File:PTM_21.png]] | + | |style="padding: 0px 0px 20px 25px;"|[[File:ET_21.png]] |
| | |} | | |} |
| | {| | | {| |
Revision as of 14:24, 13 March 2023
| Expense Tracker For WHMCS allows you to .....
|
| ✔ Supports PHP 7.3 Up To PHP 8.1
|
| ✔ Supports WHMCS Themes "Six" And "Twenty-One" And "Lagom WHMCS Client Theme"
|
| ✔ Supports WHMCS V8.3 And Later
|
| ✔ Requires ionCube Loader V12 Or Later
|
Installation
This tutorial will show you how to successfully install and configure Expense Tracker For WHMCS.
We will guide you step by step through the whole installation and configuration process.
|
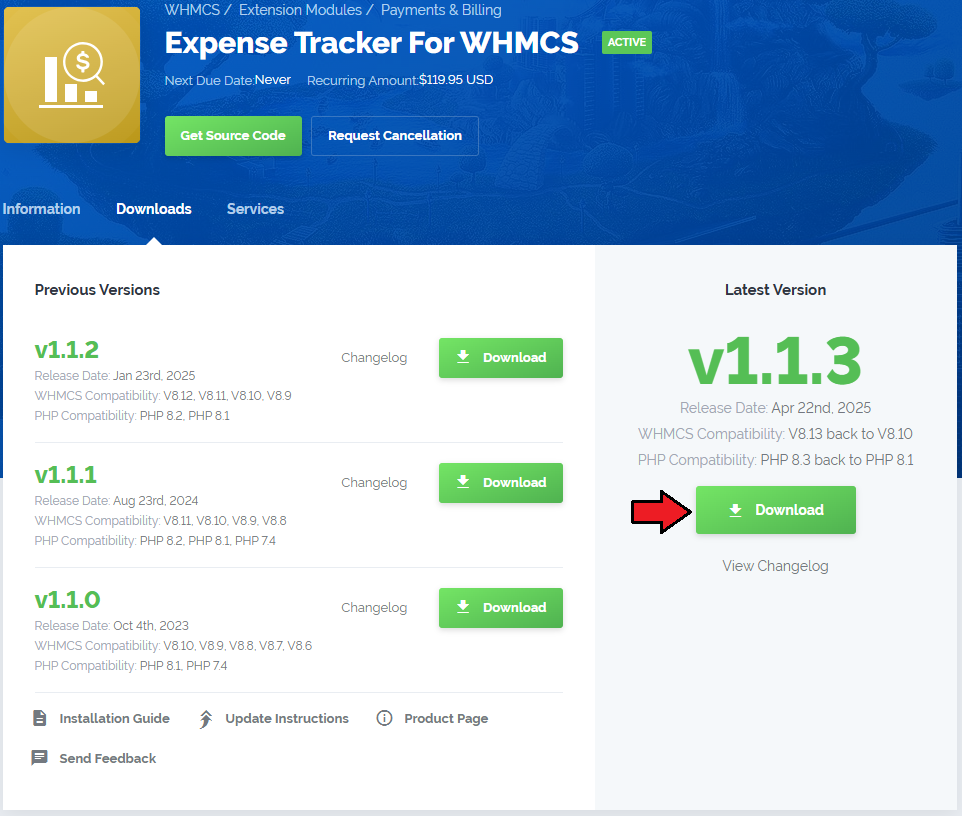
| 1. Log in to our client area and download the module.
|
| 2. Extract the package and upload its content into the main WHMCS directory.
The content of the package to upload should look like this.
|
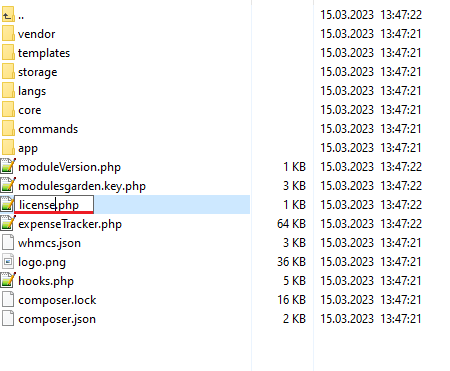
3. When installing Expense Tracker For WHMCS for the first time, you have to rename the 'license_RENAME.php' file.
The file is located in 'your_whmcs/modules/addons/ProductFreeTrialManager/license_RENAME.php'. Rename it from 'license_RENAME.php' to 'license.php'.
|
4. In order to configure your license key, you have to edit the previously renamed 'license.php' file.
Enter your license key between the quotation marks as presented on the following screen. You can find your license key in our client area → 'My Products'.
|
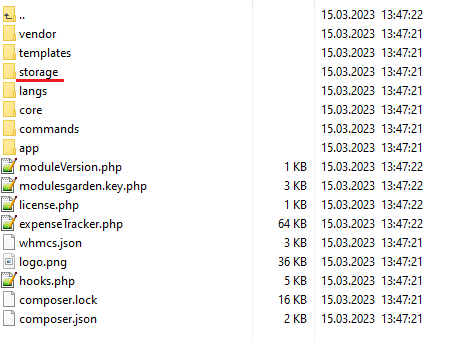
5. Now, set up the 'storage' folder as recursively writable.
This folder is available at 'your_whmcs/modules/addons/ExpenseTracker/'.
|
Configuration of Addon
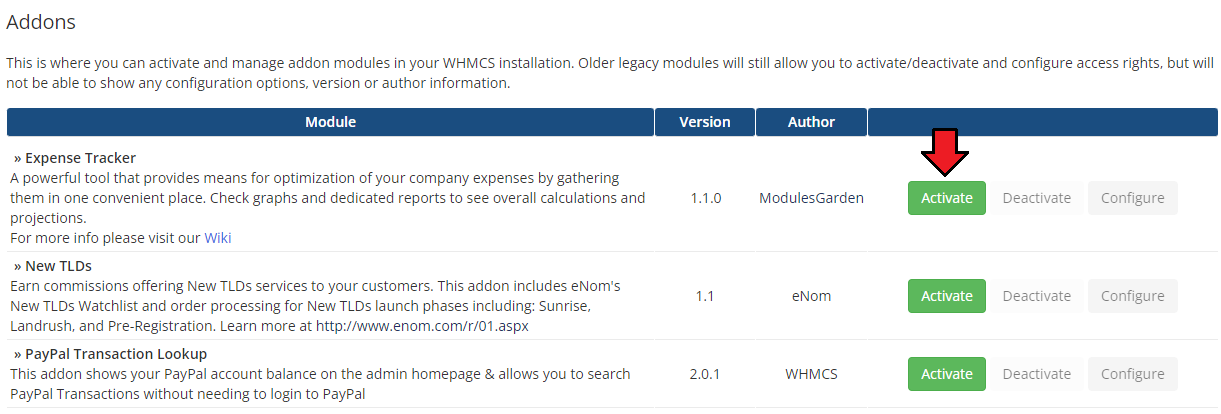
6. Now you have to activate the module in your WHMCS system.
Log in to your WHMCS admin area. Go to 'System Settings' → 'Addon Modules'. Afterwards, find 'Expense Tracker' and press the 'Activate' button.
|
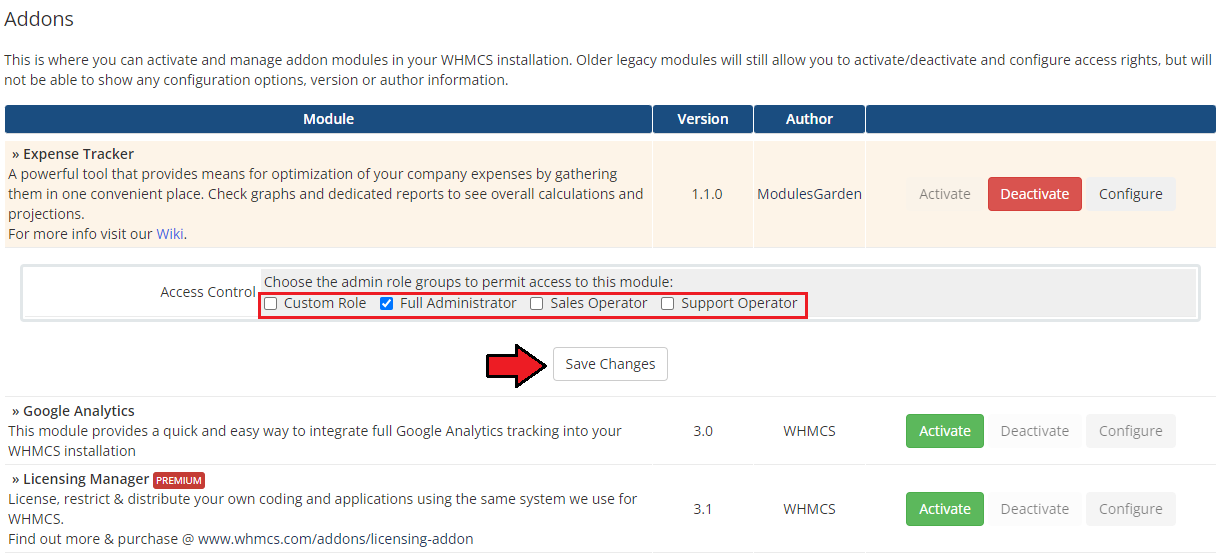
7. In the next step, you need to permit access to this module.
To do so, click on the 'Configure' button, tick 'Full Administrator' and press 'Save Changes'.
|
Management
In this section we will show you the possibilities of Expense Tracker For WHMCS.
Ou....
|
Addon Configuration
Expenses
| At the 'Expenses' tab you can set up the module's behavior. Configure
|
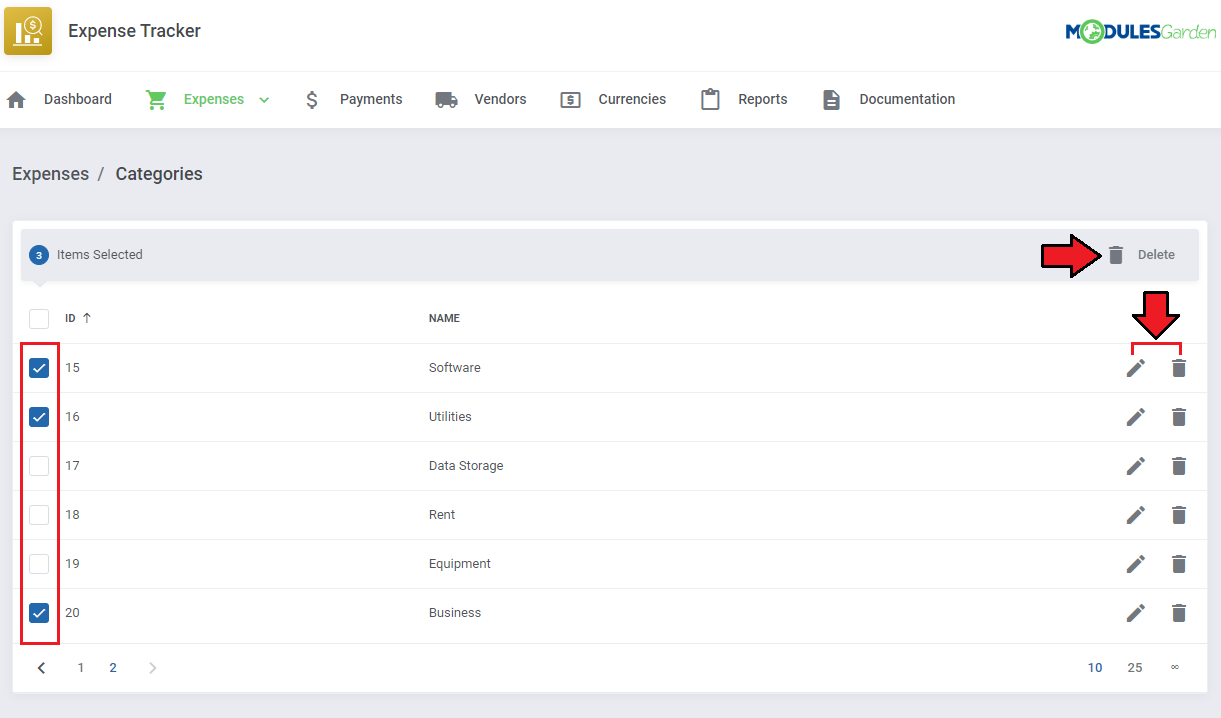
Categories
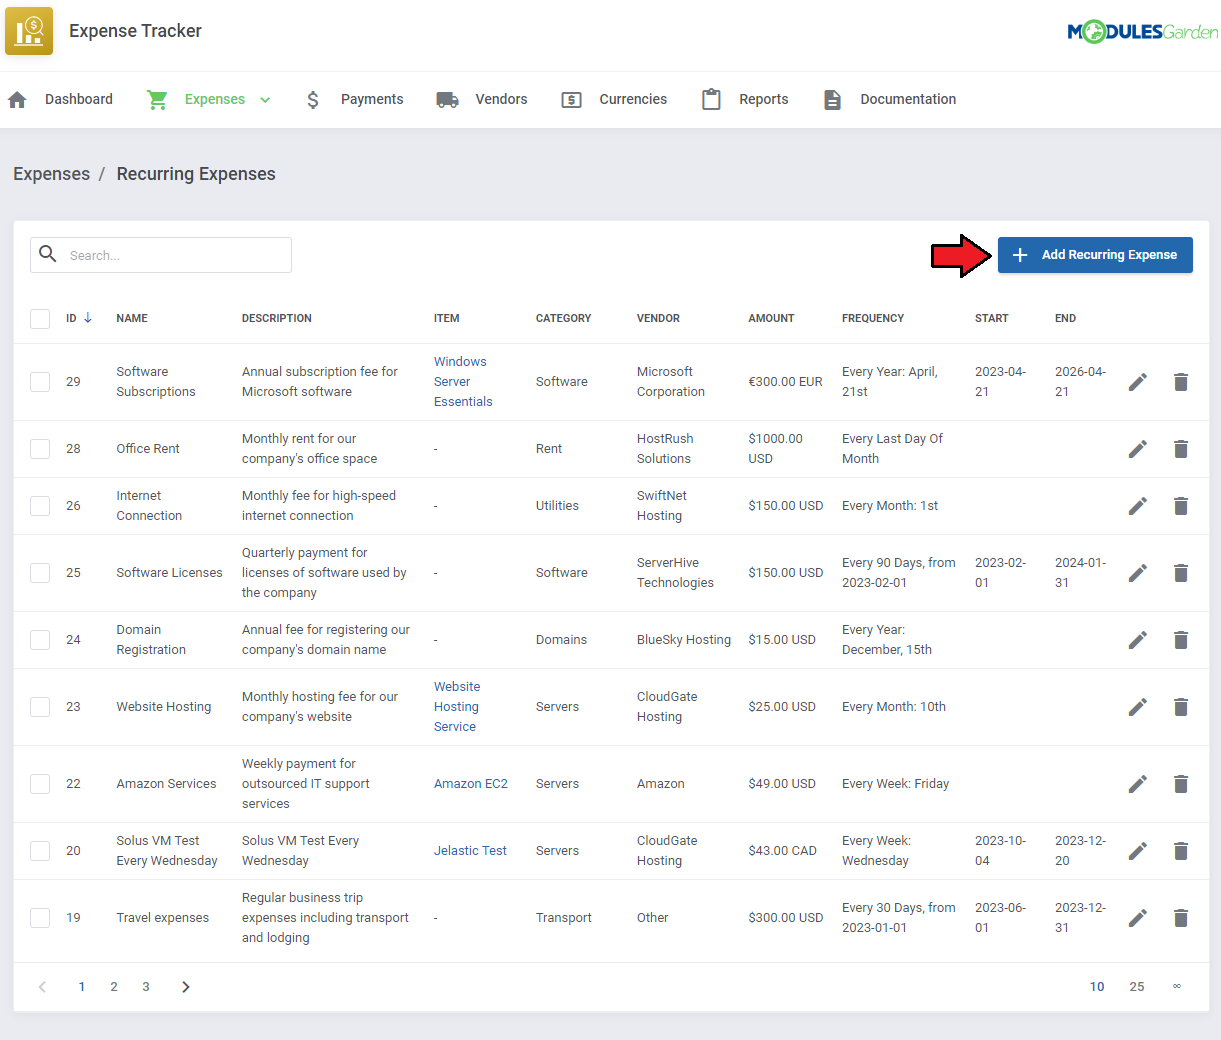
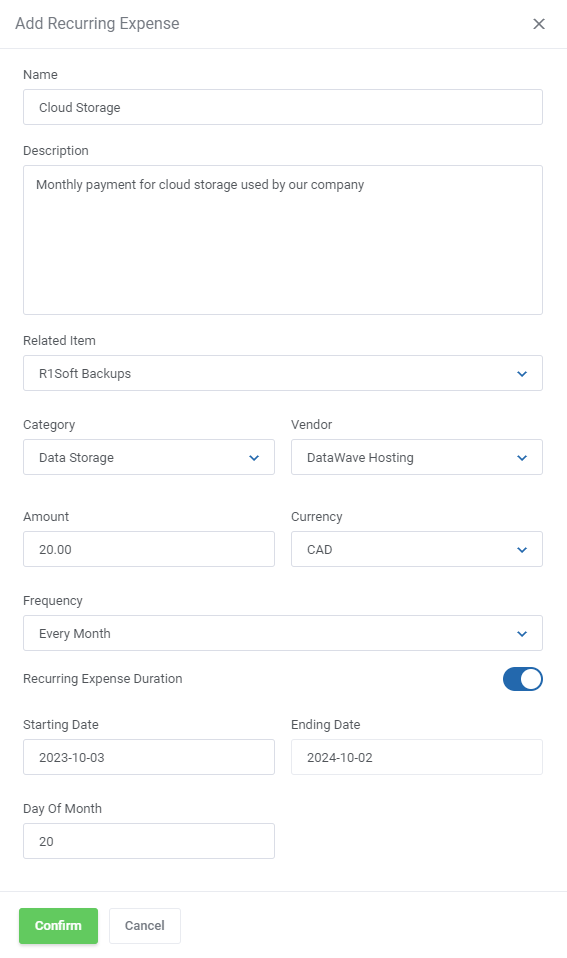
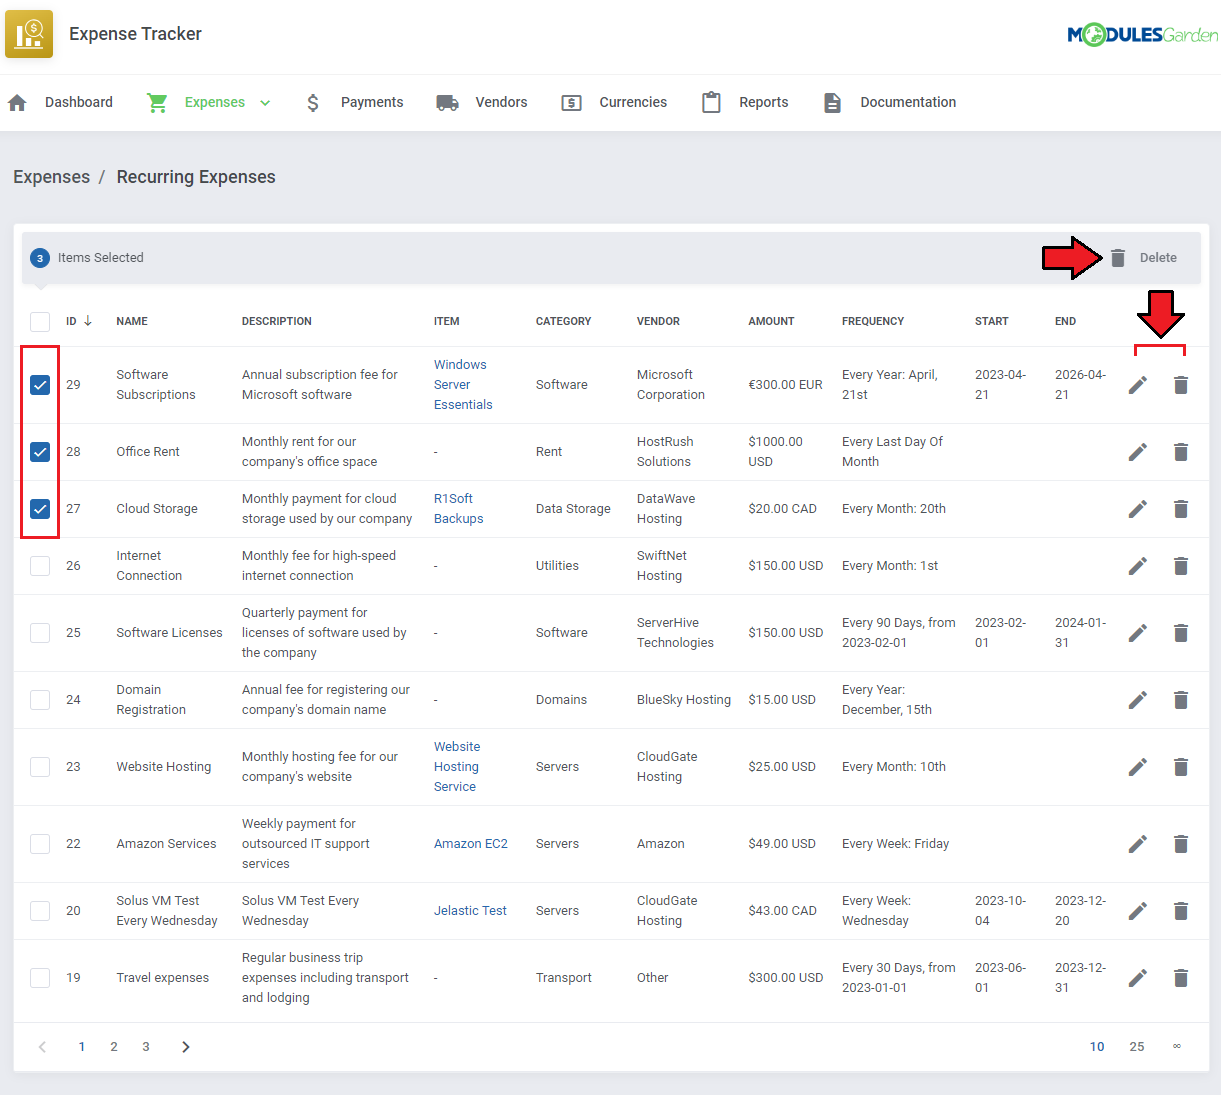
Recurring Expenses
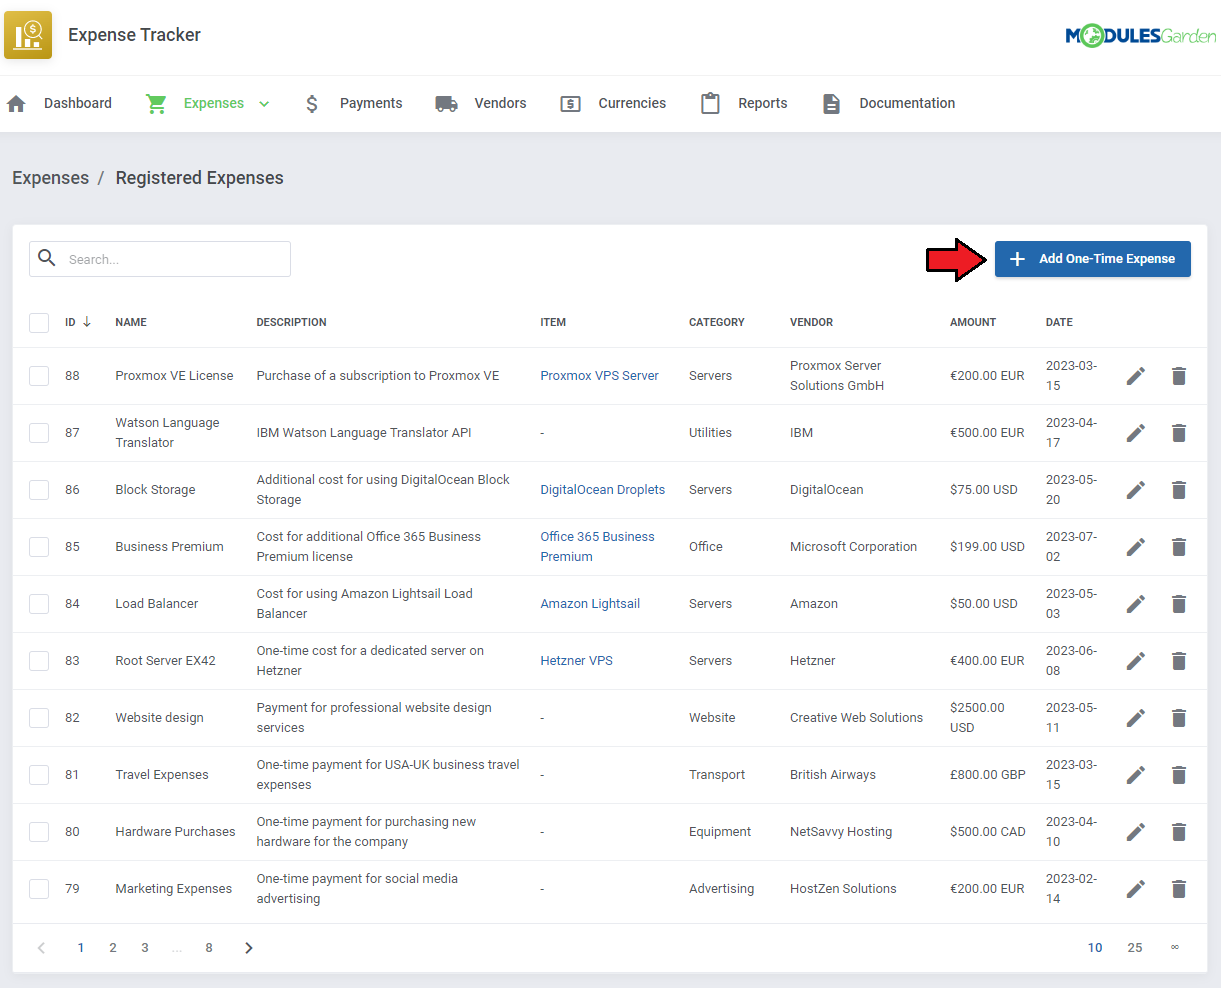
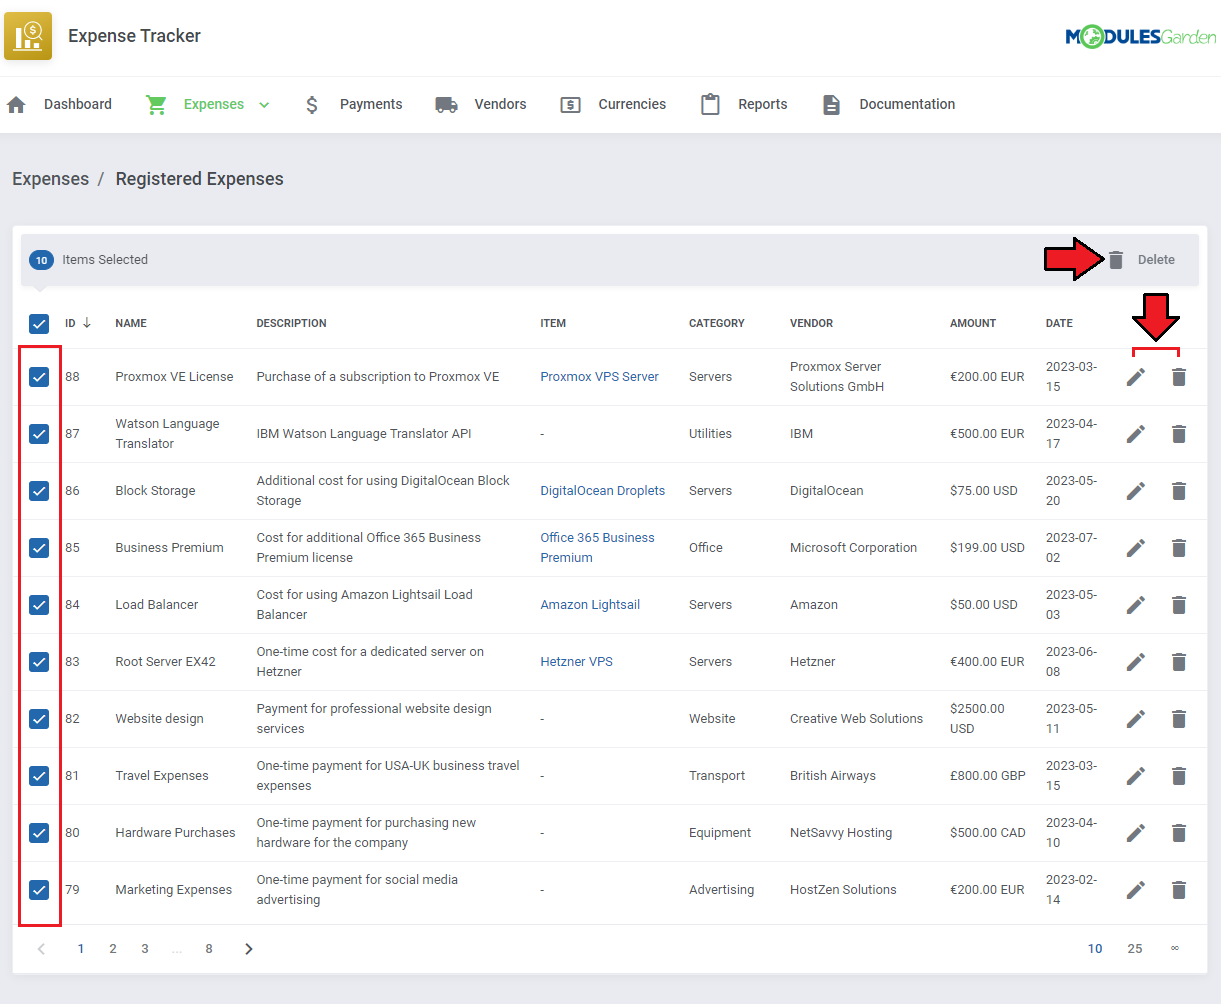
All Expenses
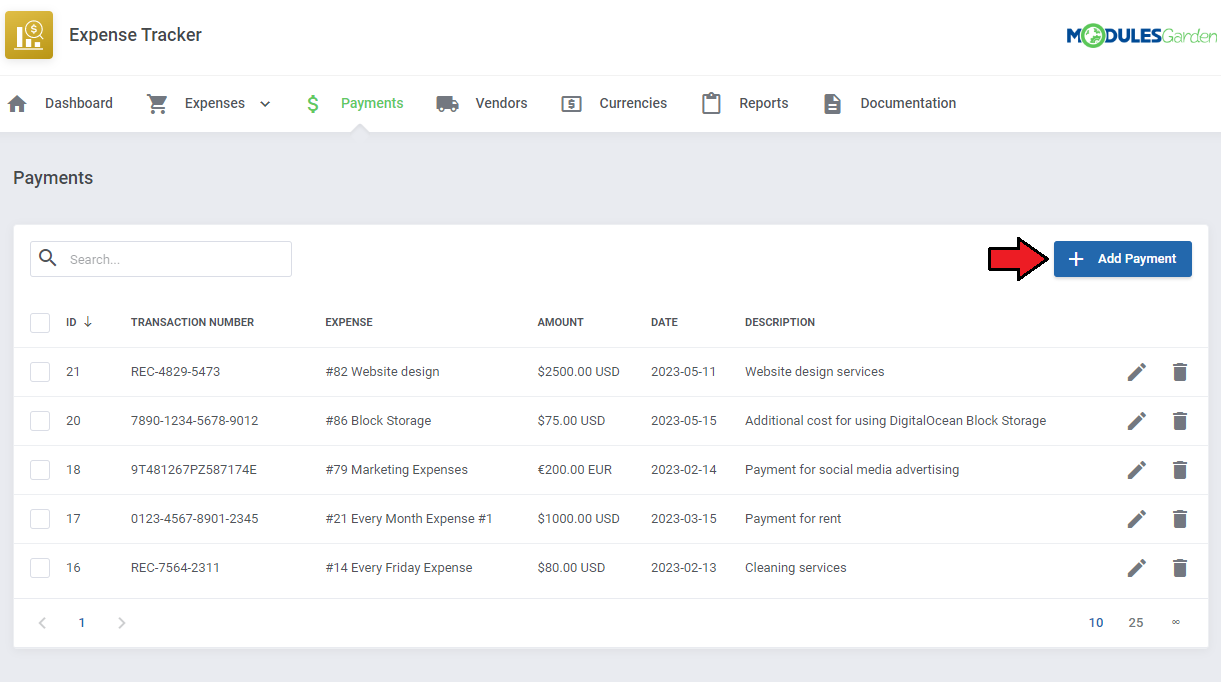
Payments
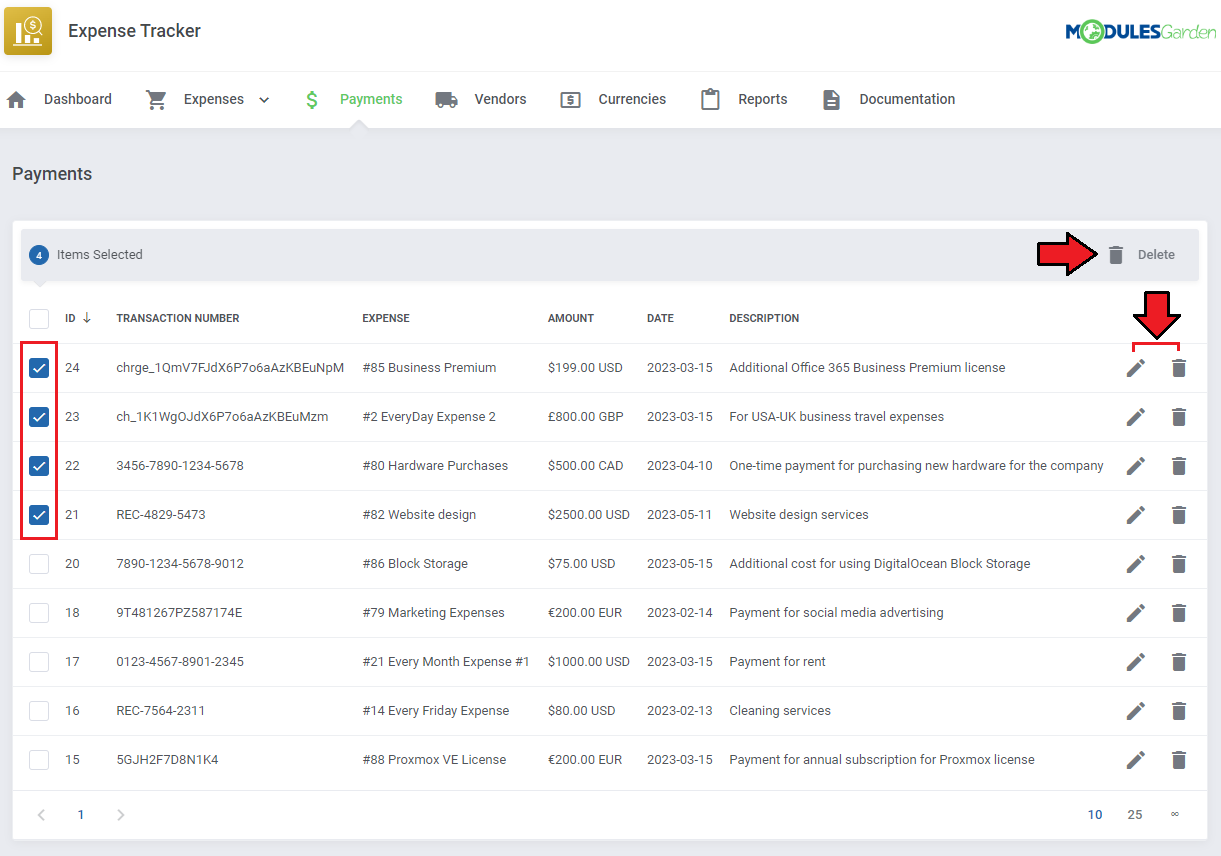
| In the 'Payments' section, you will
|
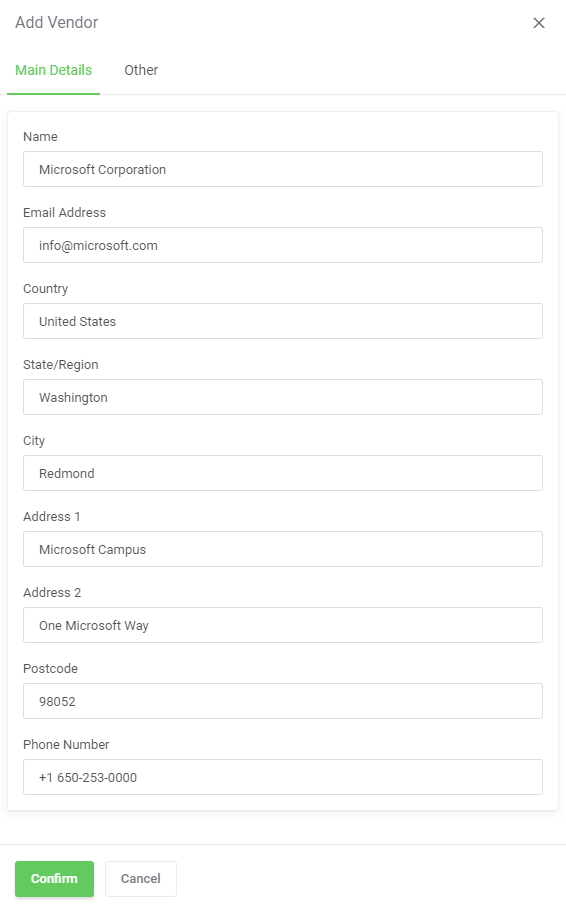
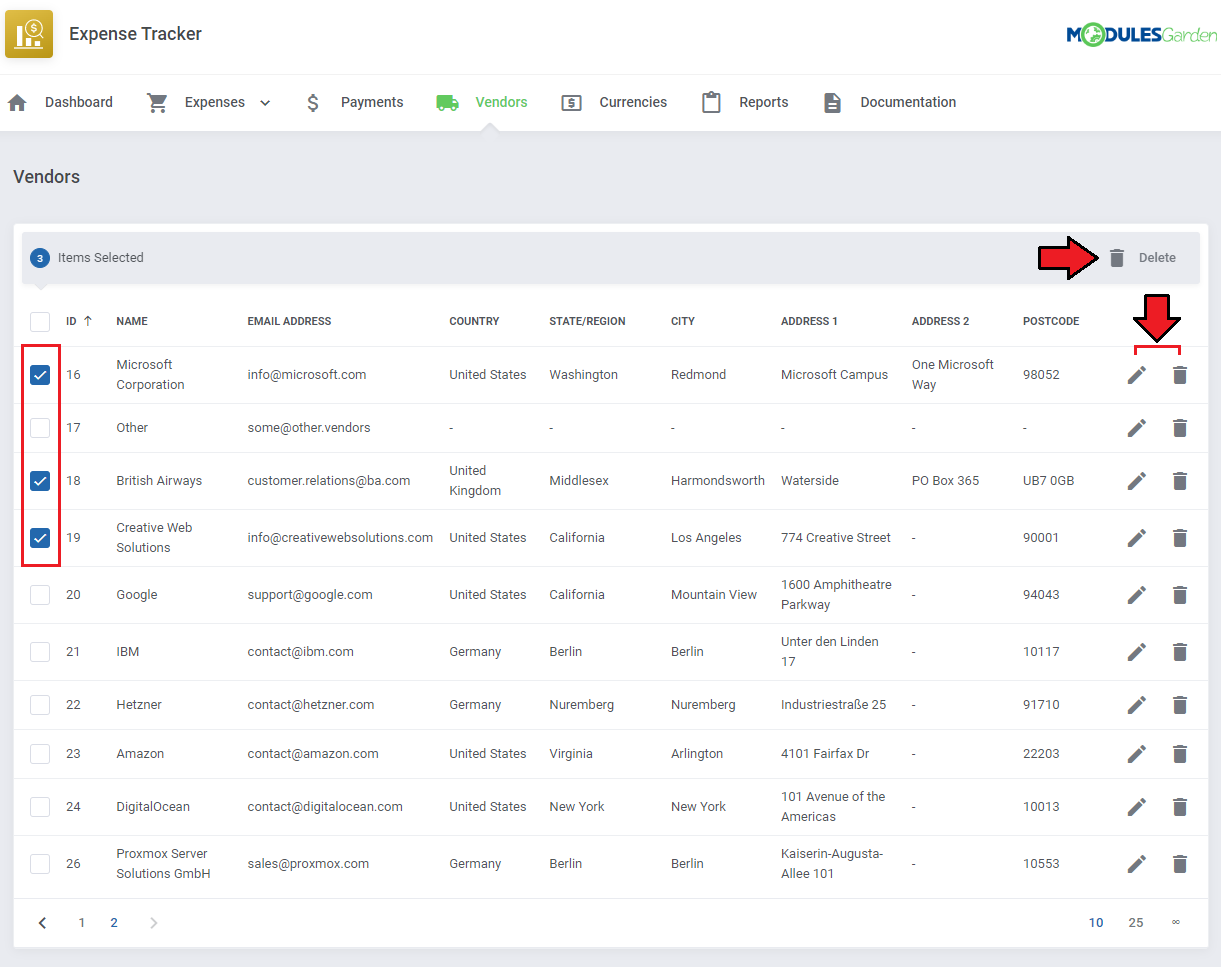
Vendors
Currencies
Reports
Dashboard
Tips
| 1. Free trials currently can be applied to products and services, the module does not work with addons or domains.
|
Common Problems
| 1. When you have problems with connection, check whether your SELinux or firewall does not block ports.
|
2. We do not recommend using the Product Free Trial Manager For WHMCS with the following modules:
- Payment Gateway Charges For WHMCS
- Recurring Contract Billing For WHMCS
- Resellers Center For WHMCS
- Multibrand For WHMCS
Integration between these modules is hampered due to specific features of each one of them and their individual work flow.
We are continually working on eliminating these limitations wherever possible.
|
