Social Media Login For WHMCS
Contents |
About Social Media Login For WHMCS
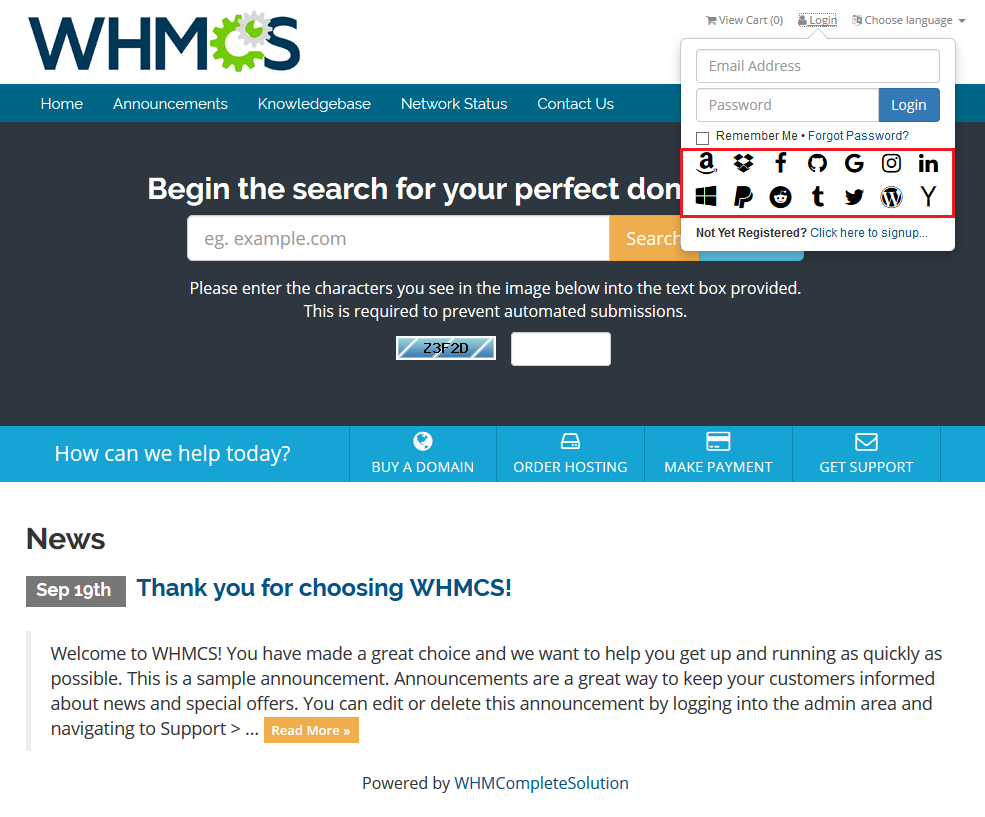
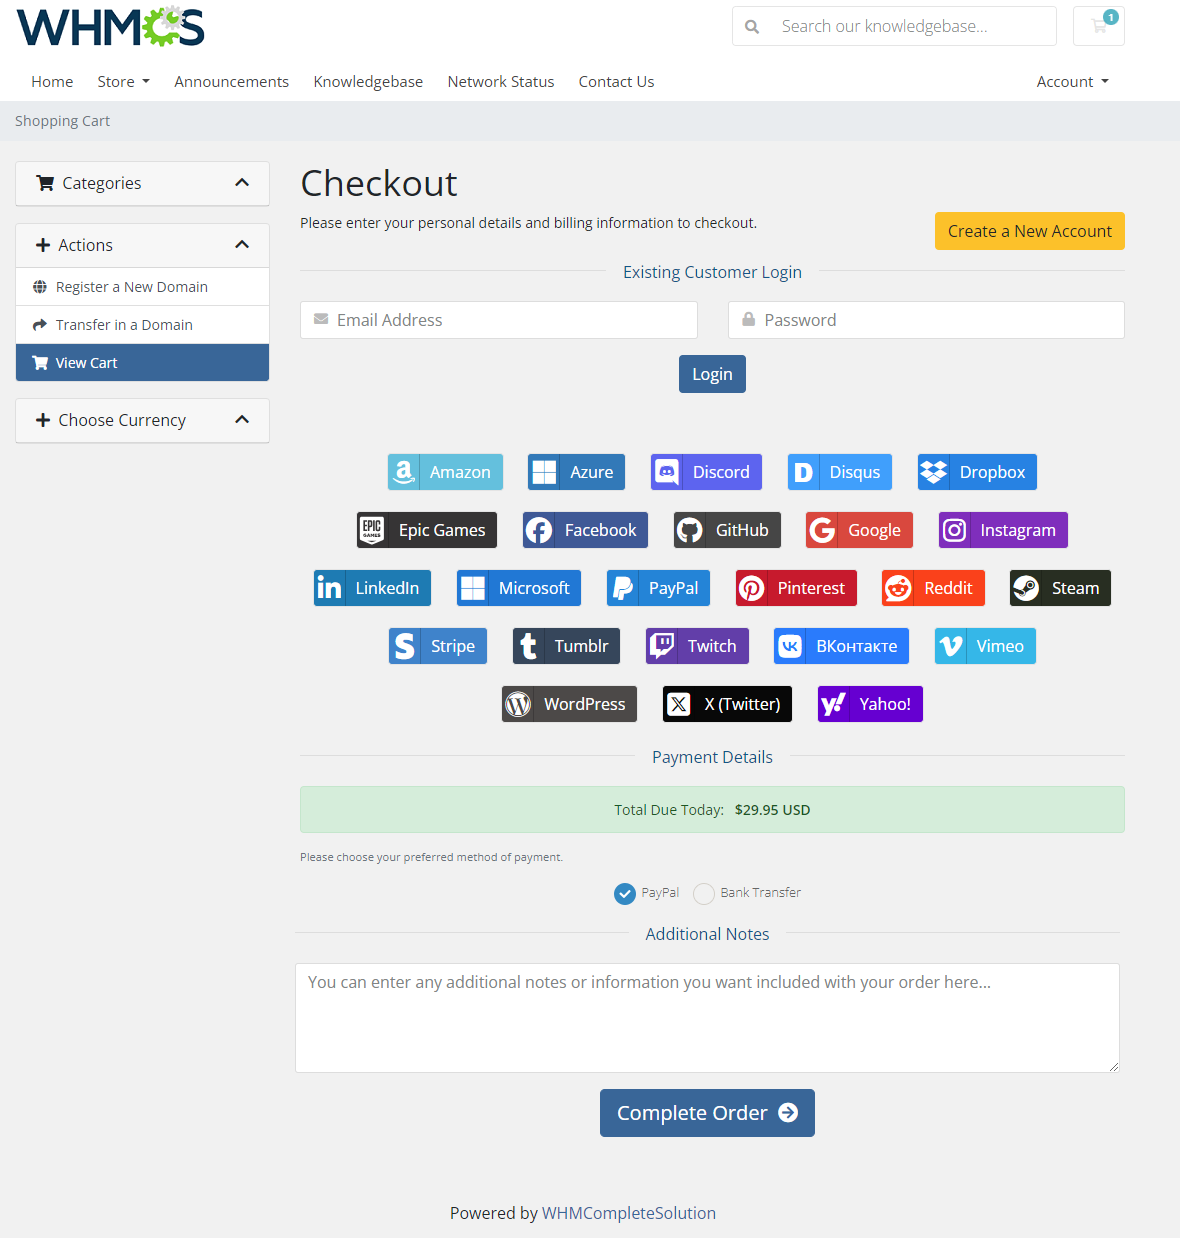
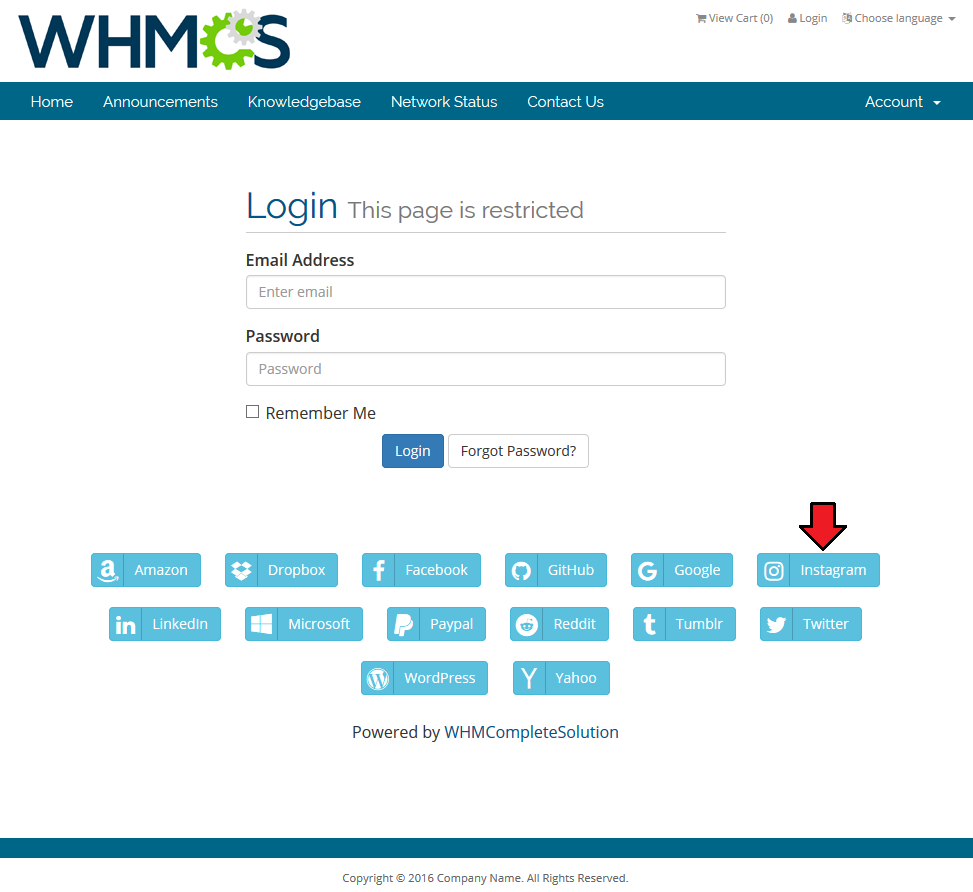
| Social Media Login For WHMCS will help you facilitate the logging process of your clients to their client area. Enable any of our social media applications providers and let your clients register and then log in with just a single click on their preferable external application button. |
- Admin Area Features:
| ✔ Configure And Enable 3rd Party Platform |
| ✔ View Integration Instructions |
| ✔ View Error Logs |
- Client Area Features:
| ✔ Register Using 3rd Party Platform - Fill In Details Automatically |
| ✔ Log In Using 3rd Party Platform - Single Click Only |
- Supported Servers:
| ✔ Microsoft |
| ✔ WordPress |
- General Info:
| ✔ Multi-Language Support |
| ✔ Supports WHMCS Templates Five and Six |
| ✔ Supports WHMCS V6 |
Installation
| This tutorial will show you how to successfully install and configure Social Media Login For WHMCS. We will guide you step by step through the whole installation and configuration process. |
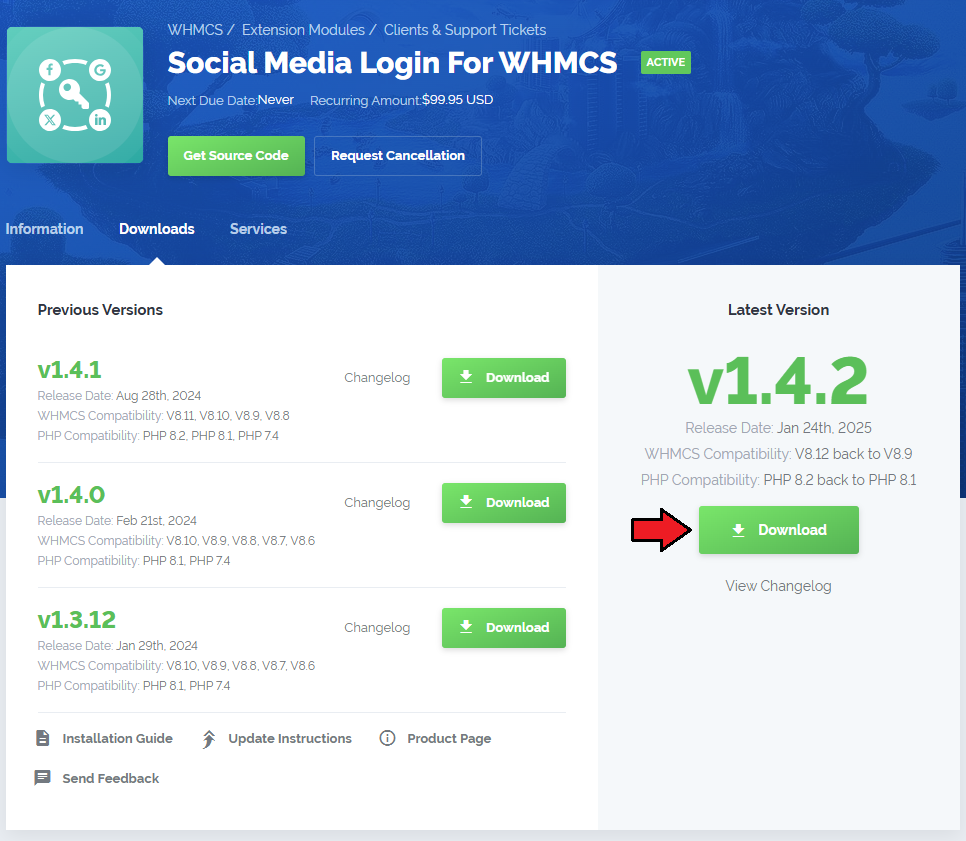
| 1. Log in to your client area and download Social Media Login For WHMCS. |
|
| 2. Upload and extract the module into the main WHMCS directory. Files in your WHMCS directory should look like on the following screen. |

|
| 3. When you install Social Media Login for the first time you have to rename 'license_RENAME.php' file. File is located in 'modules/addons/SocialMediaLogin/license_RENAME.php'. Rename it from 'license_RENAME.php' to 'license.php'. |

|
| 4. In order to configure your license key, you have to edit the previously renamed 'license.php' file. Enter your license key between quotation marks as presented on the following screen. You can find your license key in your client area → 'My Products'. |

|
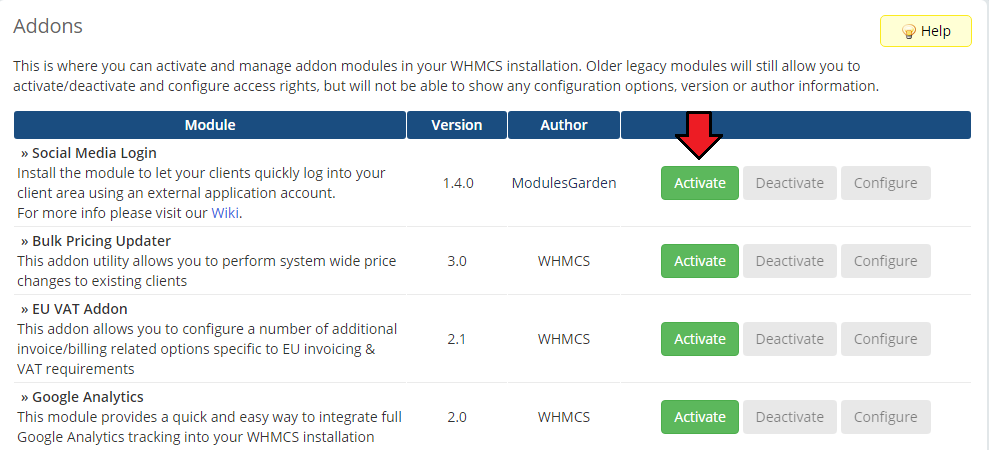
| 5. Now you have to activate the module in your WHMCS system. Log in to your WHMCS admin area. Go to 'Setup' → 'Addon Modules'. Afterwards, find 'Social Media Login' and press 'Activate' button. |
|
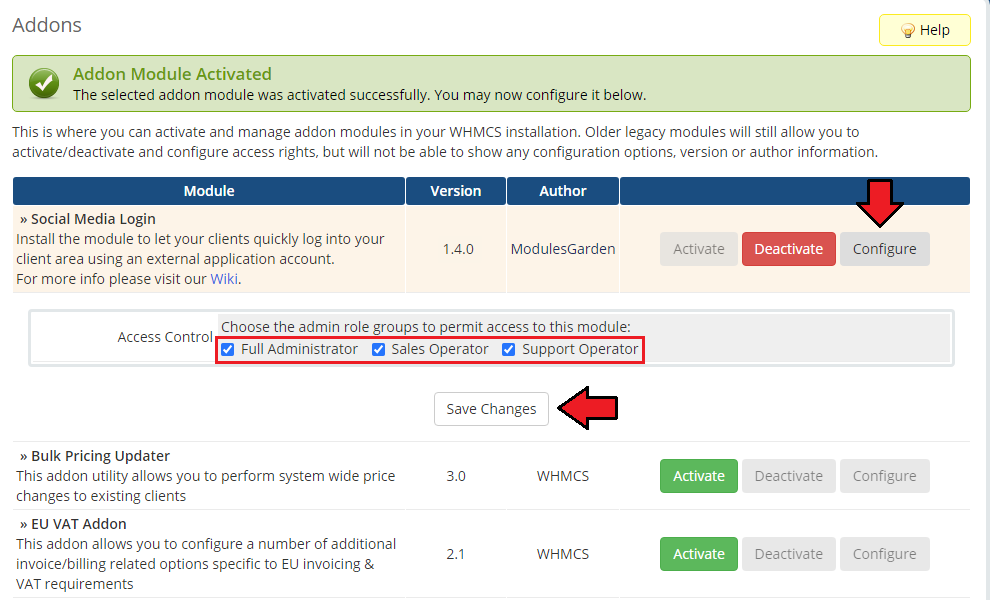
| 6. In the next step you need to permit access to this module. To do so, click on 'Configure' button, tick 'Full Administrator' and press 'Save Changes'. |
|
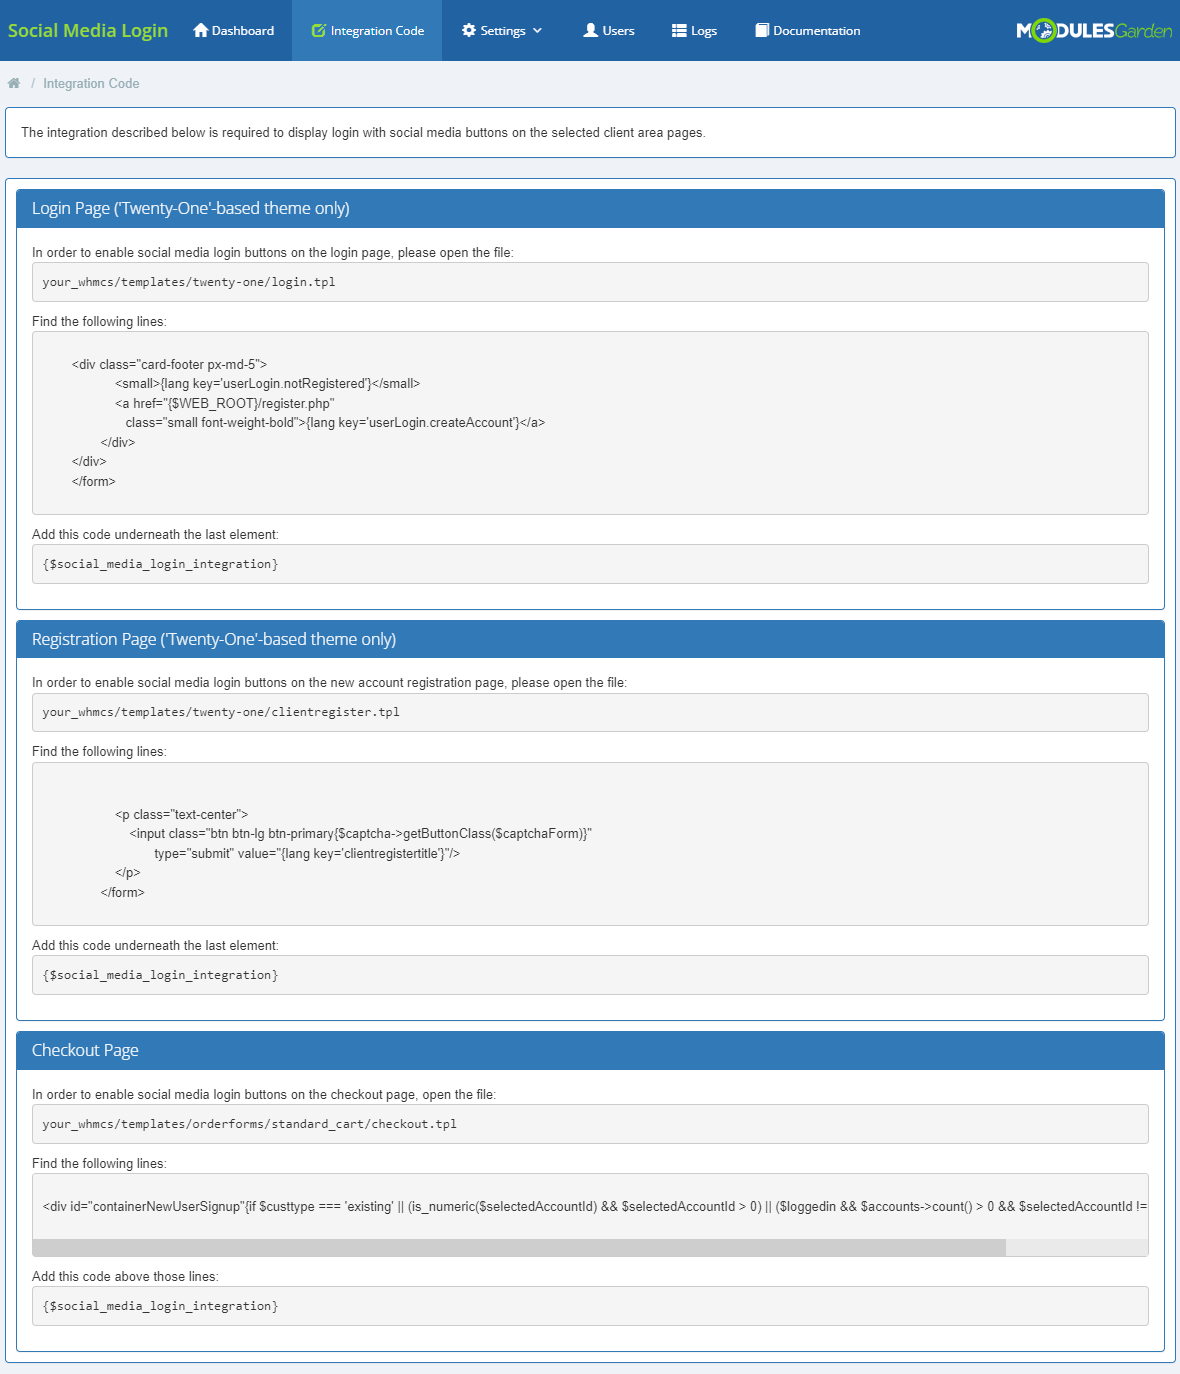
| 7. Now you need to correctly insert integration codes. move to 'Addons' → 'Social Media Login' → 'Integration Codes', you will find there detailed instruction on how to perform the integration. |
|
| 7. You have just successfully installed Social Media Login For WHMCS! You can access your module under 'Addons' → 'Social Media Login'. |
|
Configuration and Management
| Social Media Login For WHMCS b..................... Underneath, you will find a complete guide which will show you how to take a full advantage of the module. |
Dashboard
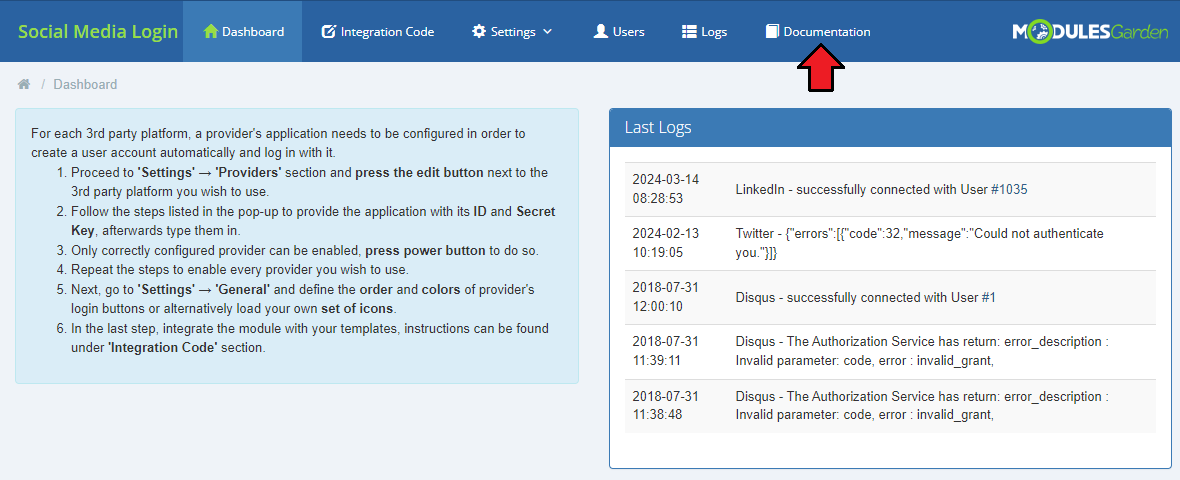
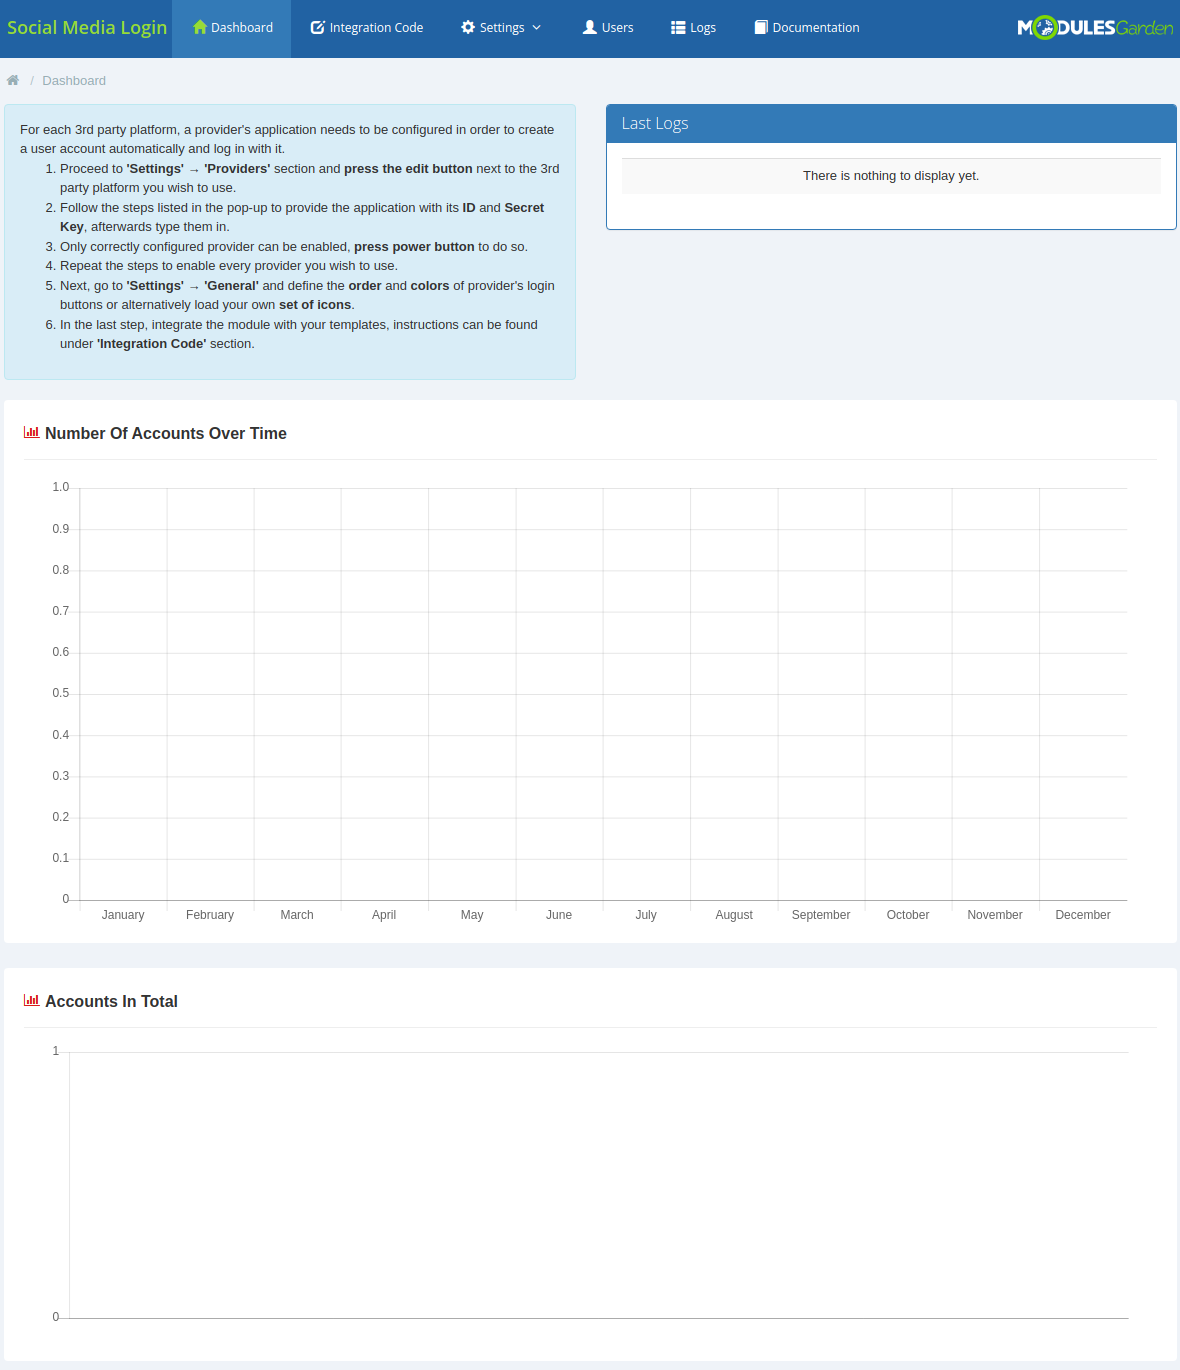
| 'Dashboard' of the addon includes only a short guide that is placed to help you quickly move through the configuration. If you are already familiar with it, you may press 'Don't Show Again' button. |
|
