CPanel Extended For WHMCS
From ModulesGarden Wiki
Contents |
About cPanel Extended For WHMCS
Installation
| In this tutorial we will show you how to successfully install cPanel Extended For WHMCS. We will guide you step by step through the whole installation process. |
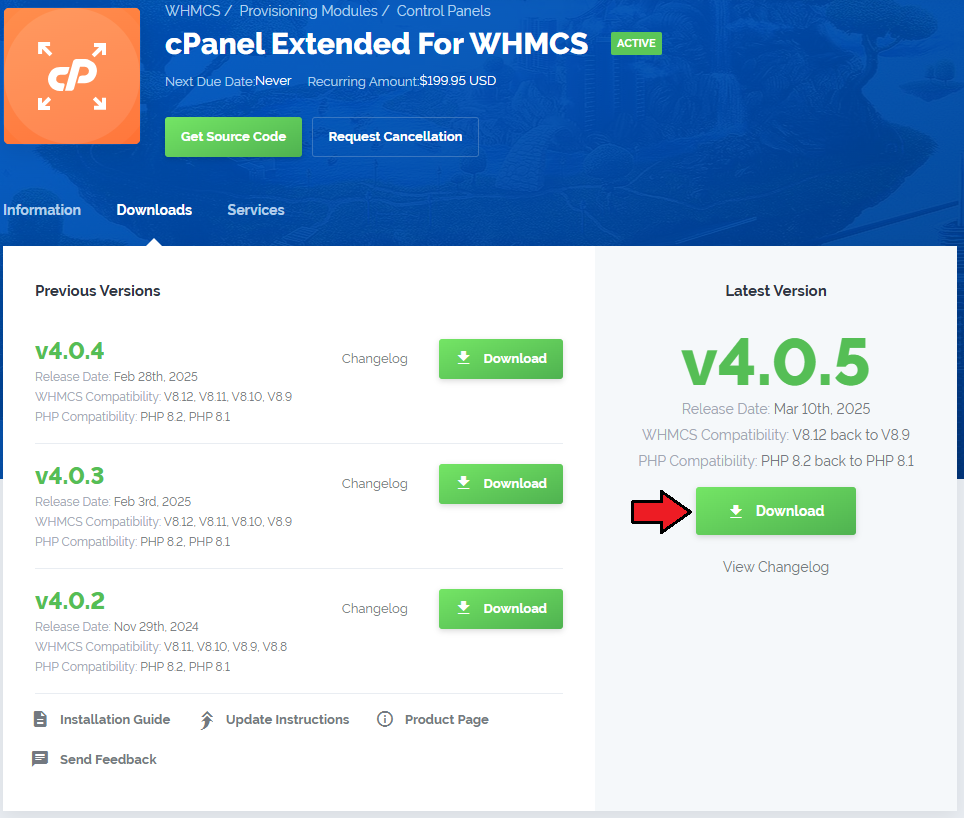
| 1. Login to your clientarea and download cPanel Extended. |

|
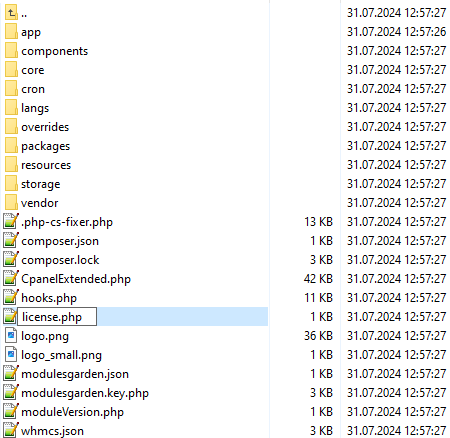
| 2. Upload and extract the module into the main whmcs directory. |
| Files in your whmcs directory should look like this. |
| 3. When you install cPanel Extended for the first time you have to rename 'license_RENAME.php' file. |
| File is located at 'modules/servers/cpanel_extended/license_RENAME.php' . Rename it from 'license_RENAME.php' to 'license.php' . |

|
| 4. In order to configure your license key you have to edit a previously renamed 'license.php' file. |
| File is located at 'modules/servers/cpanel_extended/license.php' . Enter your licence key between quotation marks as presented on the following screen. |
| You can find your license key at your clientarea -> 'My Products'. |

|
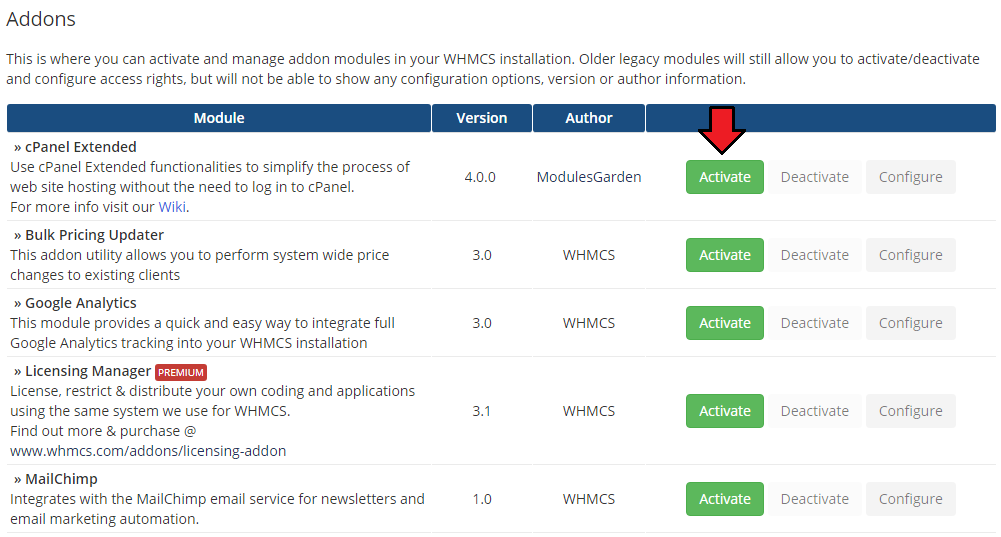
| 5. Now you have to activate the module in your WHMCS system. |
| Login to your WHMCS admin area. Click 'Setup' then choose 'Addon Modules' . |
| Afterwards find 'cPanel Extended Functions' and press Activate button. |

|
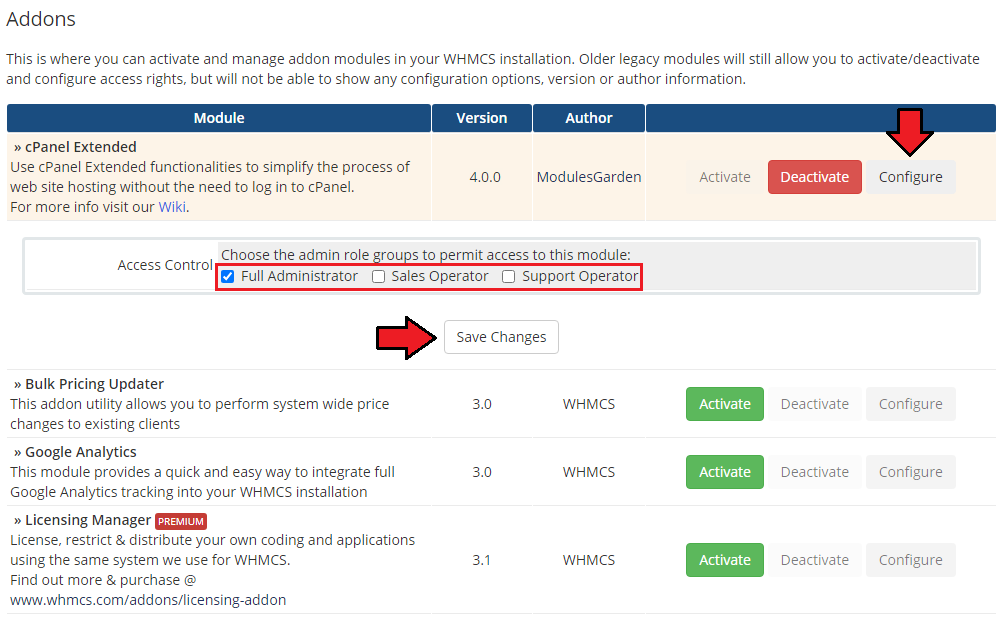
| 6. In next step you need to permit access to this module. |
| To do so choose 'Full Administrator' and press 'Save Changes' . |

|
| 7. Well done! You have just successfully installed cPanel Extended For WHMCS! Now in your WHMCS system press 'Addons' then press 'Cpanel Extended Functions' . |
| You will see a following screen. Let's proceed to configuration of your freshly installed module. |
| File:CP7.png |