Expense Tracker For WHMCS
Contents |
About Expense Tracker For WHMCS
| Expense Tracker For WHMCS is an effective tool that gives you all the means to track, manage, and most importantly optimize your business expenses. Adjust the module to fit your business needs by adding expense categories, vendors, and recurring expenses. View charts and reports to search for the data and projections you need. |
- Admin Area Features:
| ✔ |
| ✔ |
| ✔ |
| ✔ |
| ✔ |
| ✔ |
| ✔ |
| ✔ |
| ✔ |
| ✔ |
| ✔ |
| ✔ |
| ✔ |
| ✔ |
| ✔ |
- General Info:
| ✔ Multi-Language Support |
| ✔ Supports PHP 7.3 Up To PHP 8.1 |
| ✔ Supports WHMCS Themes "Six" And "Twenty-One" And "Lagom WHMCS Client Theme" |
| ✔ Supports WHMCS V8.3 And Later |
| ✔ Requires ionCube Loader V12 Or Later |
| ✔ Easy Module Upgrade To Open Source Version |
Installation
| This tutorial will show you how to successfully install and configure Expense Tracker For WHMCS. We will guide you step by step through the whole installation and configuration process. |
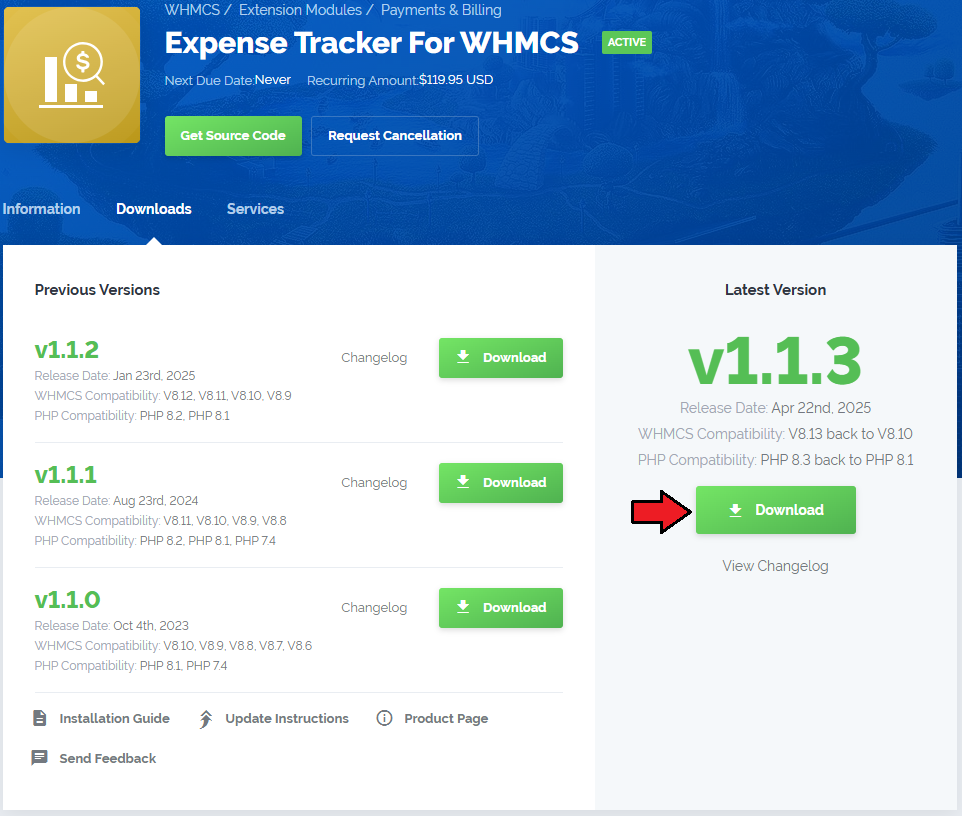
| 1. Log in to our client area and download the module. |
|
| 2. Extract the package and upload its content into the main WHMCS directory.
The content of the package to upload should look like this. |

|
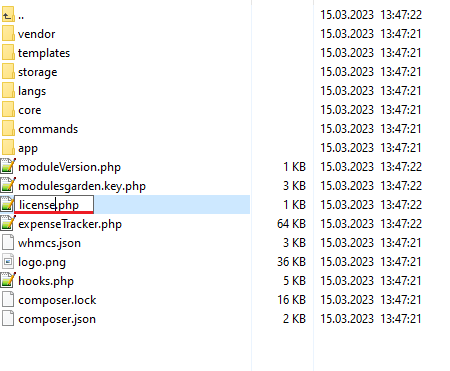
| 3. When installing Expense Tracker For WHMCS for the first time, you have to rename the 'license_RENAME.php' file. The file is located in 'your_whmcs/modules/addons/ExpenseTracker/license_RENAME.php'. Rename it from 'license_RENAME.php' to 'license.php'. |
|
| 4. In order to configure your license key, you have to edit the previously renamed 'license.php' file. Enter your license key between the quotation marks as presented on the following screen. You can find your license key in our client area → 'My Products'. |

|
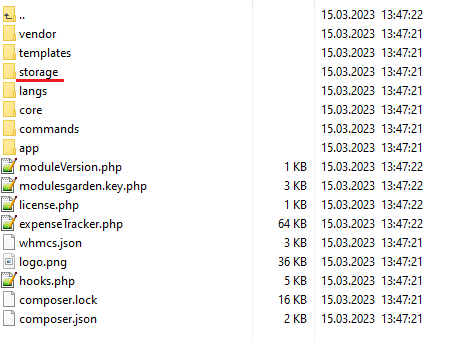
| 5. Now, set up the 'storage' folder as recursively writable. This folder is available at 'your_whmcs/modules/addons/ExpenseTracker/'. |
|
Configuration of Addon
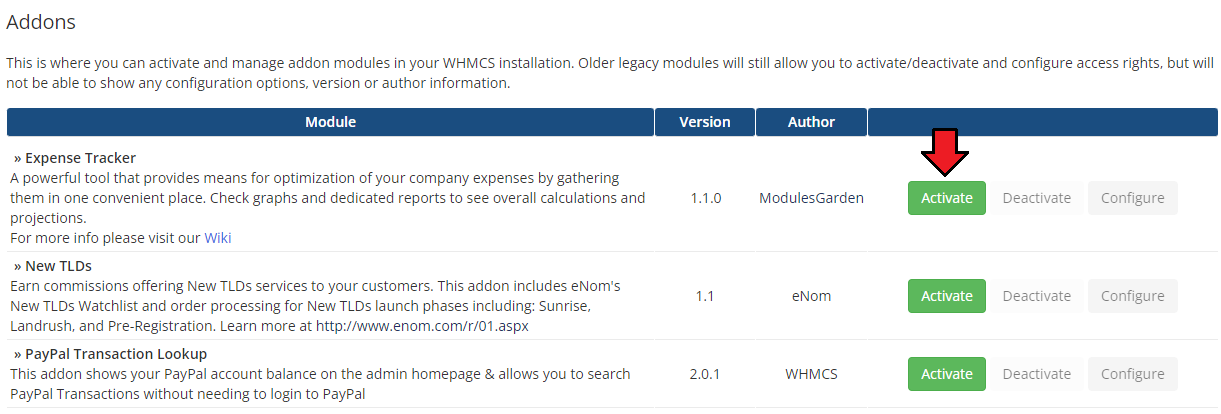
| 6. Now you have to activate the module in your WHMCS system. Log in to your WHMCS admin area. Go to 'System Settings' → 'Addon Modules'. Afterwards, find 'Expense Tracker' and press the 'Activate' button. |
|
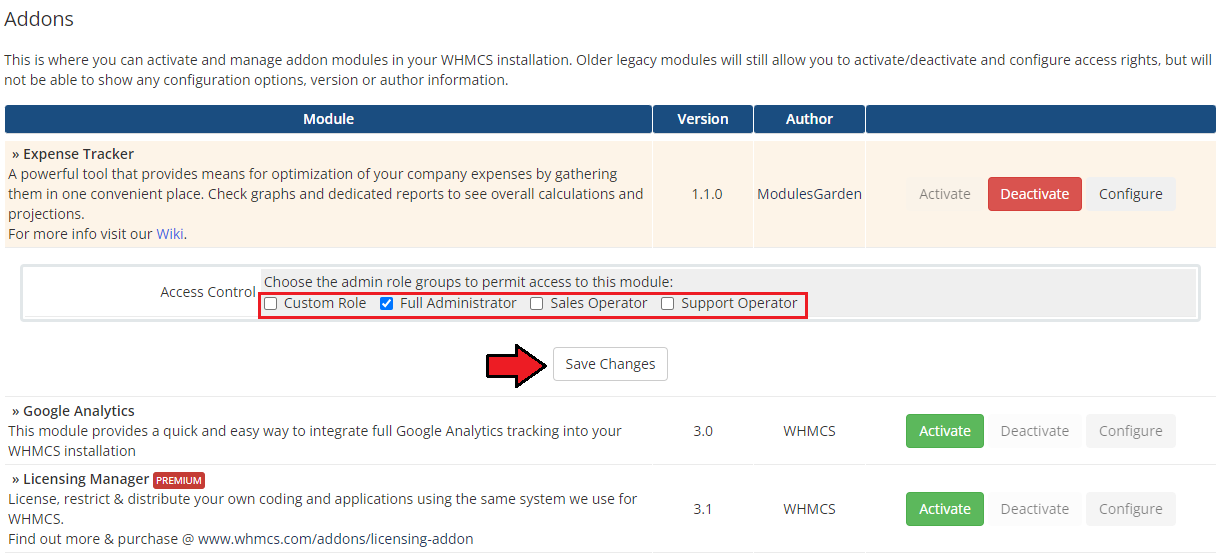
| 7. In the next step, you need to permit access to this module. To do so, click on the 'Configure' button, tick 'Full Administrator' and press 'Save Changes'. |
|
Management
| Read through the below sections to learn about all the possibilities of Expense Tracker For WHMCS moudle. You will find out how to adjust the module to your business's individual attributes. |
Addon Configuration
Expenses
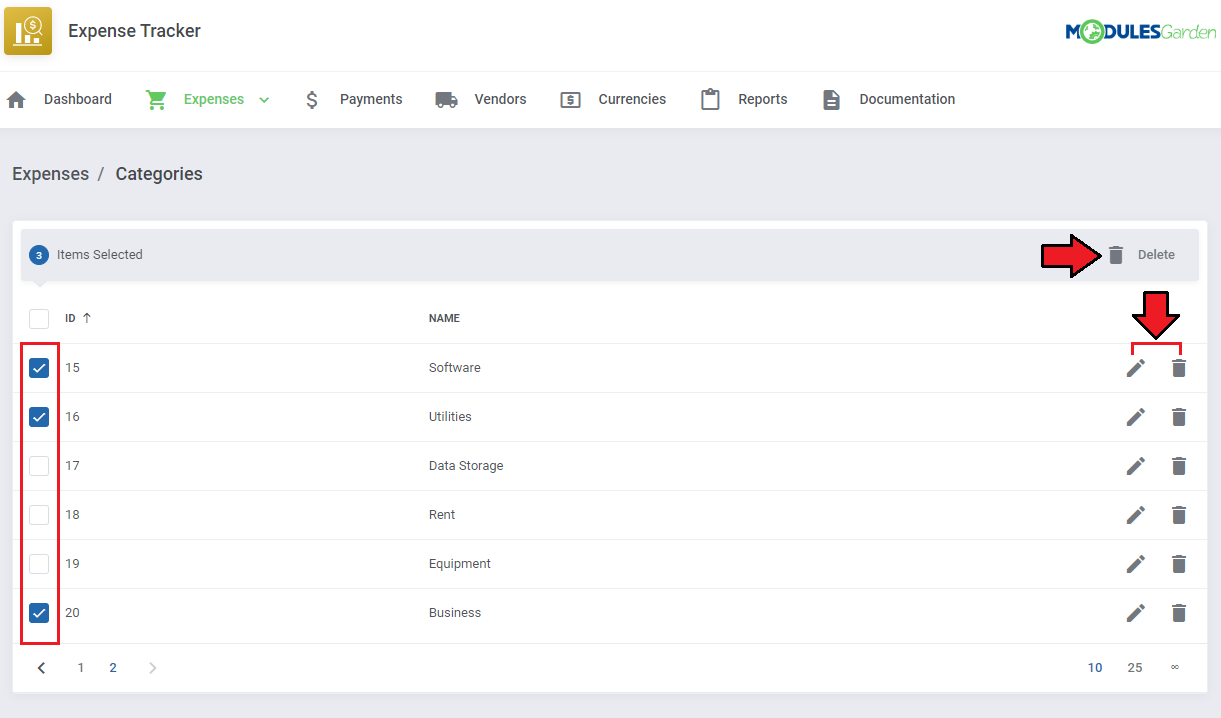
| At the 'Expenses' tab you can set up the module's behavior. Configure |
|
Categories
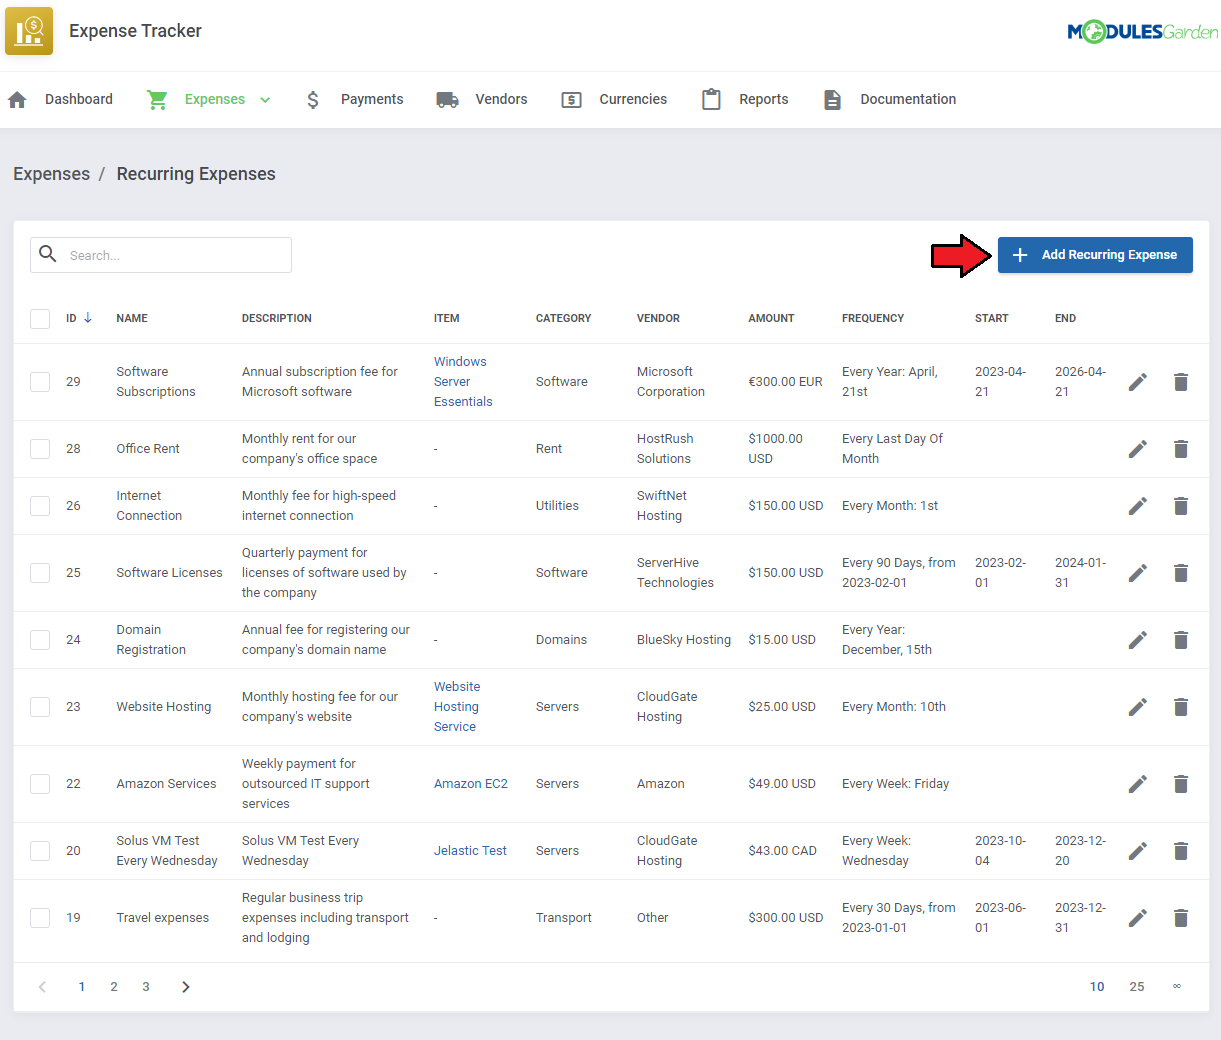
|
| In |
|
Recurring Expenses

|
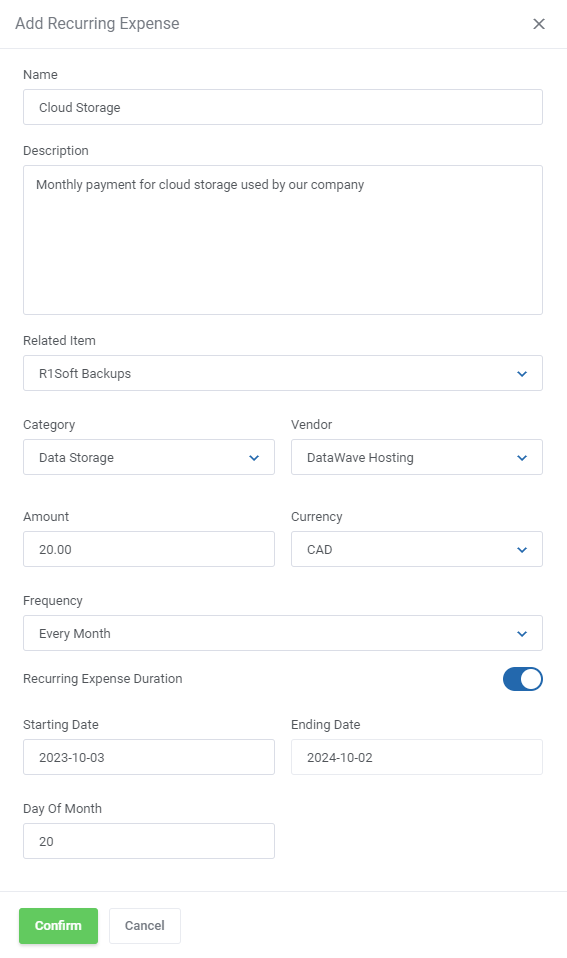
| In |

|
All Expenses

|
| In |

|
Payments
| In the 'Payments' section, you will |
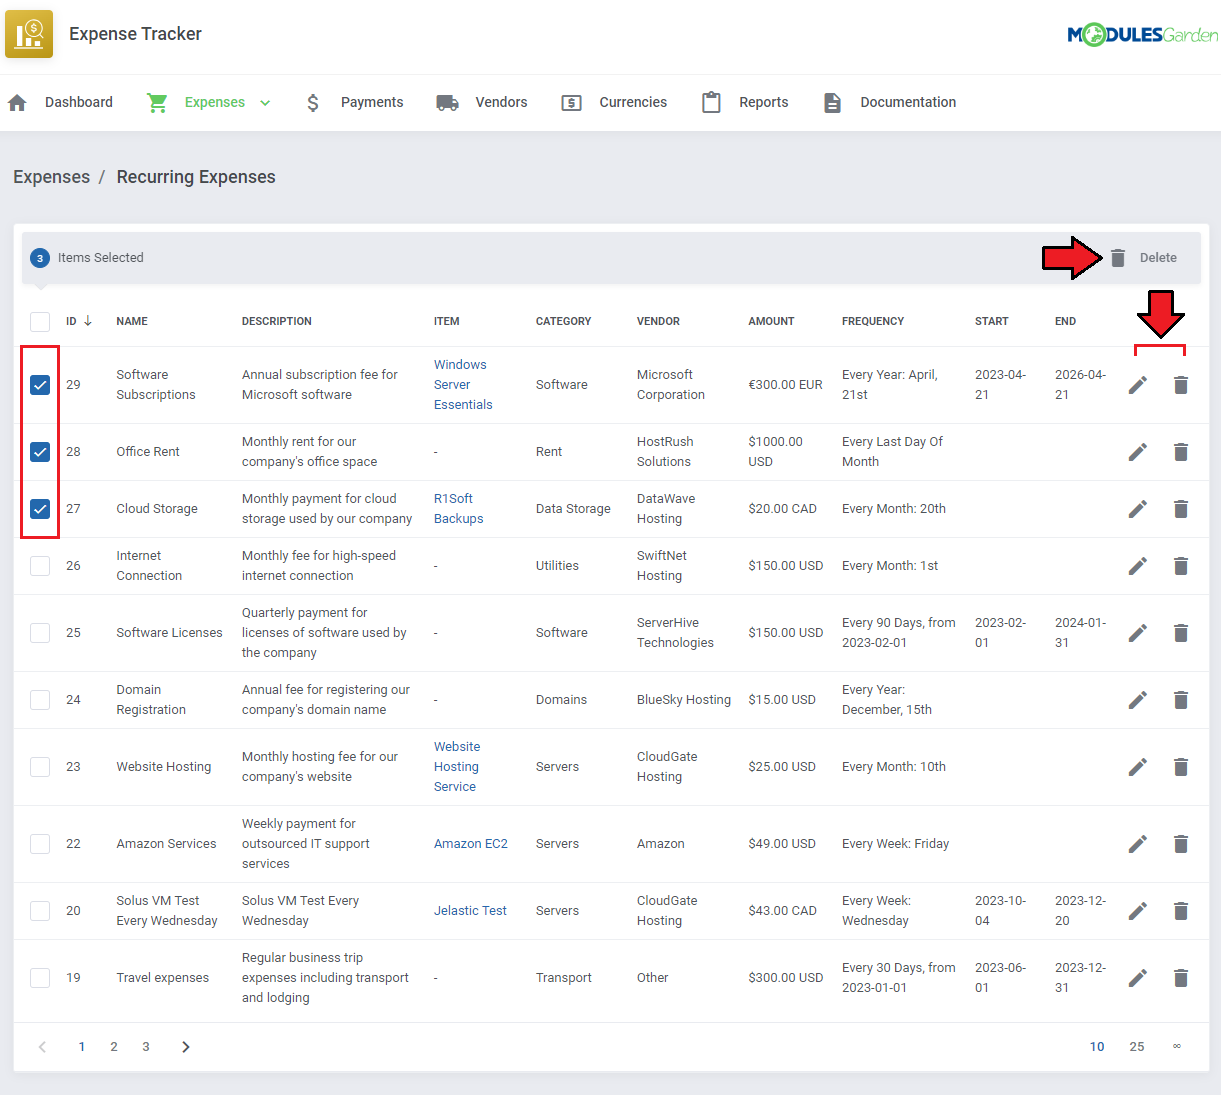
|
| Here you can |
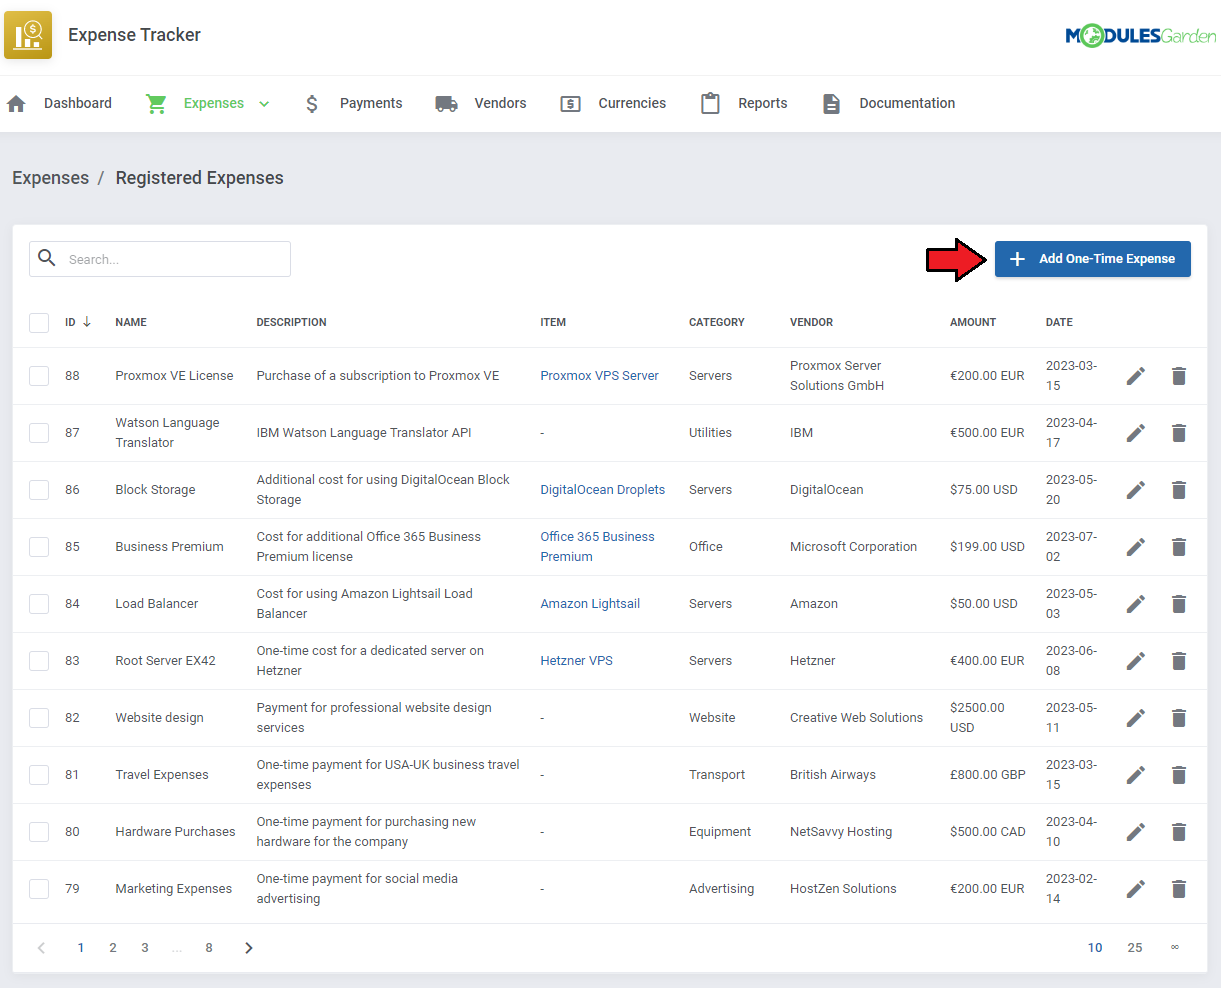
|
Vendors
| The 'Vendors' section includes a list of all vendors you may wish to assign to an expense. Manage your vendors, change their details, or delete them if you no longer use their services. Press the 'Add Vendor button to create the first entry on the list. |
| File:PET 15.png |
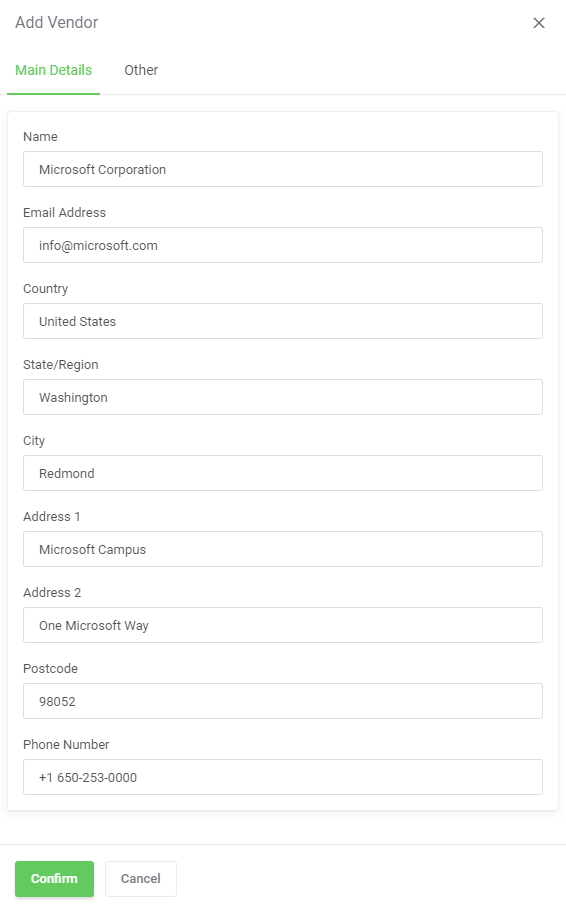
| Fill out the form with vendor details, such as its name, email address and address. 'Confirm' the changes once ready. Keep in mind that all the fields are mandatory and must be filled in. |
|
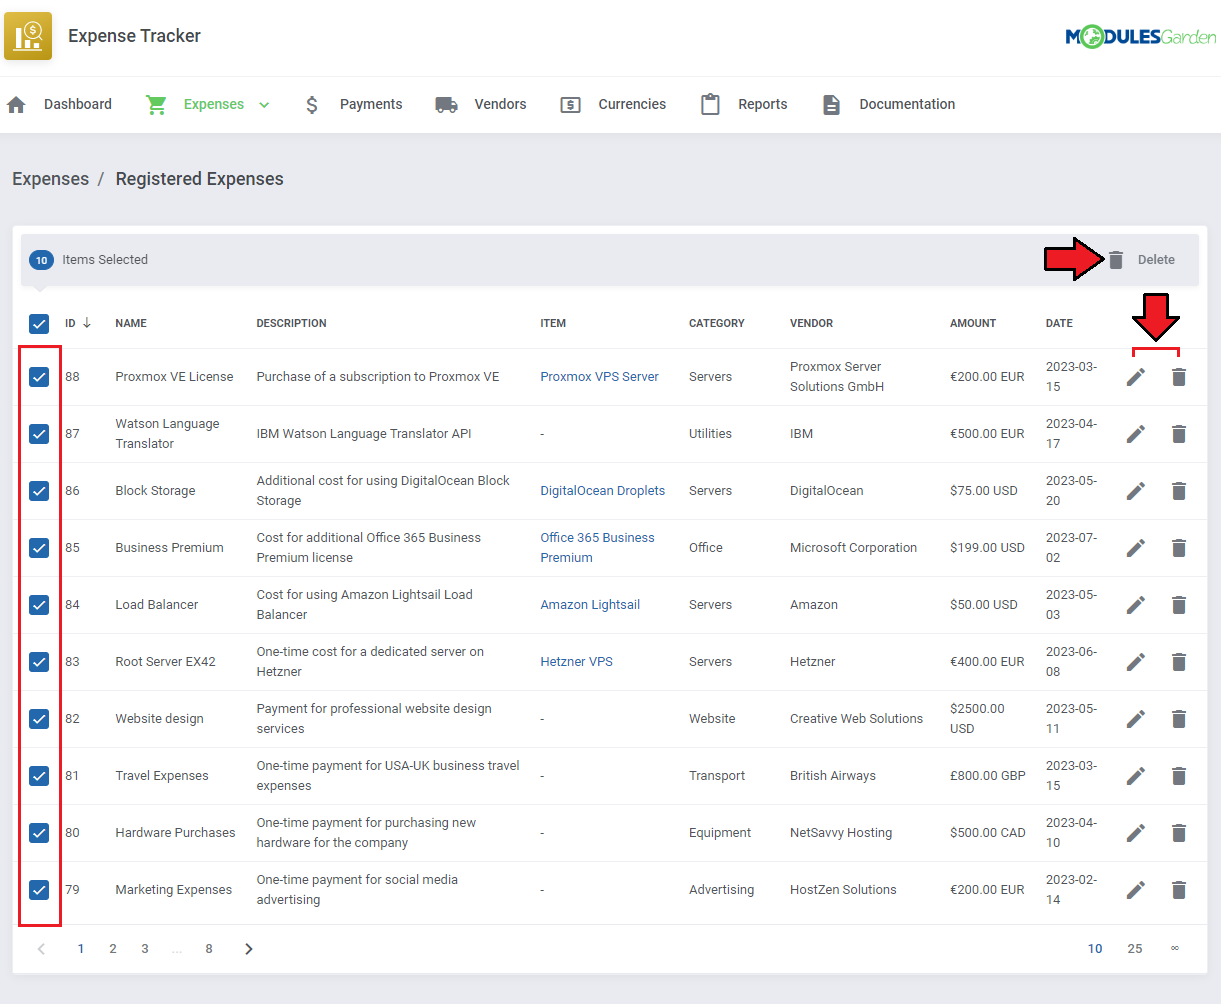
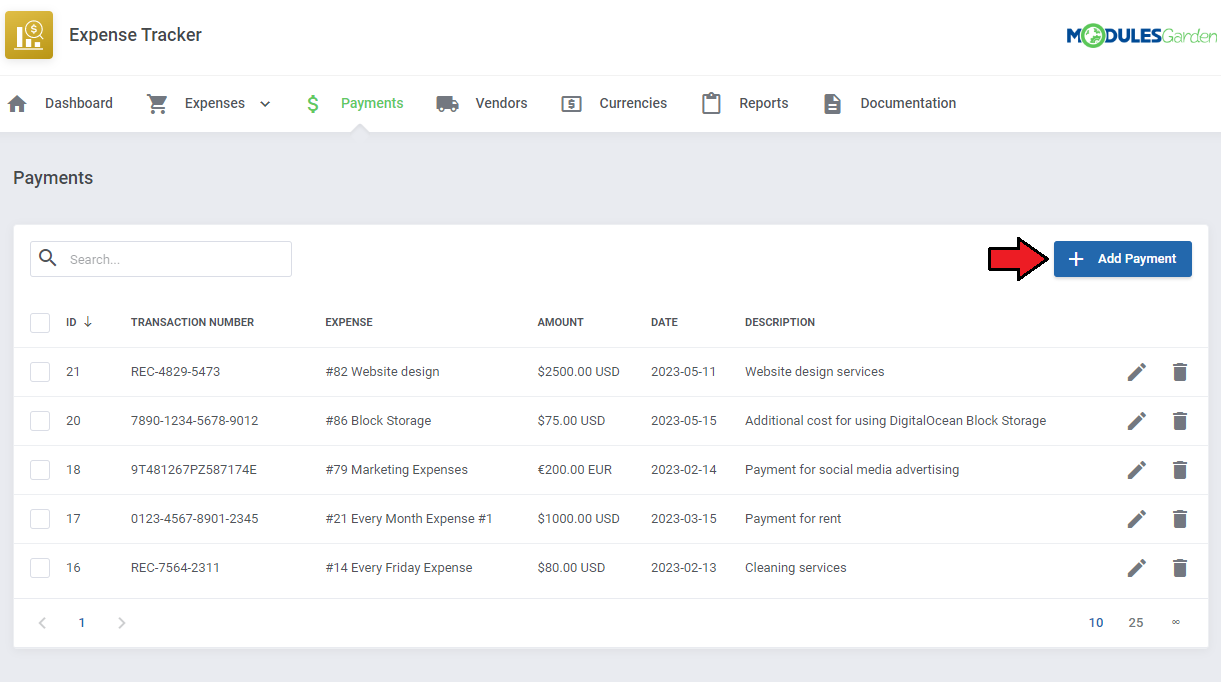
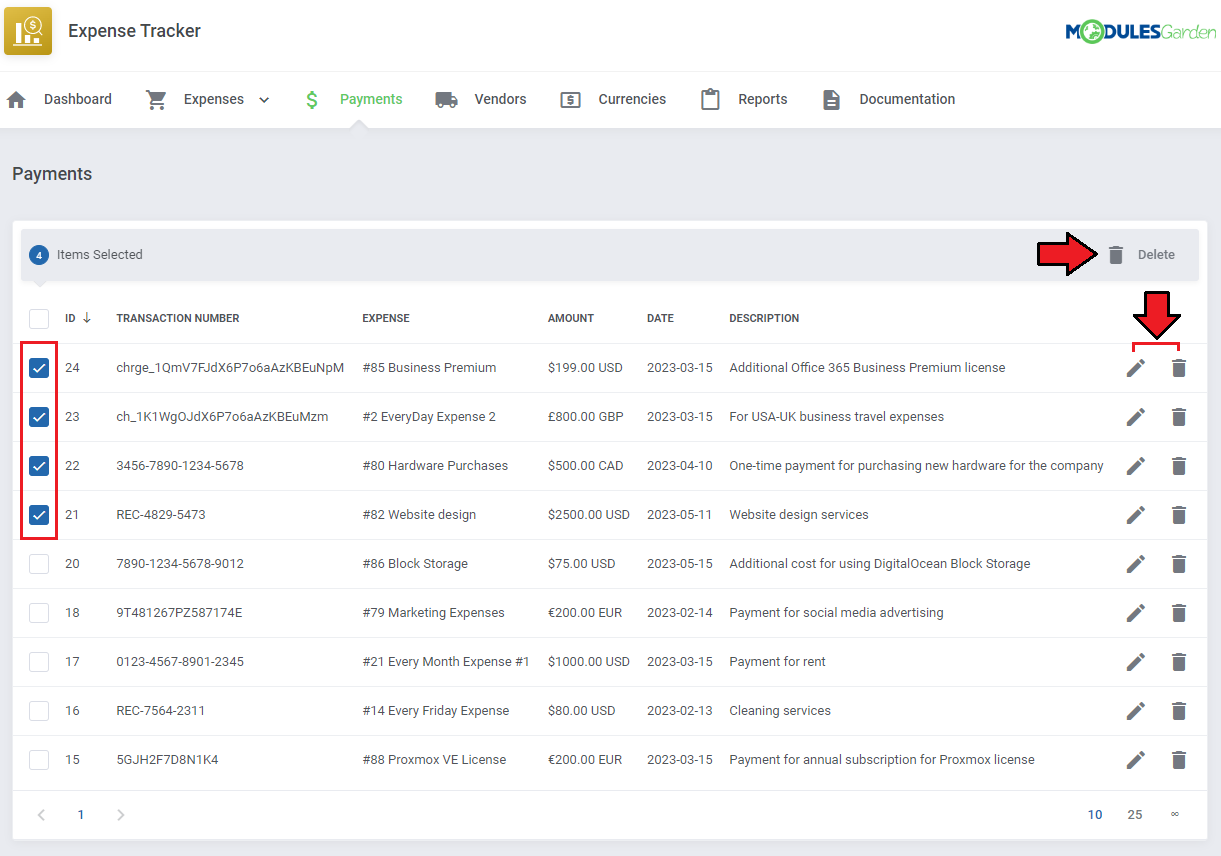
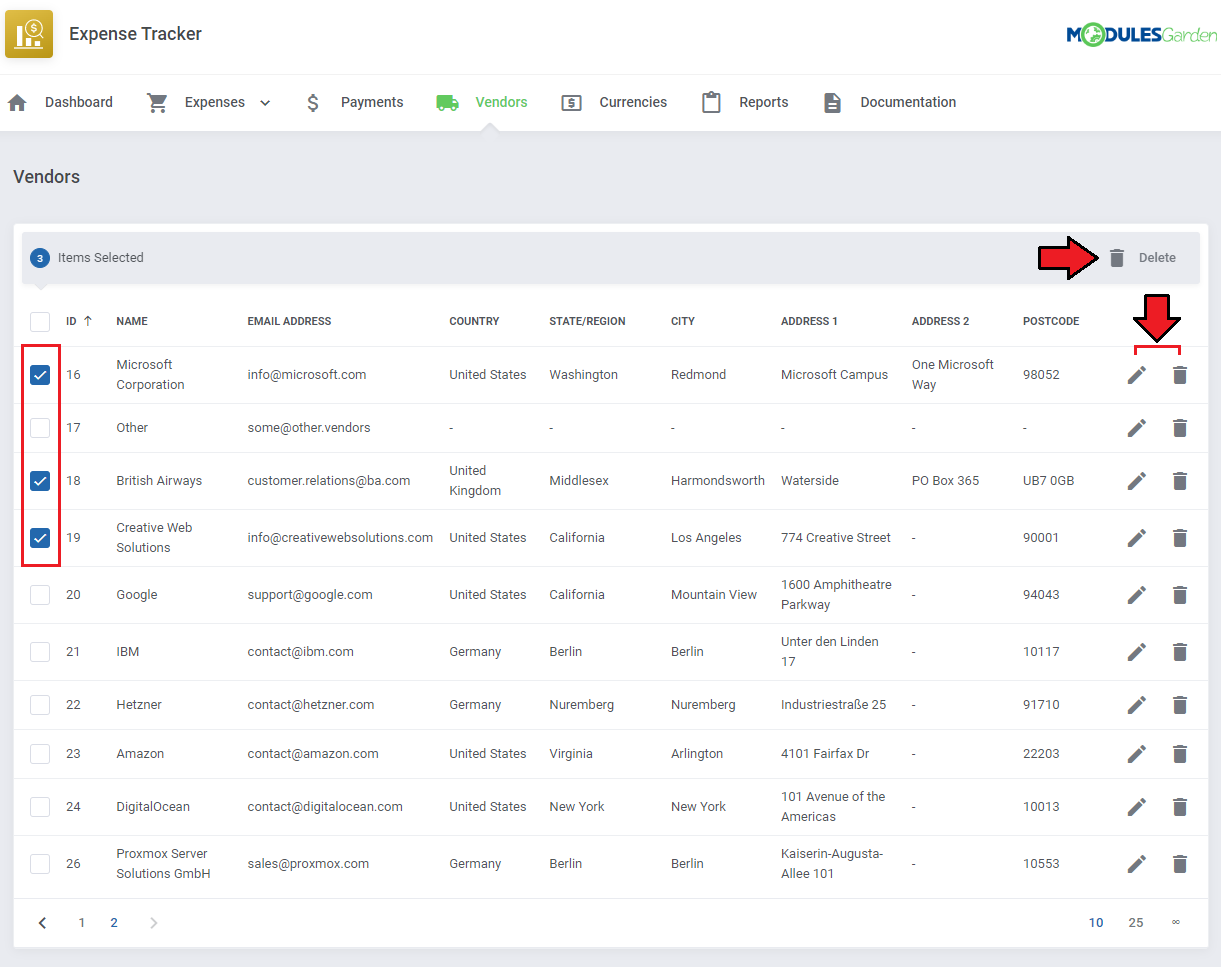
| When the list of vendors is ready you may manage it easily. Edit the vendor details, delete single items, or use the mass actions button to delete them in bulk. |
|
Currencies
| Prepare a list of used 'Currencies'. Press 'Add Currency' to start. |
|
| Enter the official code of the currency you aim to add, its prefix and suffix to display it correctly in the reports, tables and statistics. |

|
| You may manage the list of currencies at any time. Add, edit, and delete single or multiple items from the list. |

|
Reports
| ........ |
|
| Expenses Per Category - Expenses divided into categories |
| File:ET 20.png |
| Pending Expenses - Predicted recurring expenses |
|
| Yearly Expenses - All expenses with division into currencies |

|
| Expenses Vs Income - Expenses compared to income in the selected time period |

|
| Expenses Per Vendor - Expenses divided into vendors |

|
Dashboard
| ........ |

|
Tips
| 1. ........... |
Common Problems
| 1. When you have problems with connection, check whether your SELinux or firewall does not block ports. |
| 2. .......... |