QuickBooks Desktop For WHMCS
Contents |
About Discount Center For WHMCS
| Discount Center For WHMCS module allows you to set up discounts for products ordered in a defined combination or amount, configure dependencies between discounts bundles and rules according to which products are counted in a cart and discounts applied. The module also allows you to exclude some groups of clients from being charged with discounts or promote only new clients! |
- Module Features:
| ✔ |
| ✔ |
| ✔ |
| ✔ |
| ✔ View Logs |
- General Info:
| ✔ |
| ✔ |
| ✔ Multi-Language Support |
| ✔ Supports WHMCS V5 and V6 |
Installation
| This tutorial will show you how to successfully install and configure Discount Center For WHMCS. We will guide you step by step through the whole installation and configuration process. |
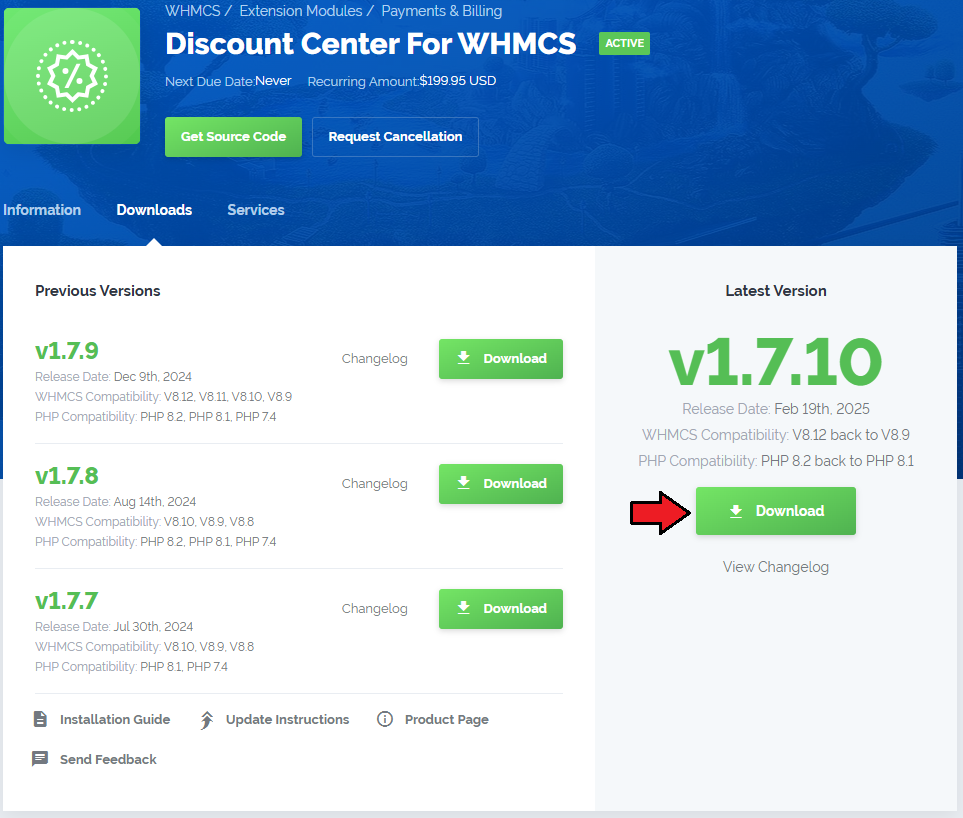
| 1. Log in to your client area and download Discount Center For WHMCS. |
|
| 2. Upload and extract the module into the main WHMCS directory. Files in your WHMCS directory should look like on the following screen. |

|
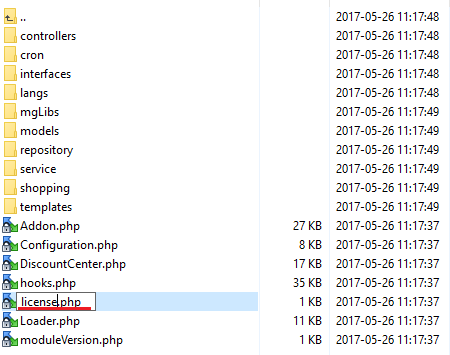
| 3. When you install QuickBooks for the first time you have to rename 'license_RENAME.php' file. File is located in 'modules/addons/discount_center/license_RENAME.php'. Rename it from 'license_RENAME.php' to 'license.php'. |
|
| 4. In order to configure your license key, you have to edit the previously renamed 'license.php' file. Enter your license key between quotation marks as presented on the following screen. You can find your license key in your client area → 'My Products'. |

|
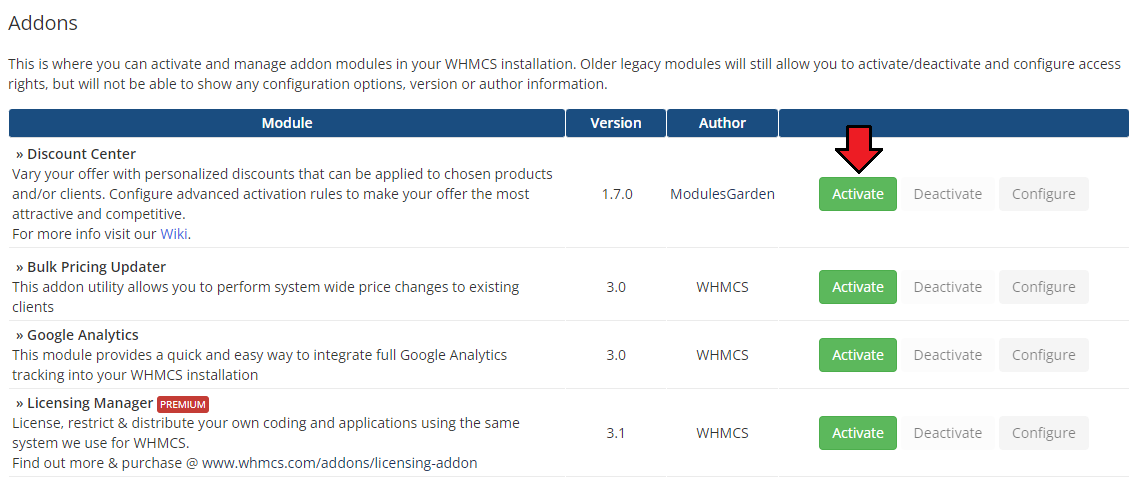
| 5. Now you have to activate the module in your WHMCS system. Log in to your WHMCS admin area. Go to 'Setup' → 'Addon Modules'. Afterwards, find 'Discount Center' and press 'Activate' button. |
|
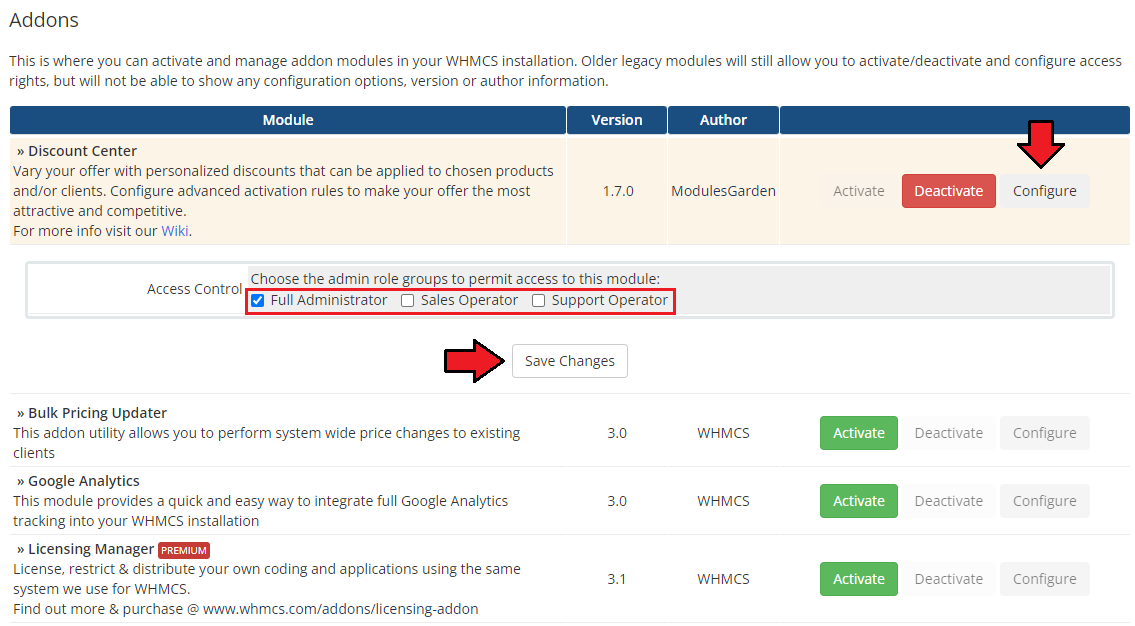
| 6. In the next step you need to permit access to this module. To do so, click on 'Configure' button, check required group of administrators and press 'Save Changes'. |
|
| 7. You have just successfully installed Discount Center For WHMCS! You can access your module under 'Addons' → 'Discount Center'. |
|
Management
| Discount Center For WHMCS has been created to help you vary your offer with personalized discounts that can be applied to chosen products and/or clients. Configure advanced activation rules to make your offer the most attractive and competitive. |
Configure Discounts
| In order to configure your module properly, proceed to 'Addons' → 'Discount Center' and start with setting up rules to offer discounts for your clients. |
Standard Discounts
| To start move to 'Discounts' section. There press 'Add Discount' button. |
| File:DC 9.png |
| You are moved to 'General' information page of the currently composed discount. Here you have to fill out the form to make the rule. Select box to enable discount (it will be put into practice immediately on creation, you may also leave it disabled for a moment and enable it in the future). |
| File:DC 10.png |
| Under 'Product Discounts' you have to set up discount rates for every product's pricing. To do so press the cross button as marked on the screen. |
| File:DC 11.png |
| Enter the discount value and select its type, it can be either percentage that will be counted from the price or a fixed amount by which the final price will be reduced. Press 'Next' when ready. |
| File:DC 12.png |
| Finally, you are moved to activation rules. Here you may decide for which of your clients the discount should be entitled to purchase products with a discount. You may grant it to all of your clients, offer it to new clients only or manually select desired usernames. It is also possible to enter client groups names here and offer discounts to bundles of clients. Press 'Save Changes' to confirm creation of the new discount. |
| File:DC 13.png |
| All available discounts are now visible, with their name and status. You may always change the status to disabled/enabled, edit the discount or delete it. Use action buttons marked on the screen below to do so. |
| File:DC 8.png |
Quantity Discounts
| 'Quantity discounts' - offer different price depending on the amount of products in the cart. Press 'Add New' to begin. |
| File:DC 14.png |
| In 'General' section you have to name the new discount rule, enable (if you want to apply it immediately on creation) and select items that must be in the cart to entitle the client to the discount. Among 'Required Products' there can be of course products from your offer, addons and domains. According to specified rule, pointed here items' price will be adequately changed. Press 'Next' to continue. |
| File:DC 15.png |
Under 'Quantity Discount' you have to decide when the discount will be applicable.
|
| File:DC 16.png |
| In this section you also have to set up 'Thresholds' - which means the minimum number of products (that have fulfilled the above application rule!) that must be in the cart of a single order. Specify a percentage discount for the threshold, you can set up more than one of course. Press '+' button to add more discounts possibilities. When ready, press 'Next' to continue. |
| File:DC 17.png |
| Finally, you are moved to activation rules. Here just like in case of standard discounts, you may decide for which of your clients the discount should be entitled to purchase products with a discount. You may grant it to all of your clients, offer it to new clients only or manually select desired usernames. It is also possible to enter client groups names here and offer discounts to bundles of clients. Press 'Save Changes' to confirm creation of the new discount. |
| File:DC 18.png |
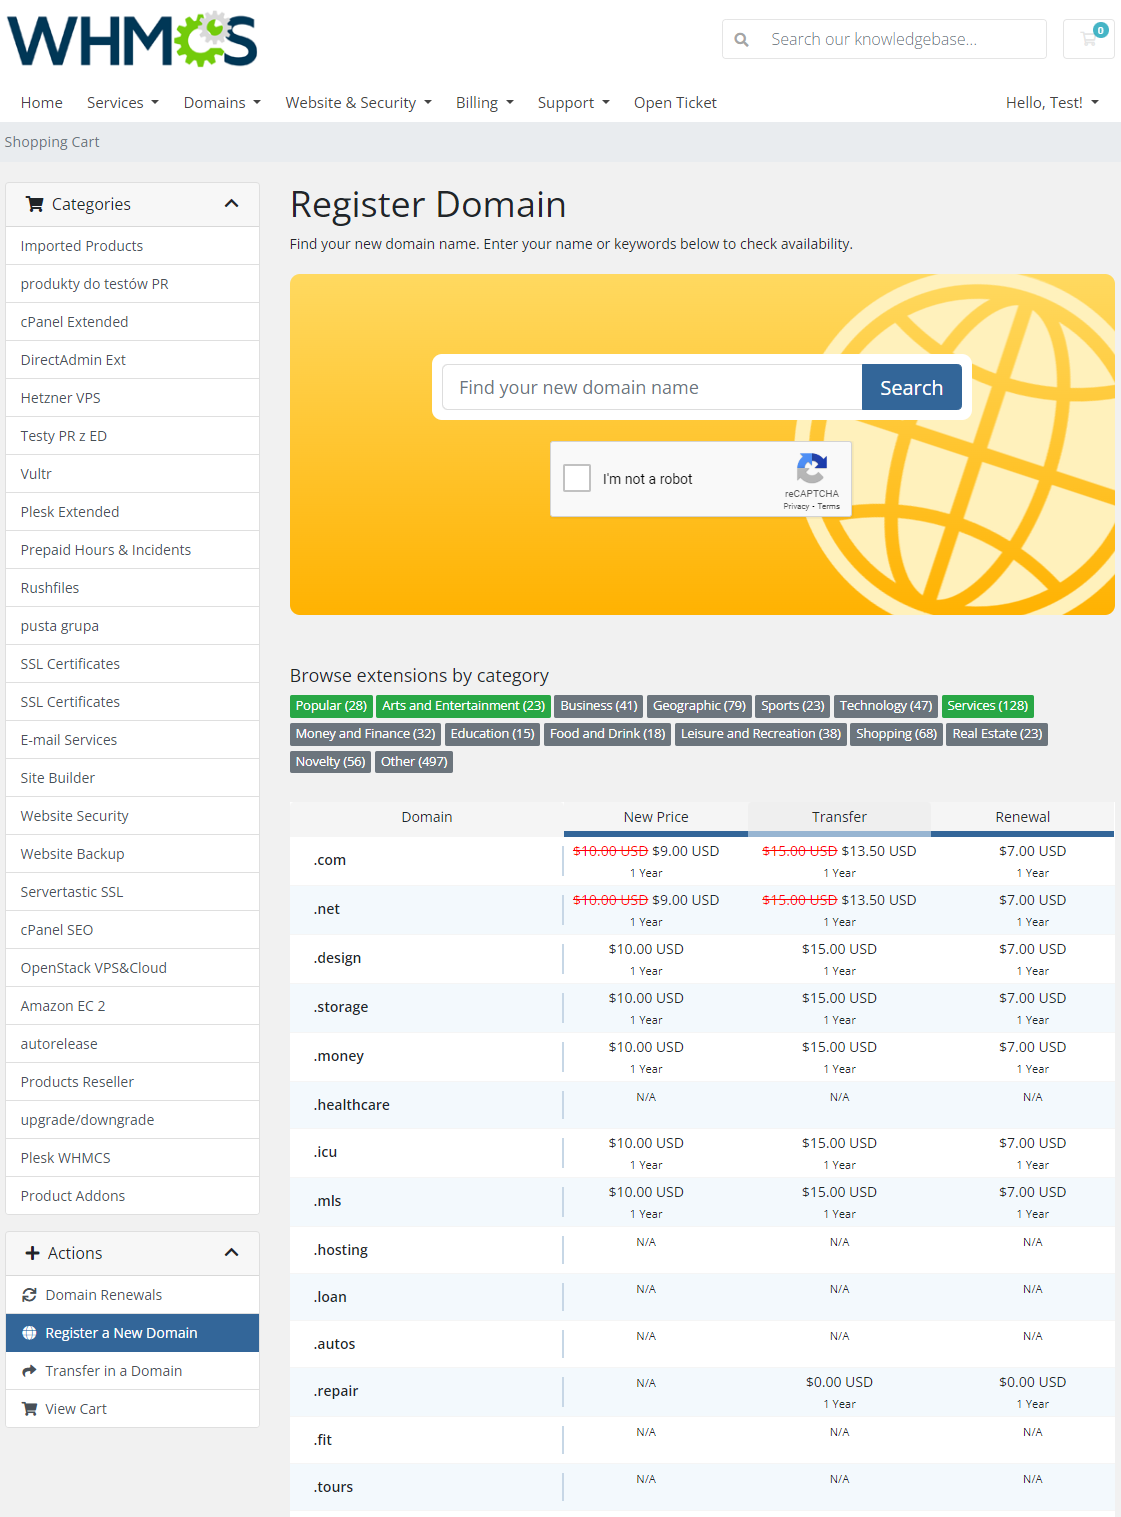
| All available quantity discounts are now visible, with their name and status. You may always change the status to disabled/enabled, edit the discount or delete it. Use action buttons marked on the screen below to do so. |
|
Additional Options
Settings
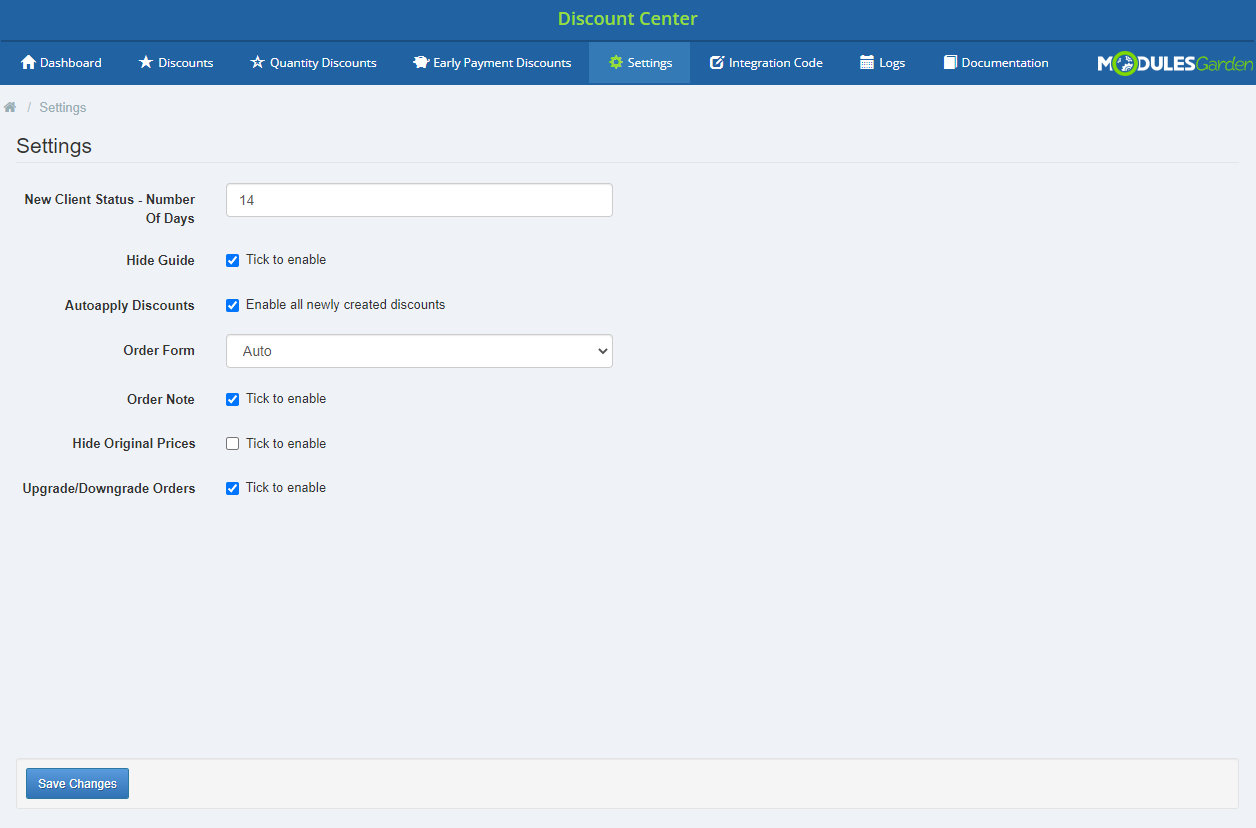
| Under 'Settings' tab you must define a number of days a client will be considered 'New'. Such information is necessary when you select 'New - give promotion to new clients only' option as 'Activation Rule' for any of your set up discounts. If you enter here for example 90, then if this option is selected for any of the discounts, clients with accounts not older than 90 days before will be taken into consideration while applying a discount. 'Hide Guide' here if you are already familiar with its content or unselect to read it again. |
|
Logs
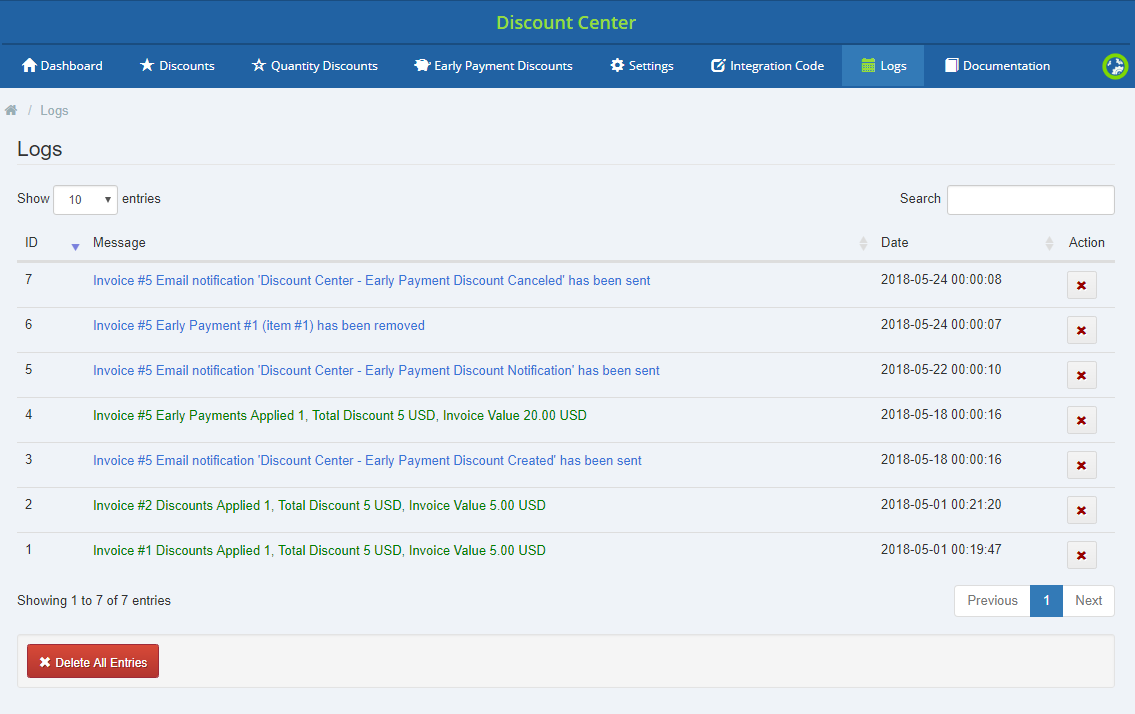
| In 'Logs' tab there are enumerated information on any orders that discounts were applied to. Invoice number, discount ID and value. |
|
| Clear all the entries or delete only some of them. Use buttons marked on the screen above. |
Dashboard
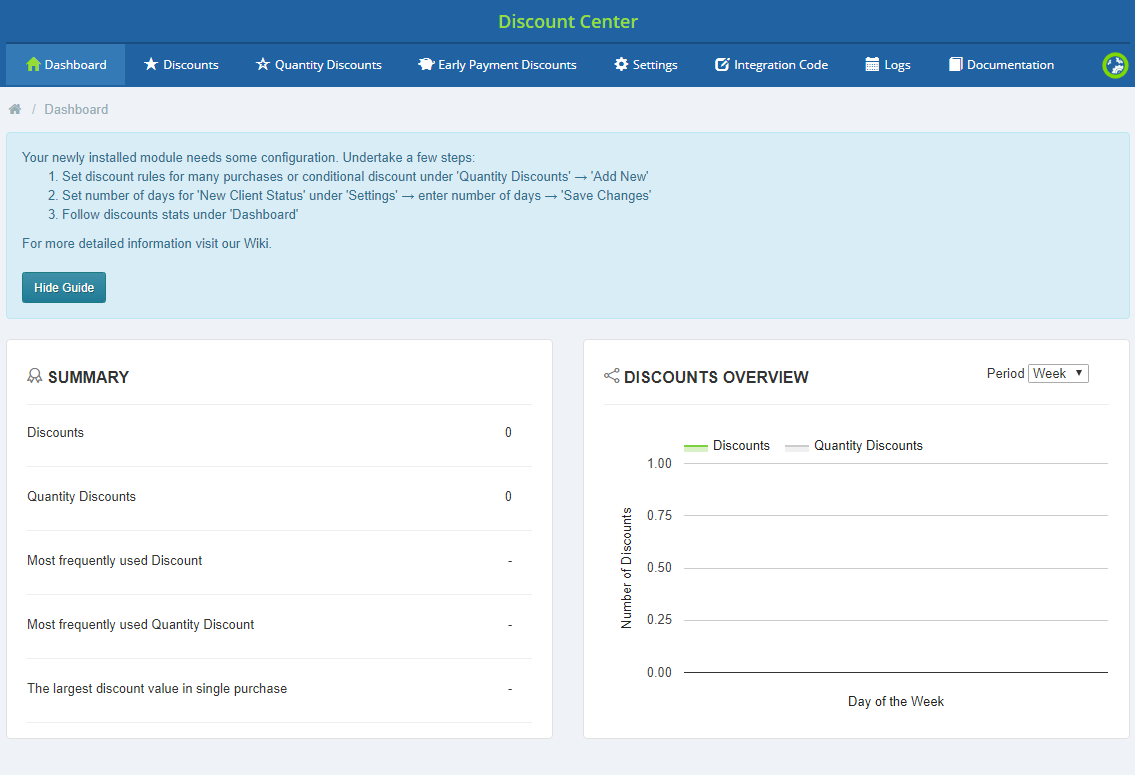
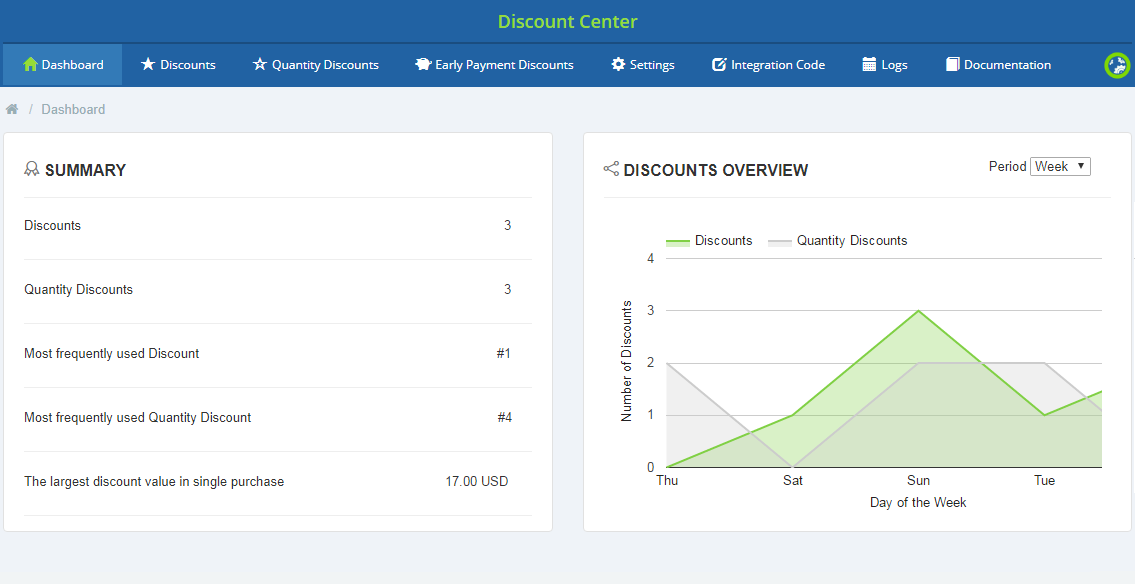
| On the dashboard you can find 'Summary' table with detailed statistics on applied discounts with the most frequently used ones and the highest amount granted. Next to 'Summary' table, a chart can be found with number of discounts applied per specified period of time. You can display the chart per week, month or a year. |
|
Documentation
| The very last tab 'Documentation' once clicked will redirect you to the article you are currently reading! |
Tips
| 1. If a clients adds to the cart a product that can have more than one discount applied, then a higher discount is applied on the invoice. |
Common Problems
| 1. When you have problems with connection, check whether your SELinux or firewall does not block ports. |