Product Free Trial Manager For WHMCS
Contents |
About Product Free Trial Manager For WHMCS
| Product Free Trial Manager For WHMCS allows you to activate a dedicated payment gateway for free trial access for all or single products in your offer. Let your clients test your products by offering them free of charge, but limited in time, access to the ordered products, and make a well-thought decision to avoid cancellations and misunderstandings. Use the module to make your offer even more competitive and much practical to your clients. |
- Features:
| ✔ |
| ✔ |
| ✔ |
| ✔ |
| ✔ |
| ✔ |
| ✔ |
- General Info:
| ✔ Multi-Language Support |
| ✔ Supports PHP 7.2 Up To PHP 7.4 |
| ✔ Supports WHMCS Themes "Six" And "Twenty-One" |
| ✔ Supports WHMCS V8.1 And Later |
| ✔ Easy Module Upgrade To Open Source Version |
Installation
| This tutorial will show you how to successfully install and configure Product Free Trial Manager For WHMCS. We will guide you step by step through the whole installation and configuration process. |
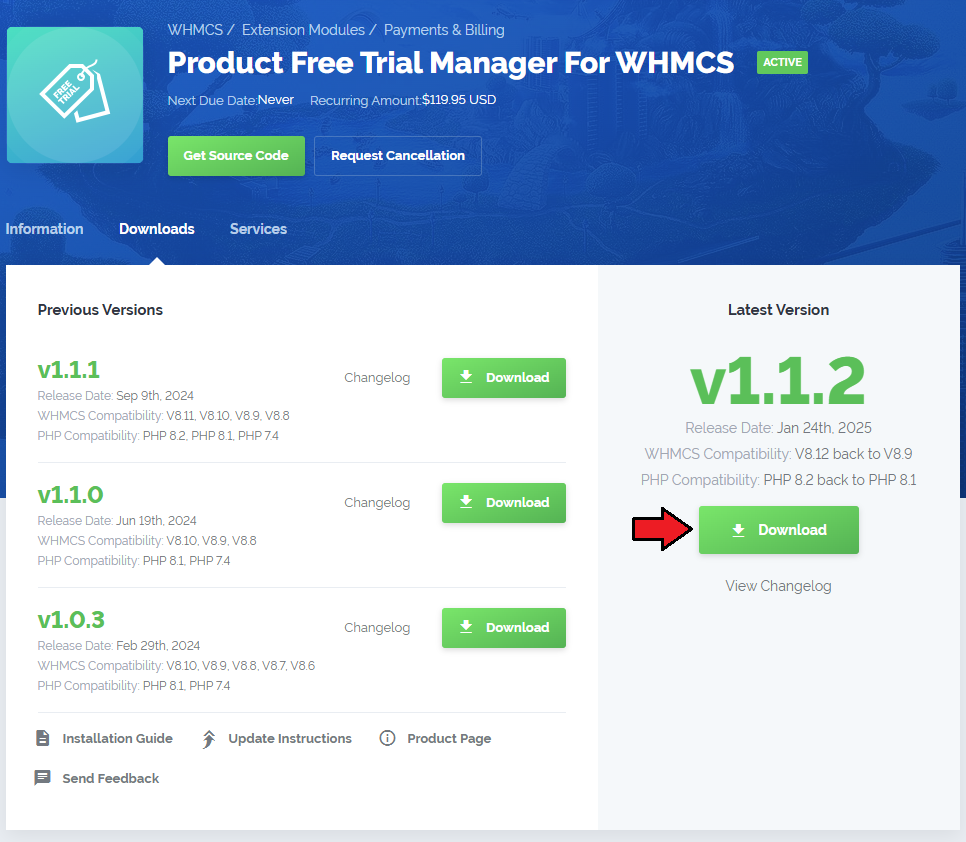
| 1. Log in to our client area and download the module. |
|
| 2. Extract the package and upload its content into the main WHMCS directory.
The content of the package to upload should look like this. |
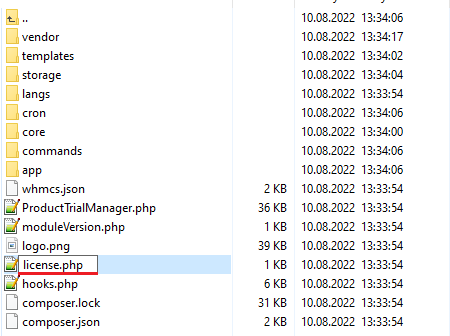
| 3. When installing Product Trial Manager For WHMCS for the first time, you have to rename the 'license_RENAME.php' file. The file is located in 'your_whmcs/modules/addons/ProductFreeTrialManager/license_RENAME.php'. Rename it from 'license_RENAME.php' to 'license.php'. |
|
| 4. In order to configure your license key, you have to edit the previously renamed 'license.php' file. Enter your license key between the quotation marks as presented on the following screen. You can find your license key in our client area → 'My Products'. |

|
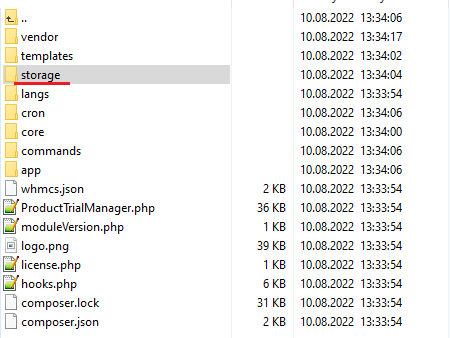
| 5. Now, set up the 'storage' folder as recursively writable. This folder is available at 'your_whmcs/modules/addons/ProductFreeTrialManager/'. |
|
Configuration of Addon
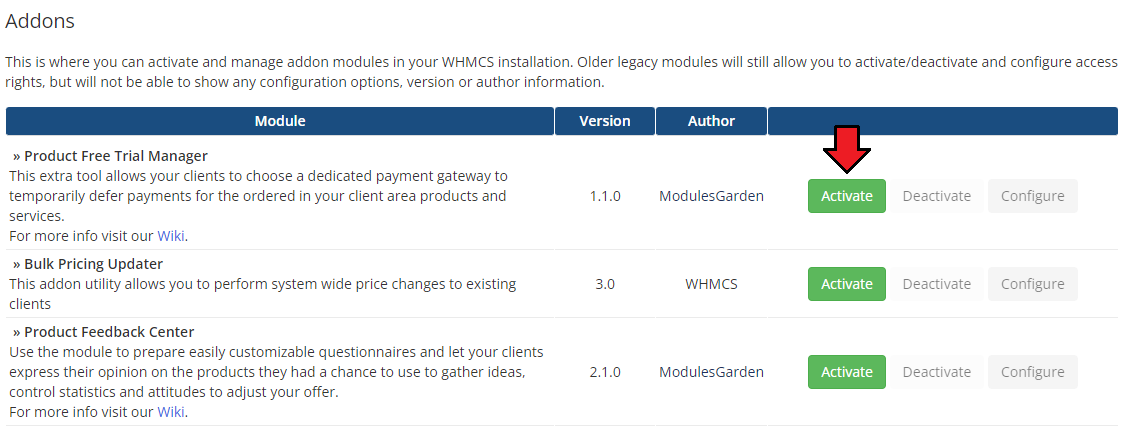
| 6. Now you have to activate the module in your WHMCS system. Log in to your WHMCS admin area. Go to 'System Settings' → 'Addon Modules'. Afterwards, find 'Product Free Trial Manager' and press the 'Activate' button. |
|
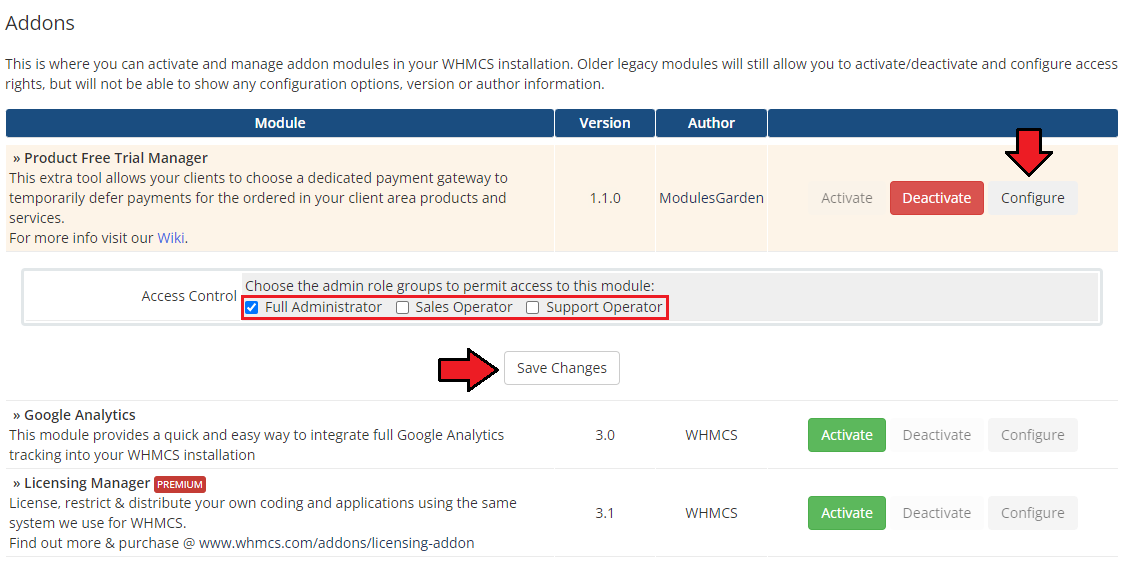
| 7. In the next step you need to permit access to this module. To do so, click on the 'Configure' button, tick 'Full Administrator' and press 'Save Changes'. |
|
Additional Steps Required
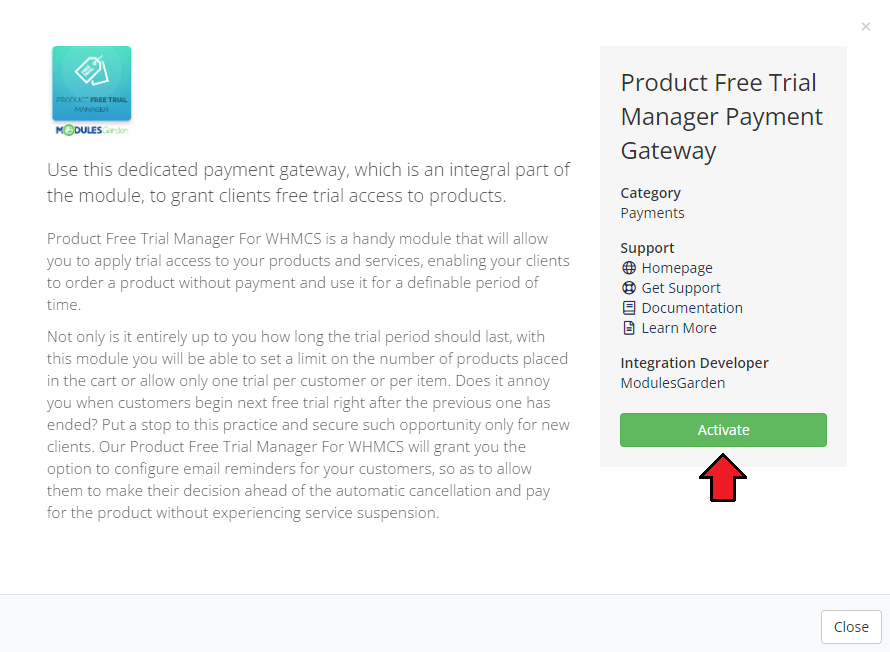
| 8. Now, proceed to 'System Settings' → 'Payment Gateways' → 'All Payment Gateways' Find the 'Product Free Trial Manager' gateway and activate it. |
|
| 9. Afterwards, move to 'Manage Existing Gateways' to add your custom display name. Press 'Save Changes'. The gateways will be available to choose as a payment method for clients depending on the configuration in the Product Free Trial Manager addon. |

|
| 9. Congratulations, you have just successfully installed Product Free Trial Manager For WHMCS! You can now access your module from 'Addons' → 'Product Free Trial Manager'. |
|
Management
| In this section we will show you the possibilities of Product Free Trial Manager For WHMCS. Our module allows you to ........... |
Addon Configuration
Settings
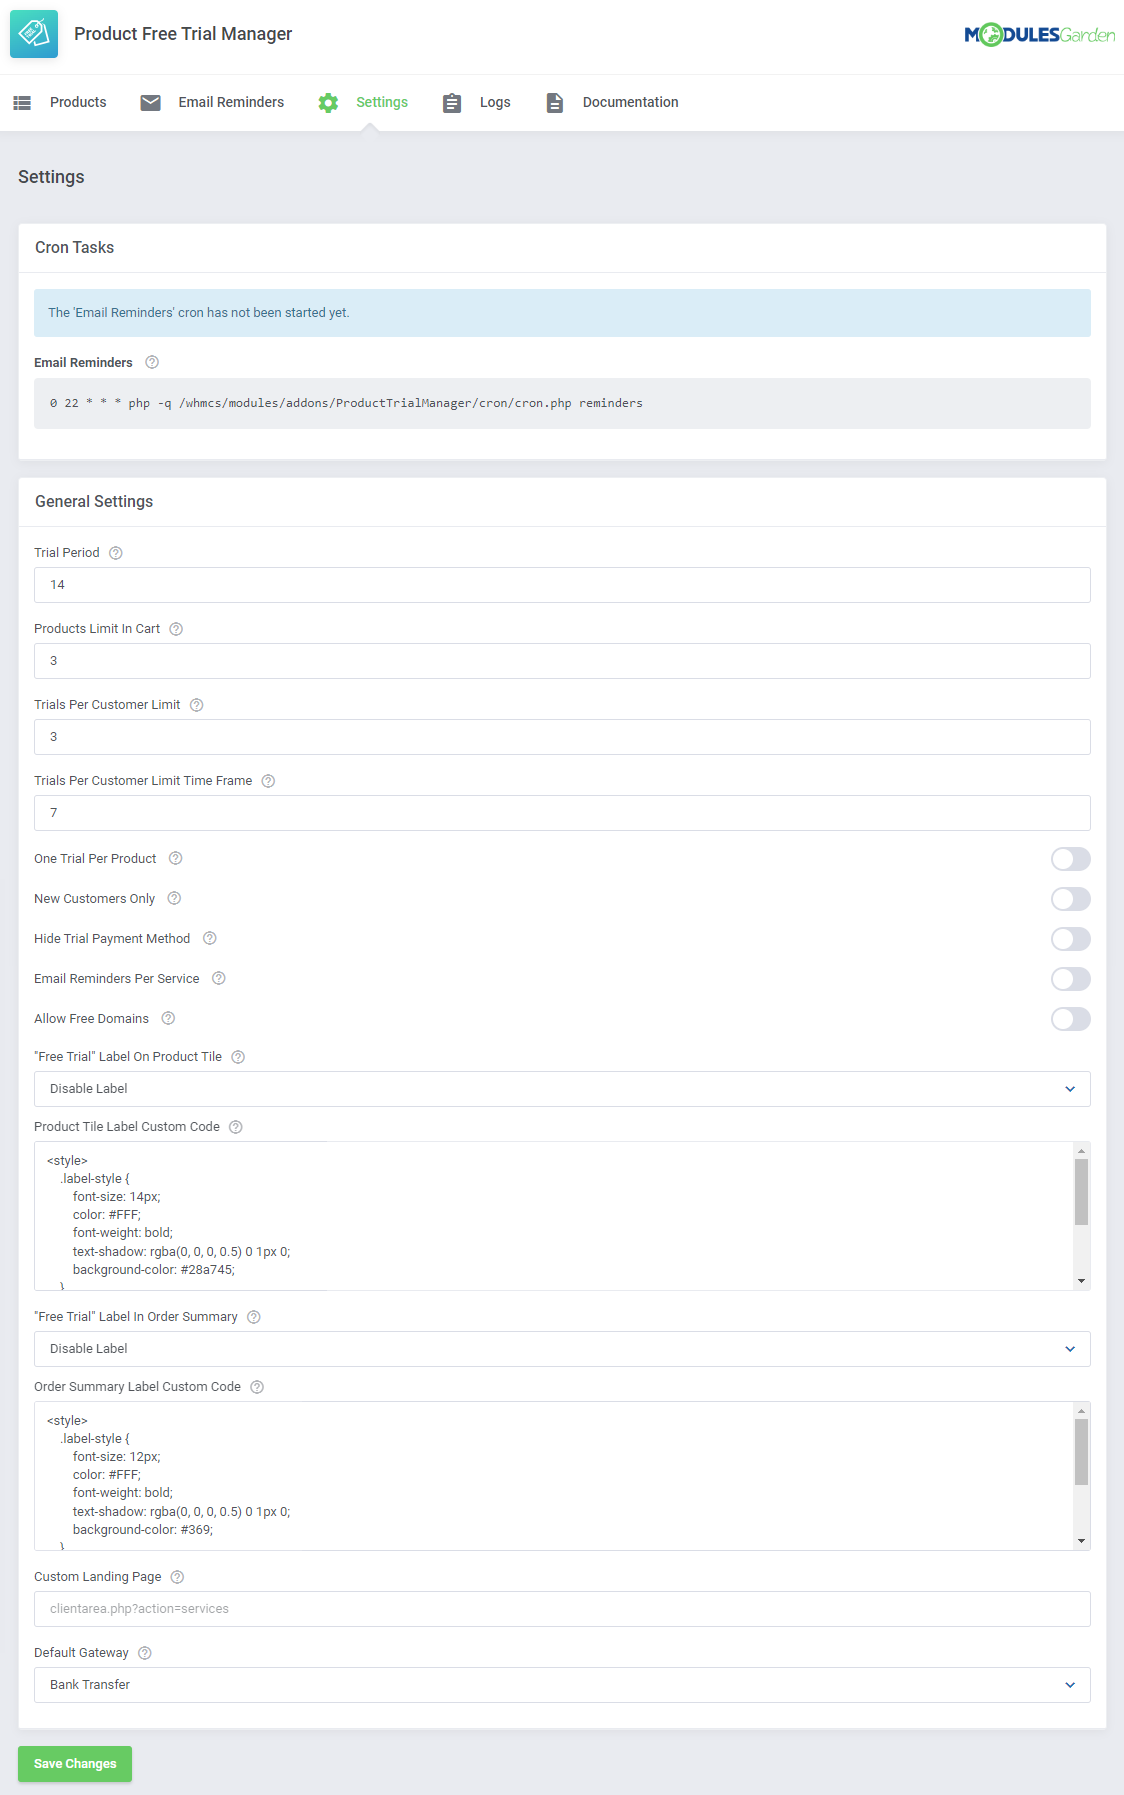
| At the 'Settings' tab you can set up the module's behavior. Configure free trial access settings and cron tab behavior. |

|
| At the 'Cron Settings' tab you can set up the crons behavior. |

|
In 'Gateway Settings' select whether you want to allow:
|
| File:PTM 9 1.png |
Products
| In the 'Products' section, you will find a full list of products ans services available in your WHMCS. Here you can tun on/off the trial access for single products or apply it to numerous products at once with mass action buttons. |
| File:PTM 9 3.png |
| Products with enabled here will be applicable for free trials for clients if they meet all the settings requirements per client as well. |
| File:PTM 9 4.png |
Email Reminders
| 'Email Reminders' tab allows you ............. |

|
Logs
Client Area
Tips
| 1. Supported variables in the email reminder template:
per service: $invoice_link $invoice_id $services_ids $reminder_days per invoice: $invoice_link $invoice_id $reminder_days |
Common Problems
| 1. When you have problems with connection, check whether your SELinux or firewall does not block ports. |