Client Area Popup For WHMCS
Contents |
About Client Area Popup For WHMCS
| Client Area Popup For WHMCS is a module |
- Addon Area Features:
| ✔ Create Pop-ups Using Predefined Styles |
| ✔ Preview Pop-up With Single Click |
| ✔ Archive Pop-ups For Latter Use |
| ✔ View Pop-up Restrictions |
| ✔ View Number of Pop-up Displays |
| ✔ Create Styles And HTML ?? To Be Used By Pop-up ?? to kiepsko brzmi, ale nie wiem co zrobić z tym htmlem |
- Client Area Features:
| ✔ View Pop-up If Restrictions Are Met |
| ✔ Close Pop-up Permanently |
- Pop-up Features:
| ✔ Define Pop-up Restrictions: |
| ✔ Display Frequency - How Often Pop-up Should Be Displayed |
| ✔ Hide - Client Can Close Pop-up Permanently |
| ✔ Pages - Define Pages Where Pop-Up Is Displayed |
| ✔ Languages - Required Client Languages |
| ✔ User Groups -? |
| ✔ Active Products -? |
| ✔ Active Products In Groups -? |
| ✔ Active Products With Servers -? |
| ✔ Active Domains Using TLDs -? tuatj nei dajemy opisów? tak jak w 4 opcjach wyżej |
| ✔ Define Time Frames For Pop-up To Be Shown |
| ✔ Define Pop-up Size |
| ✔ Assign Style To Pop-up |
| ✔ Choose Type And Provide Pop-up Content: |
| ✔ Raw Text |
| ✔ HTML |
| ✔ Image |
- General Info:
| ✔ Style Editors With Syntax Highlighting |
| ✔ Multi-Language Support |
| ✔ Supports WHMCS V5 and Later |
Installation
| This tutorial will show you how to successfully install and configure Client Profile Viewer For WHMCS. We will guide you step by step through the whole installation and configuration process. |
| 1. Log in to your client area and download Client Profile Viewer For WHMCS. |
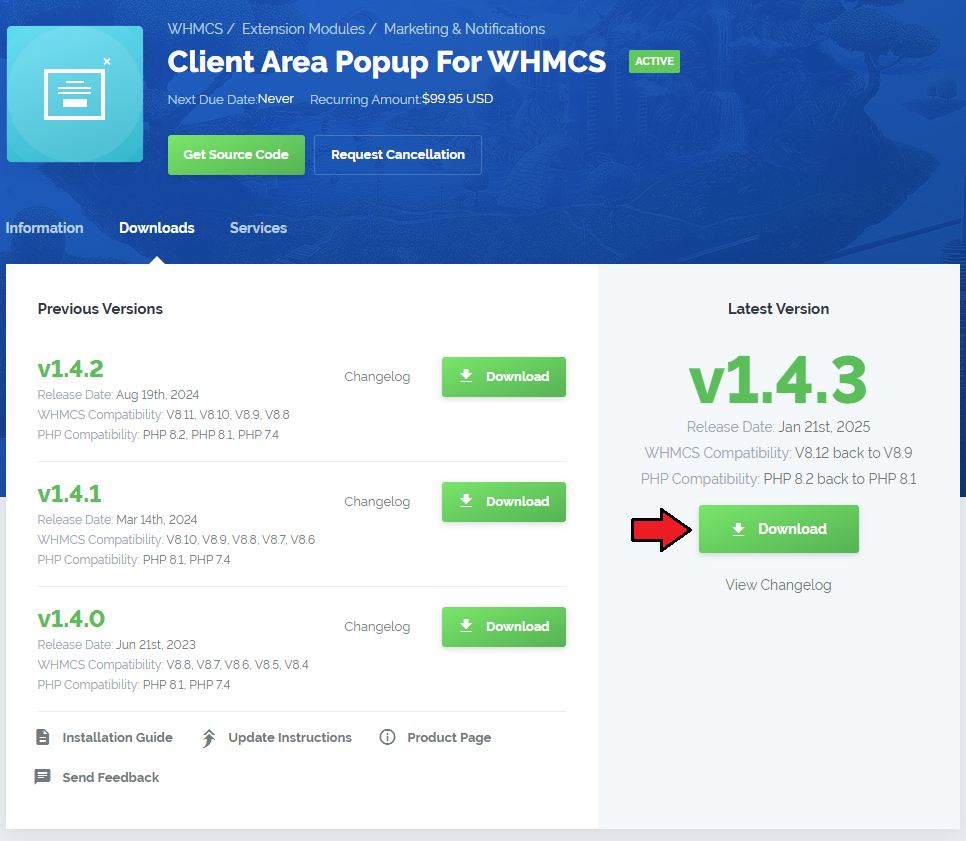
|
| 2. Upload and extract the module into the main WHMCS directory. Files in your WHMCS directory should look like on the following screen. |

|
| 3. When you install Client Profile Viewer for the first time you have to rename 'license_RENAME.php' file. File is located in 'modules/addons/clientsprofiler/license_RENAME.php' . Rename it from 'license_RENAME.php' to 'license.php' . |
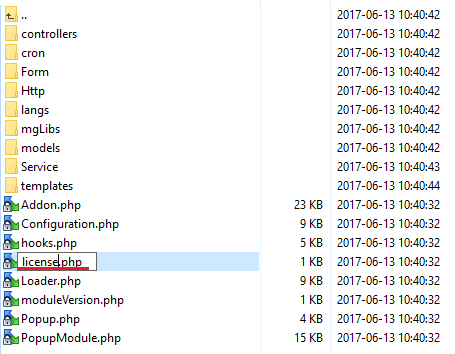
|
| 4. In order to configure your license key, you have to edit the previously renamed 'license.php' file . Enter your license key between quotation marks as presented on the following screen. You can find your license key in your client area → 'My Products' . |

|
| 5. Now you have to activate the module in your WHMCS system. Log in to your WHMCS admin area. Go to 'Setup' → 'Addon Modules' . Afterwards, find 'Client Profile Viewer' and press 'Activate' button. |
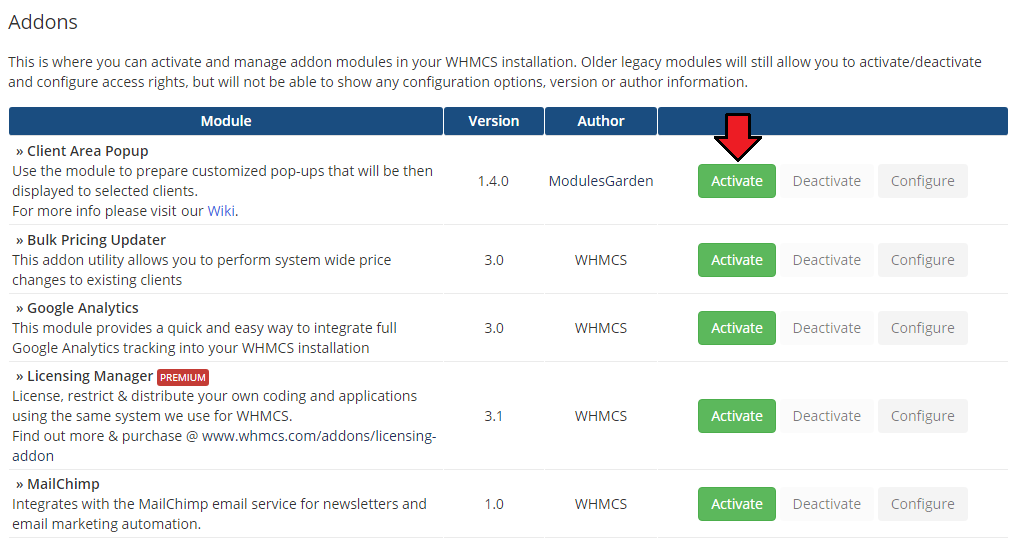
|
| 6. In the next step you need to permit access to this module. To do so, click on 'Configure' button, tick 'Full Administrator' and press 'Save Changes' . |
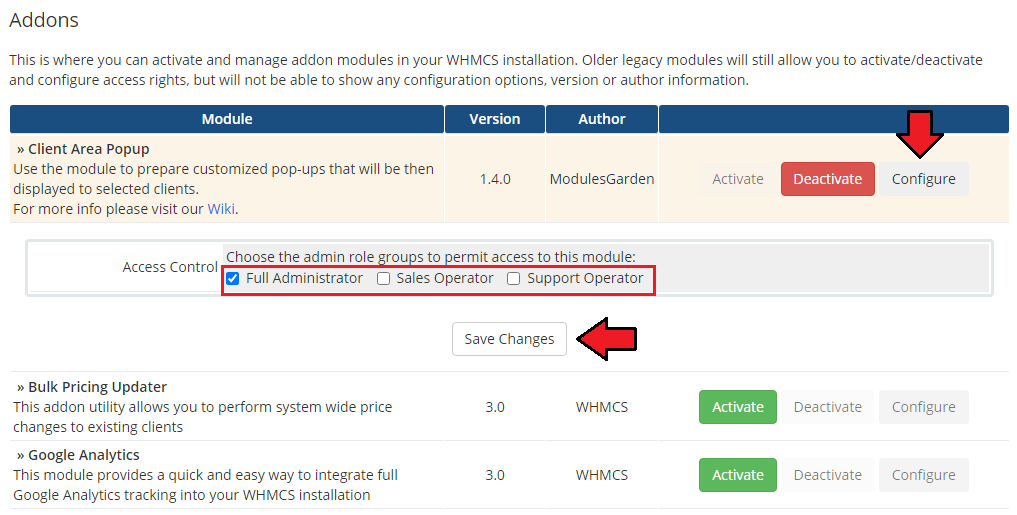
|
| 7. You have just successfully installed Client Profile Viewer For WHMCS! You can access your module under 'Addons' → 'Client Profile Viewer' . |
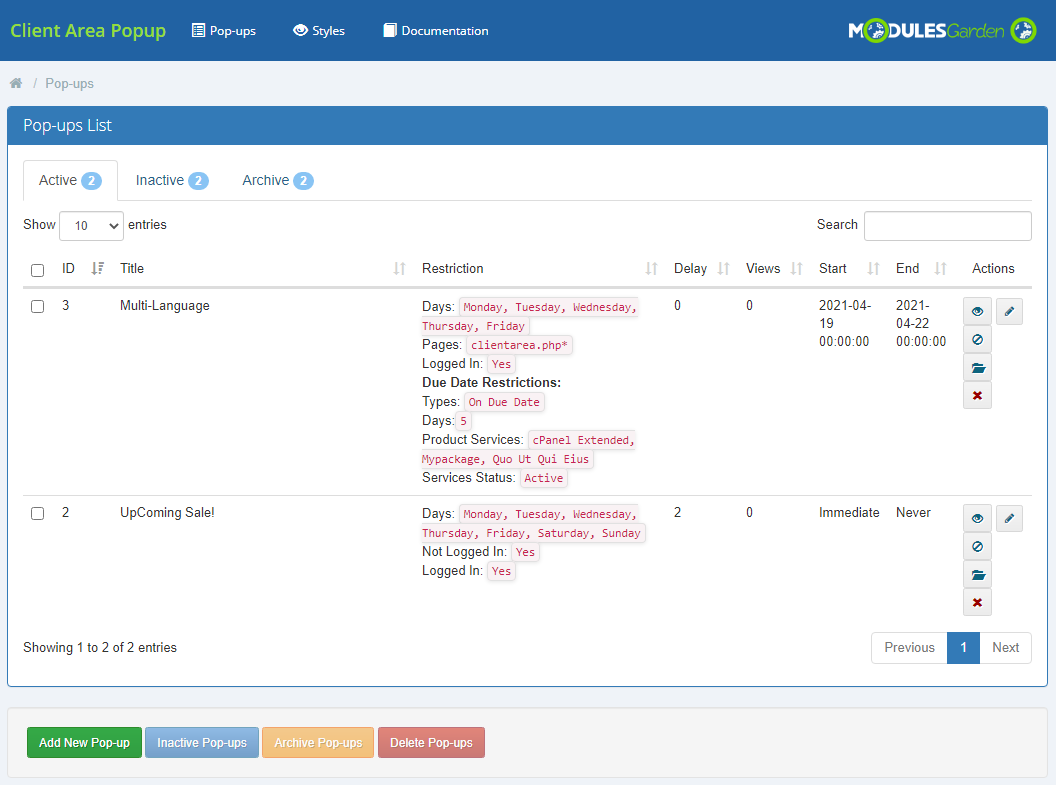
|
Configuration and Management
| Client Area Popup For WHMCS is a module which allows you to quickly display clients' details across the WHMCS. Additionally, you can easily configure access to the clients' information depending on the admin role. |
Configuration
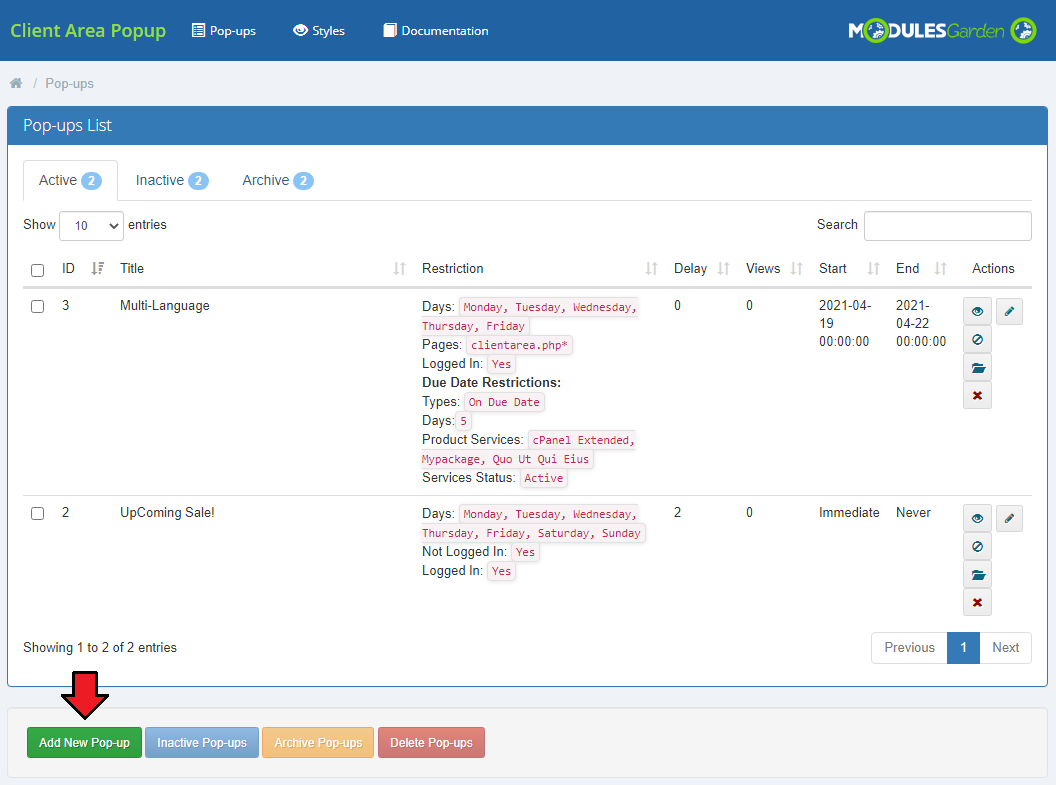
| ..... |
|
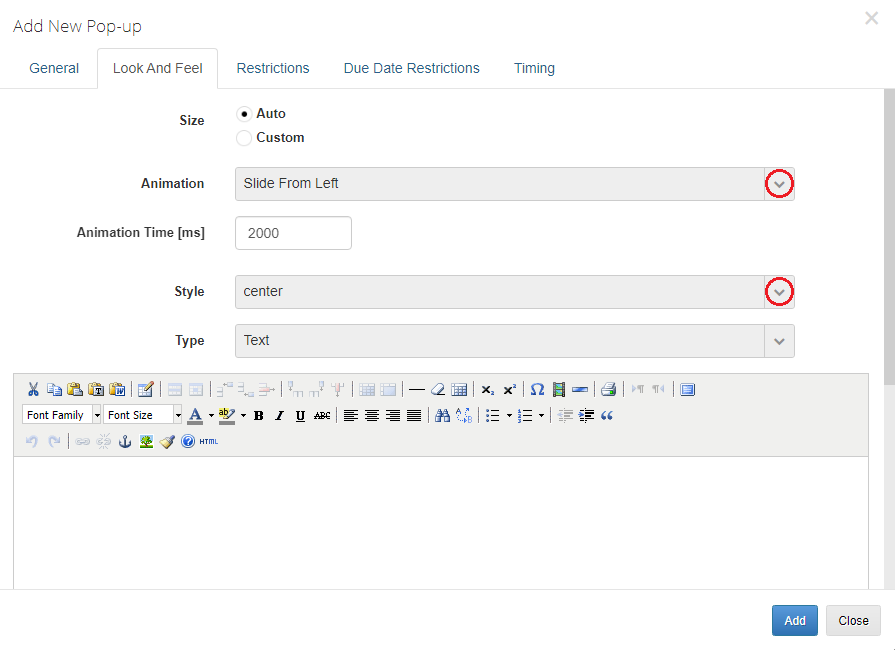
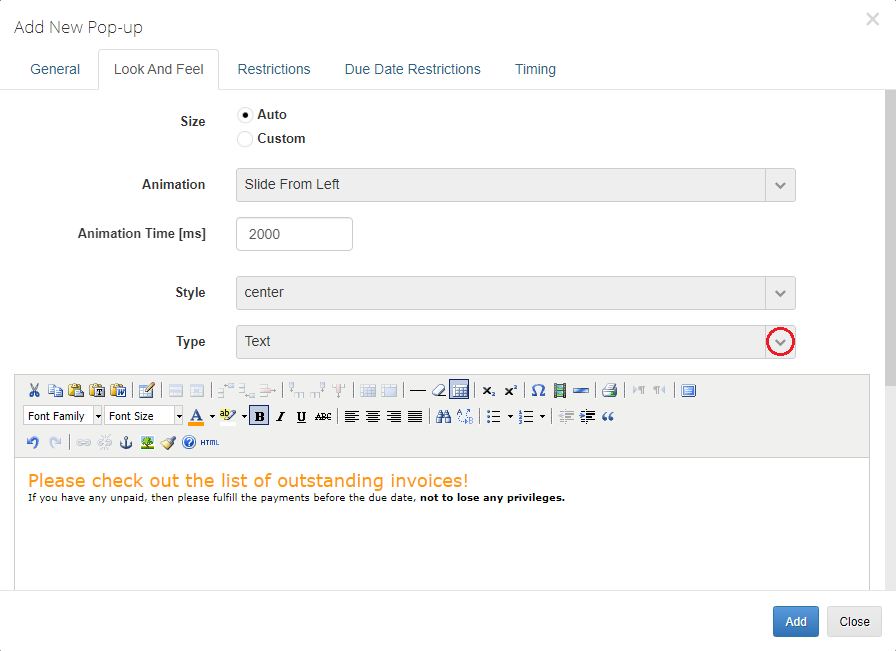
Create Pop-up
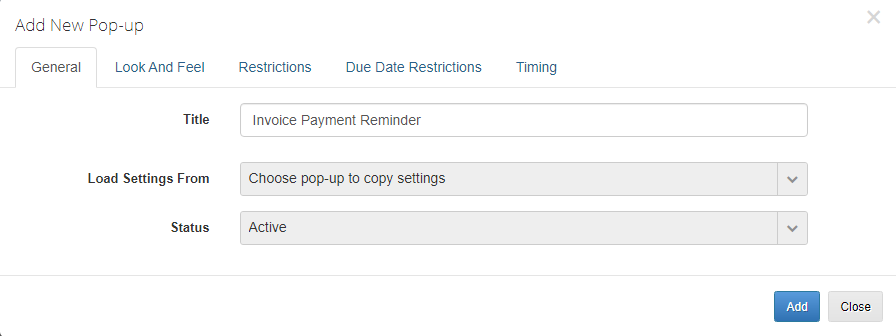
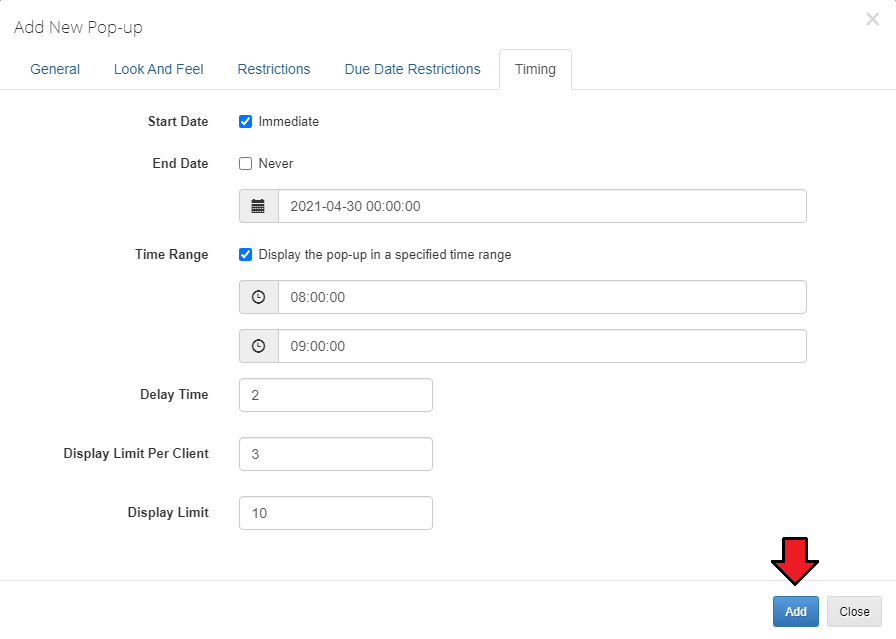
| To add a ne |
|
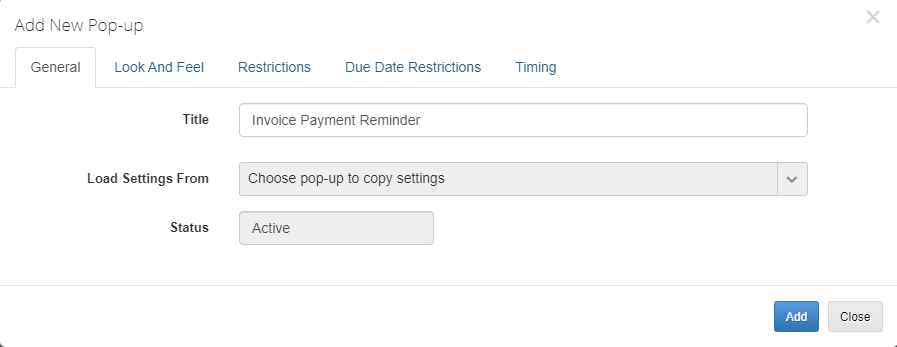
| Afterwards, |
|
|
| ............ |
|
Advanced Configuration
| Some of the widgets may have additional configuration, more information about them can be found in this subsection. |
Client Admin Notes
|
|
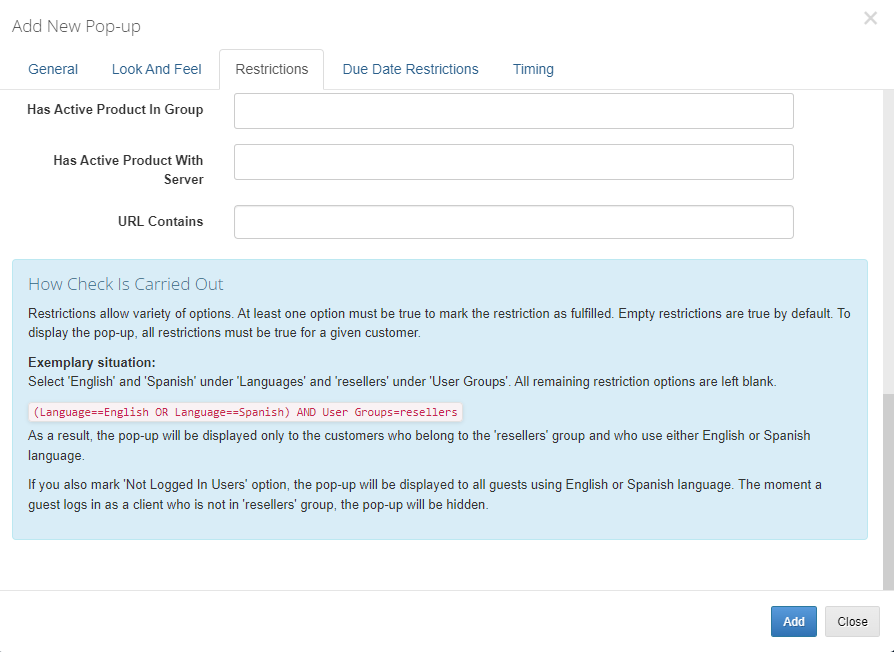
RESTRICTIONS
|
Settings
| '........... |
|
.....
| ................. |
|
Tips
Common Problems
| 1. When you have problems with connection, check whether your SELinux or firewall does not block ports. |