Zendesk For WHMCS
Contents |
About Zendesk For WHMCS
| Zendesk For WHMCS allows your customers to use a complex support system solution in your own WHMCS. With our module your clients will be able to manage Zendesk tickets as if they were a part of your system. |
- Management Features:
| ✔ Clientarea Integration |
| ✔ Complete Zendesk Tickets Management From Clientarea |
| ✔ File Attachments |
| ✔ Single Sign On (SSO) Integration |
| ✔ Listing Tickets On The Home Page |
| ✔ Autochanging Of Emails In Zendesk, When Changed In The WHMCS |
| ✔ Disable SSL Verification Host/Peer In Curl |
| ✔ Possibility To Create And Set Up Custom Templates |
- Additionally:
| ✔ Multi-Language Support |
| ✔ Supports WHMCS V5 and Later |
Installation and Configuration
| Installation and configuration of Zendesk For WHMCS won't take you longer than 10 minutes. We will guide you step by step through the whole process. |
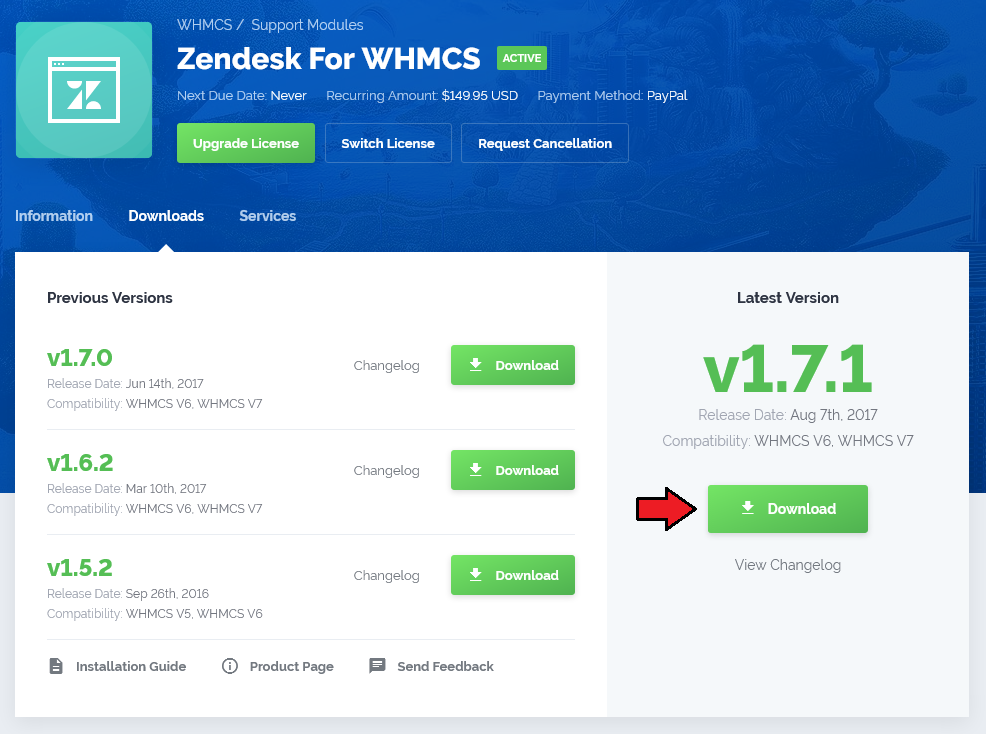
| 1. Log in to your clientarea and download Zendesk For WHMCS. |

|
| 2. Upload and extract the module into the main WHMCS directory. |
| Files in your WHMCS directory should look like this. |
| File:Z2.png |
| 3. Afterwards log in to your Zendesk admin area in order to enable API access. Go to 'Manage' → 'API' which is located in the 'Channels' section and enable 'Token Access' . Remember to save the changes. |
| File:Z3.png |
| 4. Now go to 'Manage' → 'Security' which is located in the 'Settings' section and enable 'Single-Sign On' . Here you can also check your remote login URL and remote logout URL. Don't forget to press 'Save tab' at the bottom of the screen. |
| File:Z4.png |
| 5. Scroll down to the bottom of page and press 'generate a new token' or use an existing one. |
| File:Z5.png |
| 6. Copy and keep your 'shared secret' in a safe place. We will need it in the next step. IMPORTANT: Make sure that you have copied the entire secret. It's longer than shown on the screen below. |
| File:Z6.png |
| 7. Afterwards you need to configure one file. To do so, go to 'your_whmcs/modules/support/zendesk' and modify 'configuration.php' file. Below we will briefly describe critical variables for proper operation of the module: |
| File:Z7.png |
| 8. The last step is performed directly in WHMCS. Log in to your system, go to 'Setup' → 'General Settings' → 'Support' , choose 'Zendesk' from a dropdown menu and save changes. |
| File:Z8.png |
| Good job! Now your WHMCS is connected with Zendesk support system. |
Management
| Once Zendesk For WHMCS is installed and configured, you can create/update your ticket departments and begin to use it. Each ticket department you create in the Zendesk will be available for your customers in WHMCS clientarea. |
| Let's see what our Zendesk For WHMCS can do. Firstly, you can create and modify ticket fields which will show up in WHMCS while creating a new ticket. For test purposes we activated and adjusted 'Priority' field according to our needs. |
| File:Z9.png |
| As you can see on the screen below, new field appeared in WHMCS clientarea. Let's send the ticket. |
| File:10.png |
| Ticket has successfully appeared in your Zendesk admin area. Do not let him wait long unanswered. |
| File:11.png |
| Let's send an answer to our fellow Tester. |
| File:12.png |
| Our customer received an answer with updated ticket status. |
| File:13.png |
| As you noticed management of Zendesk For WHMCS is very simple and intuitive. Now you are ready to offer your customers a new level of support! |
Tips
| 1. If you create a custom field in Zendesk, it will be also visible in WHMCS. Custom fields need to be enabled/visible/editable_by_client. |
| 2. When you add ' |clientservice' at the end of the custom field title, a select with list of products and domains will show up. |
| 3. Module supports 'default' and 'portal' templates but you can create and set up your own template. |
| 4. You can translate ticket status names through creating 'zendesk_lang.txt' file in 'your_whmcs/lang' directory. These are translation variables used by Zendesk module. You can add them to the bottom of any language file you would like to use. $_LANG["zendesk_ticket_status_new"] = "New"; Setting above is optional. If translations are not set, the default english values are displayed, straight from Zendesk. |
Common Problems
| 1. When you try to open a new ticket and you get 'Unable to authenticate' , this means that the user's email is already registered in Zendesk, but it's not verified yet. To solve the problem log in to your Zendesk admin area and verify the email as presented on the screen below. |
| 2. When you have problems with connection, check whether your SELinux or firewall is not blocking ports. |