Marketing Triggers Automation For WHMCS
(→Installation) |
(→Installation) |
||
| Line 69: | Line 69: | ||
|} | |} | ||
{| | {| | ||
| − | |style="padding: 0px 0px 15px 15px;"|'''9. You have just successfully installed | + | |style="padding: 0px 0px 15px 15px;"|'''9. You have just successfully installed Marketing Triggers Automation!'''<br /> |
You can access your module under '' 'Addons' '' → '' 'Client Area Popup'.'' | You can access your module under '' 'Addons' '' → '' 'Client Area Popup'.'' | ||
|} | |} | ||
Revision as of 10:54, 28 November 2024
this page is in progress
About Marketing Triggers Automation For WHMCS
| Marketing Triggers Automation For WHMCS is a perfect tool that allows you to............ |
- Addon Module:
Installation
| This tutorial will show you how to successfully install and configure Marketing Triggers Automation For WHMCS. We will guide you step by step through the whole installation and configuration process. |
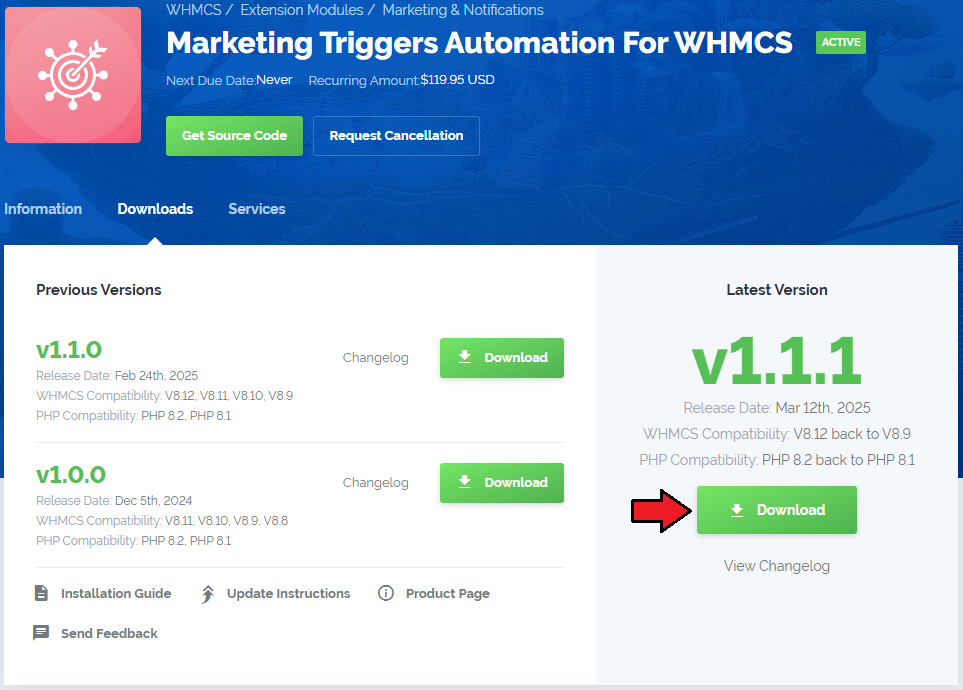
| 1. Log in to our client area and download the module. |
|
| 2. Extract the package and upload its content into the main WHMCS directory. The content of the package to upload should look like this. |
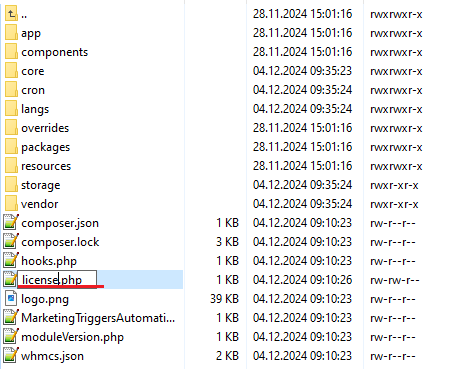
| 3. When you install Marketing Triggers Automation For WHMCS for the first time you have to rename 'license_RENAME.php' file. The file is located in 'modules/addons/MarketingTriggersAutomation/license_RENAME.php'. Rename it from 'license_RENAME.php' to 'license.php'. |
|
| 4. In order to configure your license key, you have to edit the previously renamed 'license.php' file. Enter your license key between quotation marks as presented on the following screen. You can find your license key in our client area → 'My Products'. |

|
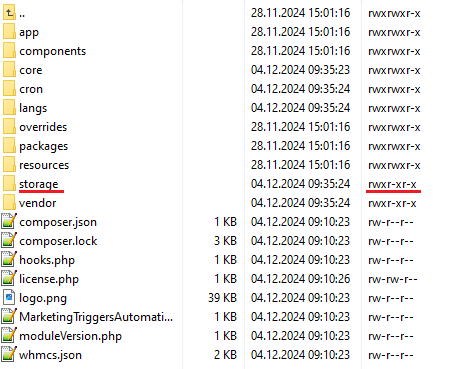
| 5. Now, set up the 'storage' folder as recursively writable. This folder is available at '/yourWHMCS/modules/addons/MarketingTriggersAutomation/'. |
|
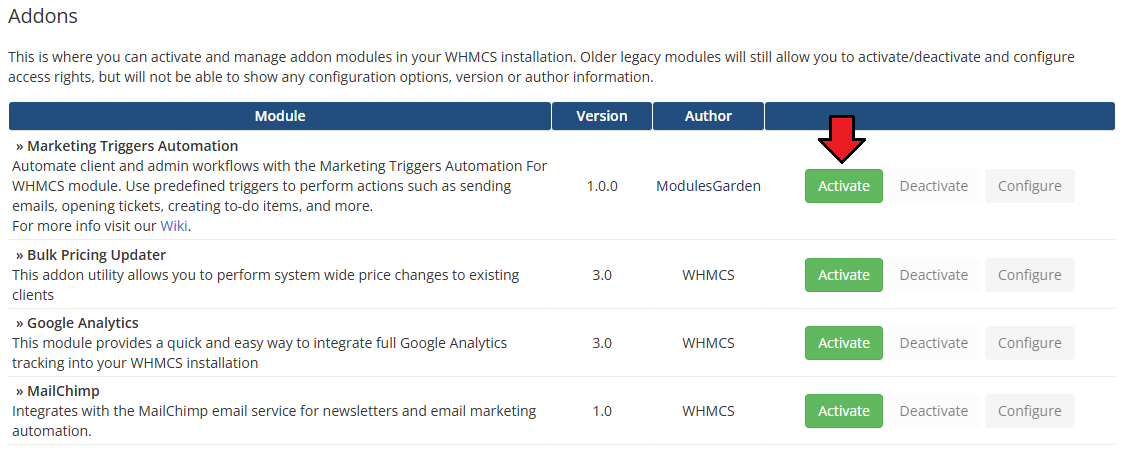
| 6. Now you have to activate the module in your WHMCS system. Log in to your WHMCS admin area. Go to 'System Settings' → 'Addon Modules'. Afterwards, find 'Marketing Triggers Automation' and press the 'Activate' button. |
|
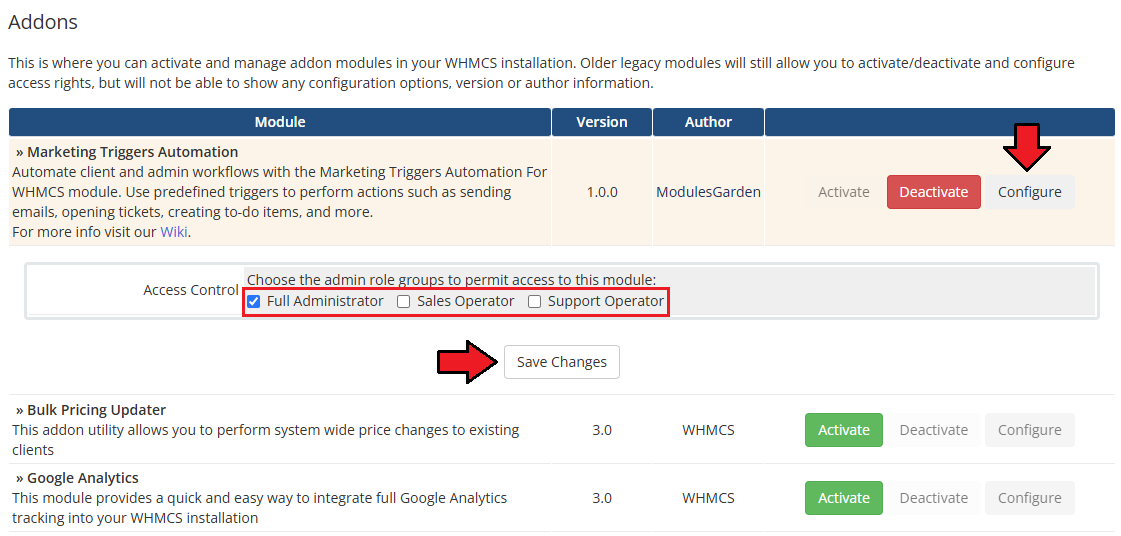
| 7. In the next step, you need to permit access to this module. To do so, click on the 'Configure' button, tick 'Full Administrator' and press 'Save Changes'. |
|
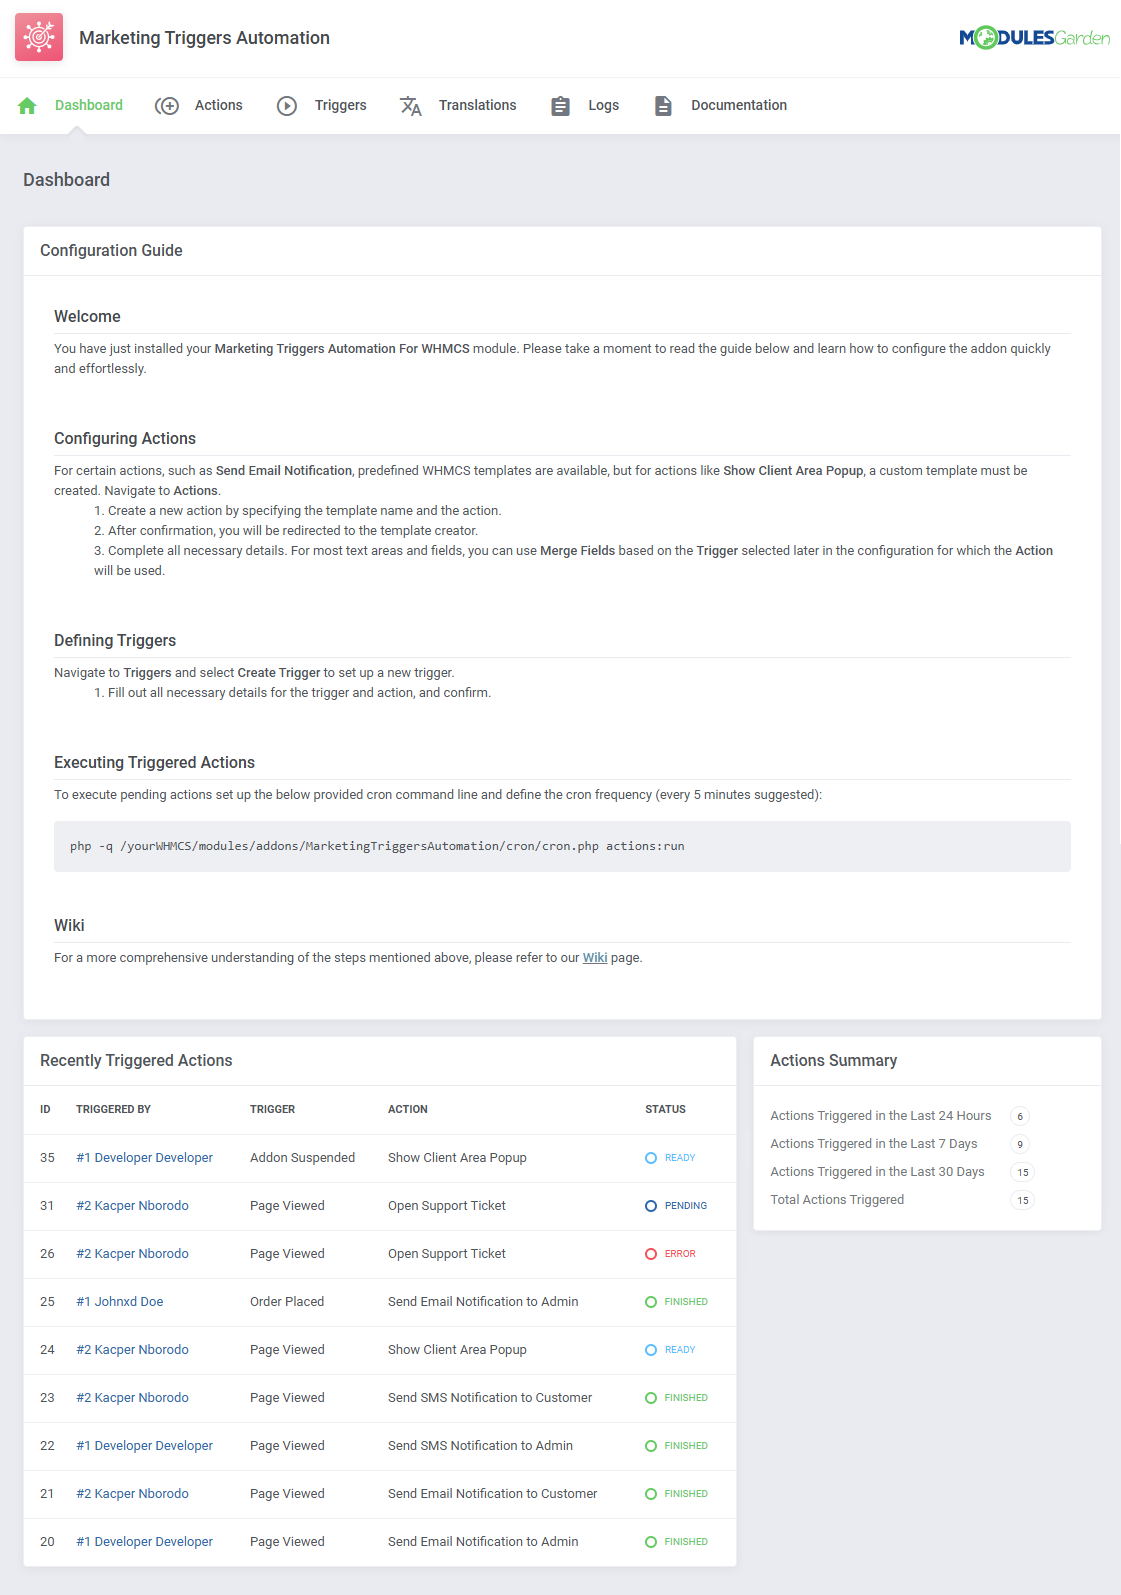
8. The final step of the module installation is setting up a cron command that is required for several module features to work properly.
php -q /yourWHMCS/modules/addons/MarketingTriggersAutomation/cron/cron.php Synchronize Note that the above directory is exemplary, please adjust the cron line to your own needs. 5 minute interval is recommended. |
| 9. You have just successfully installed Marketing Triggers Automation! You can access your module under 'Addons' → 'Client Area Popup'. |
|