EasyDCIM Dedicated Servers For WHMCS
Contents |
About EasyDCIM Dedicated Servers For WHMCS
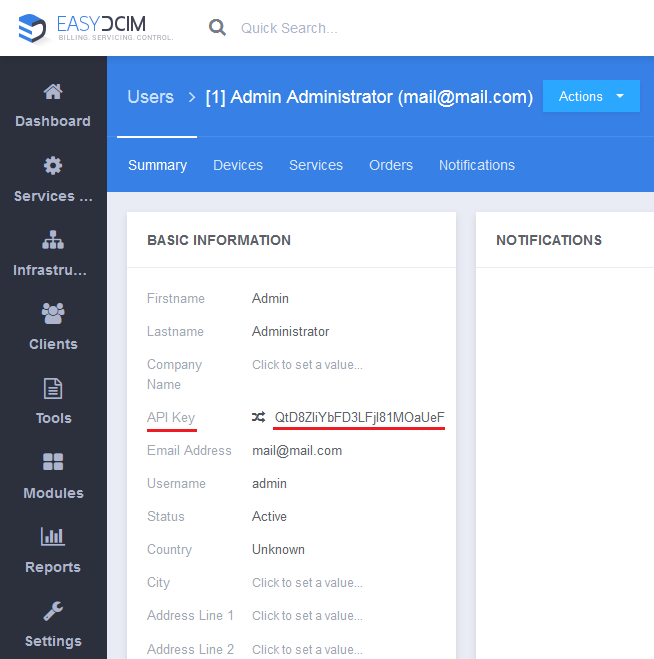
| EasyDCIM Dedicated Servers For WHMCS will allow you to move the provisioning and management of EasyDCIM servers directly to your WHMCS. The module will let you handle all crucial aspects of created servers, including their status and the SSH password. |
- Admin Area Features:
| ✔ Create/Terminate/Suspend/Unsuspend Server |
| ✔ Boot/Reboot/Shutdown Server |
| ✔ Change Server SSH Access Details |
| ✔ View Server Details |
| ✔ View Server Resource Usage Graphs |
| ✔ Generate Default Configurable Options |
| ✔ Configure Server: |
| ✔ Server Model |
| ✔ Server Location |
| ✔ OS Template |
| ✔ Server Resources |
| ✔ Toggle Automatic Order Acceptance And Server Matching |
| ✔ Define Required Devices |
| ✔ Define Required Item Models: |
| ✔ HDD Model |
| ✔ SSD Model |
| ✔ RAM Model |
| ✔ CPU Model |
| ✔ Define Client Area Features |
| ✔ Choose OS Templates Available For Rebuilding |
| ✔ Choose OS Templates Available For Rebuilding |
| ✔ Control Service Actions And Email Notifications |
| ✔ Determine Monthly Interval Of Bandwidth Usage |
| ✔ Define Percentile Billing Of Bandwidth Overage |
| ✔ One Click Login To EasyDCIM: |
| ✔ User Control Panel |
| ✔ Admin Panel |
| ✔ Toggle Debug Mode |
- Client Area Features:
| ✔ Boot/Reboot/Shutdown Server |
| ✔ Receive Email Notification On Complete Server Creation |
| ✔ Change Server Hostname |
| ✔ Change Server SSH Password |
| ✔ View Server Details |
| ✔ Access KVM Console (Dell And SuperMicro Servers) |
| ✔ Rebuild Server OS Using OS Templates And Your Own Credentials |
| ✔ View Server Resource Usage Graphs |
| ✔ View Traffic Statistics |
| ✔ One Click Login To User Control Panel |
- Configurable Options:
| ✔ Server Model |
| ✔ Server Location |
| ✔ OS Template |
| ✔ Bandwidth |
| ✔ Additional IP Addresses |
| ✔ HDD Size |
| ✔ SSD Size |
| ✔ RAM Size |
| ✔ CPU Cores |
- General Info:
| ✔ Multi-Language Support |
| ✔ Supports EasyDCIM v1.4.1 and Later |
| ✔ Supports PHP 5.4 Up To PHP 7 |
| ✔ Supports WHMCS Templates Five and Six |
| ✔ Supports WHMCS V6 and V7 |
Installation and Configuration
| This tutorial will show you how to successfully install and configure EasyDCIM For WHMCS. We will guide you step by step through the whole installation and configuration process. |
Installation
| 1. Log in to our client area and download the module. |

|
| 2. In the downloaded file you will find two packages that support different PHP versions. As presented on the screen below, the first one is dedicated to PHP 7, while the second one is aimed at PHP 5.4 up to PHP 5.6. Note: You can check current PHP version in your WHMCS. To do so, proceed to 'Utilities' → 'System' → 'PHP Info'. |

|
| 3. Extract the downloaded file and choose the one with the right PHP version. Upload and extract the PHP file into the main WHMCS directory. The content of PHP version files should look like this. |
Configuration of Server
| 4. Now, we will show you how to configure a new product. Go to 'Setup' → 'Products/Services' → 'Servers' and press the 'Add New Server' button. |

|
| 5. Next, choose 'EasyDCIM' from the 'Type' dropdown menu. Fill in your server name, IP address, username and password, then press 'Save Changes'. |

|
| 6. After configuring your server, you can check the connection. In order to check the connection with an EasyDCIM server, edit the server configuration and press 'Test Connection' as shown on the screen below. |

|
| 7. The next step is creating a server group. To do so, click on 'Create Server Group'. |

|
| 8. Enter the name, click on your previously created server, press 'Add' and 'Save Changes' afterwards. |

|
Configuration of Product
| 9. In order to create and configure a product, go to 'Setup' → 'Products/Services' → 'Products/Services'. Click on 'Create a New Group'. |

|
| 10. Enter the product group name and press 'Save Changes'. |

|
| 11. Once you have a product group, you can assign your product to it. To create a product, click on 'Create a New Product'. |

|
| 12. Next, choose your product group, enter your product name and then press 'Continue'. |

|
| 13. Now, go to the 'Module Settings' section, choose both 'EasyDCIM' and your previously created server group from dropdown menus. Do not forget to click 'Save Changes'. |

|
| 14. Before configuring the product, set up the EasyDCIM cron job which can be found here. |

|
| 15. The module configuration is only partly obligatory. The server will be assigned based on the provided configuration, and will therefore match only those options that have been specified.
Default Options:
Product Configuration
Items Model
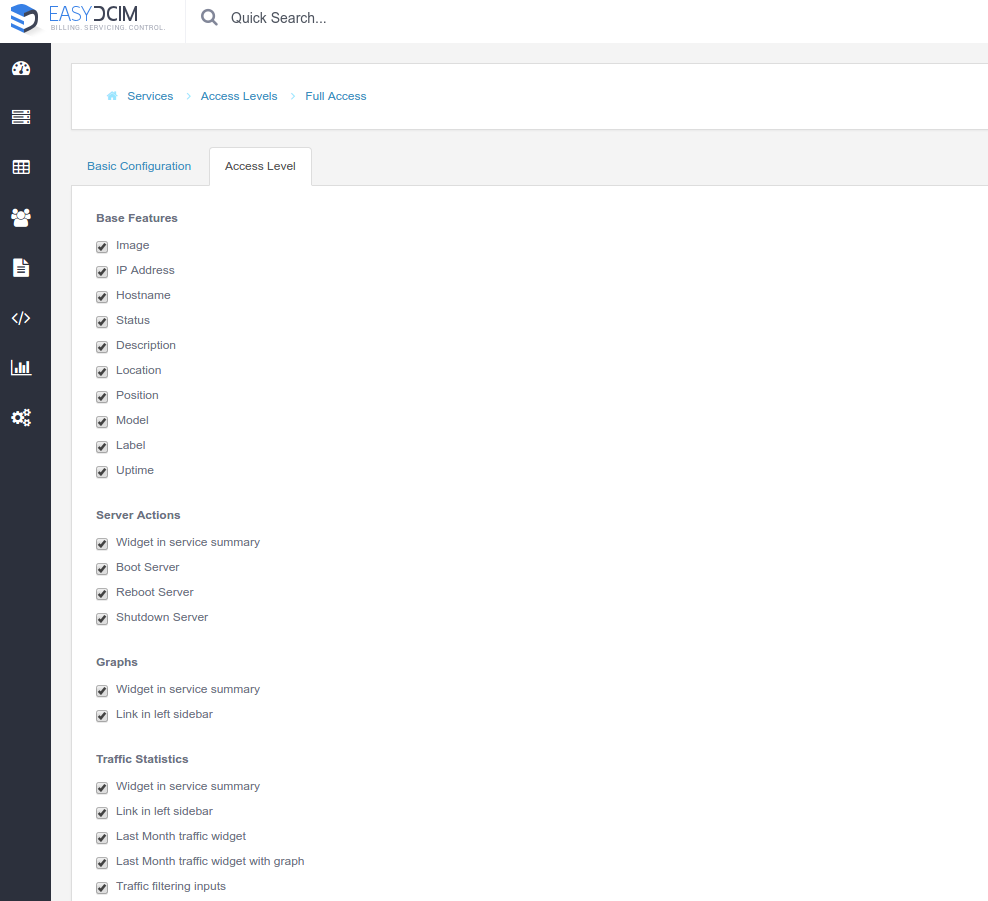
Client Area Features
Service Actions
Service Notification
|

|
| 15. Now, you can optionally generate the default configurable options to allow placing orders tailored to customer needs. We recommend viewing and modifying them to fit your provisioning capabilities. You can find them under 'Setup' → 'Products/Services' → 'Configurable Options'. |

|
| 16. Additionally, you can set up a percentile billing for additional traffic. Go to the 'Other' tab, enable 'Overages Billing' . First, define the standard overages bandwidth billing and then set the following percentile values:
E.g. If 'Soft Limit = 100' and 'Cost = 0.500' and the client exceed the bandwidth to '110 Mbps' , it means that they will be additionally charged with $5 USD amount (10 x 0.500). |

|
Custom Fields
| Once the configuration of the module settings has been completed, the following custom fields will be created automatically. Note: These fields will not be visible to clients by default.
|

|
Management
| In this section we will show you all the possibilities of EasyDCIM Dedicated Servers For WHMCS. Our module allows you to offer and manage EasyDCIM servers right in your WHMCS system. |
Admin Area
|
As soon as you set up a server for a client, you can request various actions and view server details from WHMCS admin area. |

|
| Our module allows you to boot/reboot/shutdown server as well as view its details. |

|
| Below the mentioned functions, there are various usage graphs available at your disposal. |

|
Client Area
| In the client area, your customers can view all details concerning their servers, manage their status remotely as well as log in to their EasyDCIM control panel with a single click. |

|
| Additionally, you can explore several usage graphs. |

|
| You can also view information about the traffic billing. Note: Available time intervals depend on the date of the product registration. |

|
| As well as reinstall OS on your server. |

|
| Moreover, it is possible to control your reverse DNS. You can either edit the already existing records or create new ones. |

|
| To create a record, just fill in the necessary information. |

|
| Your newly created record will appear on the list. |

|
| If you are using Dell or SuperMicro servers you can also access the KVM console. |

|
| It will launch a Java applet that will automatically connect to your server. Note: Your browser needs to have Java enabled with the correct permissions to make the console functioning. |

|
Tips
| 1. Note that placing two identical orders may result in assigning servers with slightly different parameters.
It stems from the way EasyDCIM server matching works. It matches a server basing on the resources and models mentioned in the order, without considering other resources. |
| 2. As this server supports the templates system, any changes made in the server's templates files will be saved after the upgrade process. |
| 3. Since the 1.3.0 version, the 'monthlyTrafficLimit|Monthly Traffic Limit' configurable option has been changed to 'Bandwidth|Bandwidth' . Remember to change it manually after updating the module. |
Update Instructions
| Essential guidance through the process of updating the module is offered here. |
Common Problems
| 1. When you have problems with connection, check whether your SELinux or firewall does not block ports. |